

Learning how to plan your first woodworking project is exciting, but the best results usually begin before you make the first cut. A little planning can help you avoid wasted lumber, missing tools, incorrect measurements, and frustrating assembly problems.
You do not need advanced skills or an expensive workshop to get started. You need a manageable project, a clear plan, realistic expectations, and enough time to work carefully.
This beginner’s guide walks you through the planning process—from choosing a practical first project to completing a final review before construction begins.

1. Choose a Simple, Useful First Project
Your first project should help you practice basic woodworking skills without requiring complicated joinery, expensive hardware, or specialized equipment. A smaller project is usually easier to complete, easier to correct, and less costly if you make a mistake.
Good beginner projects often have:
- Straight cuts
- A small number of parts
- Common lumber sizes
- Simple fasteners or basic joints
- A clear practical purpose
- A finish that does not require advanced techniques
Examples may include a basic wall shelf, small storage crate, simple planter box, step stool, workbench accessory, or compact side table.
Avoid choosing a project only because the finished piece looks impressive. First consider whether the construction process matches your current tools, available space, and experience.
Ask Three Questions Before Committing
- Can I understand how the parts fit together?
- Can I complete the project with tools I already own or can reasonably access?
- Can I afford to replace a board if I make a cutting mistake?
If the answer to all three questions is yes, the project may be a sensible place to begin.
2. Define What the Finished Project Must Do
Before deciding on dimensions or materials, write down the project’s purpose. This keeps the design focused and helps prevent unnecessary additions.
For example, a small shelf may need to:
- Fit a specific section of wall
- Hold several books or decorative items
- Match the general appearance of the room
- Remain simple enough for a beginner to build
These requirements are more useful than a vague goal such as “build a nice shelf.” They give you practical standards against which you can evaluate the design.
Measure the intended location carefully. Record the maximum width, depth, and height available. Note nearby doors, outlets, trim, vents, walkways, and other objects that could interfere with placement.
Separate Needs From Optional Features
Divide your ideas into two groups:
- Required features: The project will not serve its purpose without them.
- Optional features: They may improve appearance or convenience but can be removed if they make the build too complicated.
This distinction helps control project scope. Decorative trim, drawers, doors, hidden fasteners, and advanced finishes can often be added to a later project after you have developed more confidence.
3. Review the Plan From Beginning to End
Do not begin cutting as soon as you find a project you like. Read the entire plan first, including the material list, cut list, diagrams, assembly sequence, and finishing instructions.
During this review, identify anything that is unclear. A confusing step is easier to solve before lumber has been cut or glue has been applied.
Look for:
- Missing or inconsistent measurements
- Parts that are difficult to identify in the diagrams
- Tools that are not included in the basic tool list
- Assembly steps that require access from a particular direction
- Hardware that may need to be ordered in advance
- Finishing steps that require drying or curing time
A useful plan should make the general construction sequence understandable. You should be able to explain, in simple terms, what gets built first, what attaches next, and how the final pieces come together.
Planning a project from a proven design can be easier than inventing every measurement yourself. Review these woodworking project-plan options when you are ready to compare organized project ideas and find a build suited to your current skill level.
4. Confirm the Finished Dimensions
Never assume that a project will fit simply because it looks appropriately sized in a photograph. Confirm the finished width, height, and depth using the measurements stated in the plan.
Use a tape measure to visualize those dimensions in the actual location. For furniture or storage projects, painter’s tape can help outline the footprint on the floor or wall.
Also consider how the project will move through your workspace and into its final location. A piece may fit perfectly once installed but still be difficult to carry through a doorway or around a narrow corner.
Account for Material Thickness
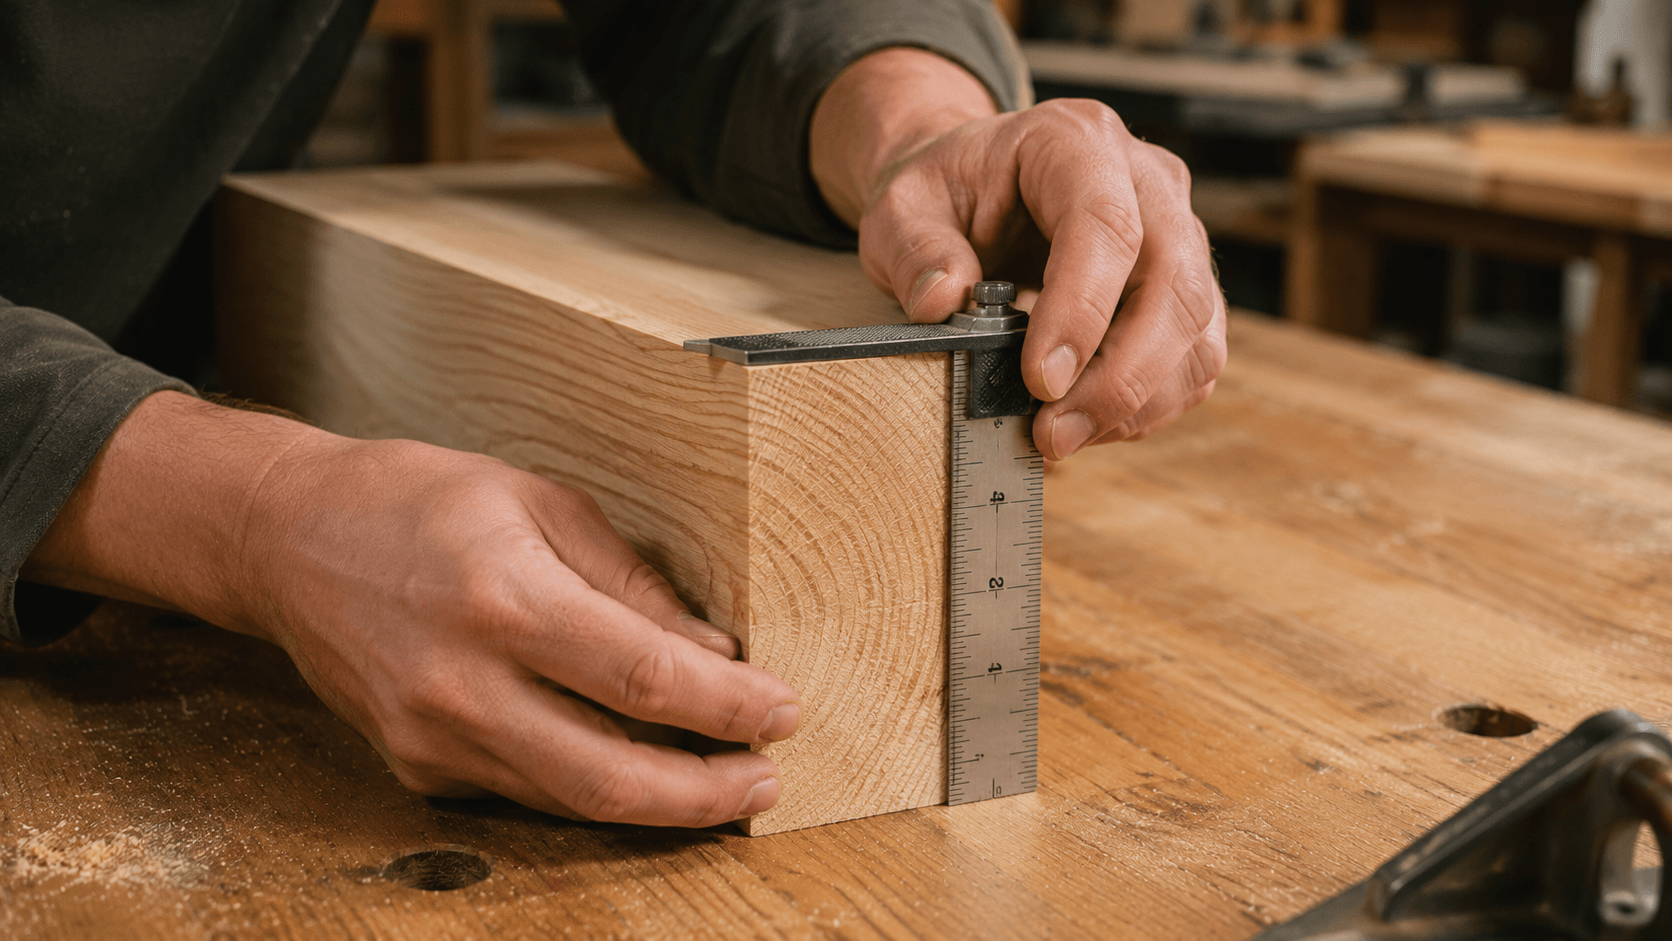
Lumber names do not always describe the board’s exact finished dimensions. For example, a board sold under a common nominal size may be smaller after milling. Confirm the actual dimensions of the lumber you will use before finalizing measurements or changing a plan.
Small differences can affect:
- Overall width and height
- Spacing between shelves
- Alignment of adjoining parts
- Fastener placement
- The size of panels, backs, or inserts
When following an established plan, avoid changing dimensions casually. One adjustment can affect several connected parts.
5. Build a Complete Materials List
Create one complete shopping list before purchasing supplies. Include lumber, sheet goods, fasteners, hardware, glue, sandpaper, and finishing materials.
For each material, record:
- Type of material
- Required thickness and width
- Required length or quantity
- Intended use in the project
- Any acceptable substitute
When buying lumber, allow a reasonable amount for defects, trimming, and occasional mistakes. Boards may contain knots, cracks, twists, bows, or damaged ends that make part of their length unusable.
Inspect Lumber Before Buying
Look along the length of each board from one end. Check whether it appears straight or noticeably bowed or twisted. Inspect both faces and both edges for splits, deep damage, loose knots, or other defects that could interfere with your cut list.
A visually attractive board is not always the easiest board to build with. For a first project, relatively straight and stable material is usually more valuable than dramatic grain.
6. Create and Verify the Cut List
A cut list is a record of every wooden part required for the project. It normally includes a part name, quantity, thickness, width, and length.
Before making cuts, compare the cut list with the project diagrams. Verify that every part shown in the assembly has a corresponding entry.
Then group similar cuts together. For example, if four legs must be the same length, plan to cut and compare them as a set. Consistency between matching parts is often more important than reaching a theoretical measurement while allowing small differences between pieces.
Plan the Order of Cuts
Consider how each board will be divided before cutting it. Place longer parts first, then use remaining sections for shorter components when practical. Mark defective areas that should be avoided.
Follow the familiar rule:
Measure twice, confirm the part, and cut once.
Before each cut, verify:
- The correct board is on the work surface.
- The correct part is being measured.
- The measurement starts from the correct reference edge.
- The waste side of the cut is clearly marked.
- The cutting tool is appropriate for the operation.
7. Match the Project to Your Tools
Review every operation required by the plan and match it with a tool you can use safely and accurately.
A basic beginner project may require only a modest tool set, such as:
- Tape measure
- Pencil
- Combination square or speed square
- Saw appropriate for the required cuts
- Drill or driver
- Drill bits and driver bits
- Clamps
- Sandpaper or a sander
- Eye and hearing protection where appropriate
Do not assume that owning a tool means you are ready to use it for every operation. Read the manufacturer’s instructions and understand how the tool is adjusted, supported, and controlled before beginning.
If a plan requires an unfamiliar technique, practice it on scrap material first. A short practice cut or test joint can reveal setup problems without risking a project part.
8. Decide How the Parts Will Be Joined
Study each connection in the plan. Determine whether it uses screws, nails, dowels, glue, brackets, pocket holes, or another method.
For every joint, ask:
- Which part overlaps the other?
- Where should the fasteners enter?
- Will pilot holes be needed?
- Will the joint require glue?
- How will the pieces be held in position during assembly?
- Will later parts block access to the joint?
Plan for Square Assembly
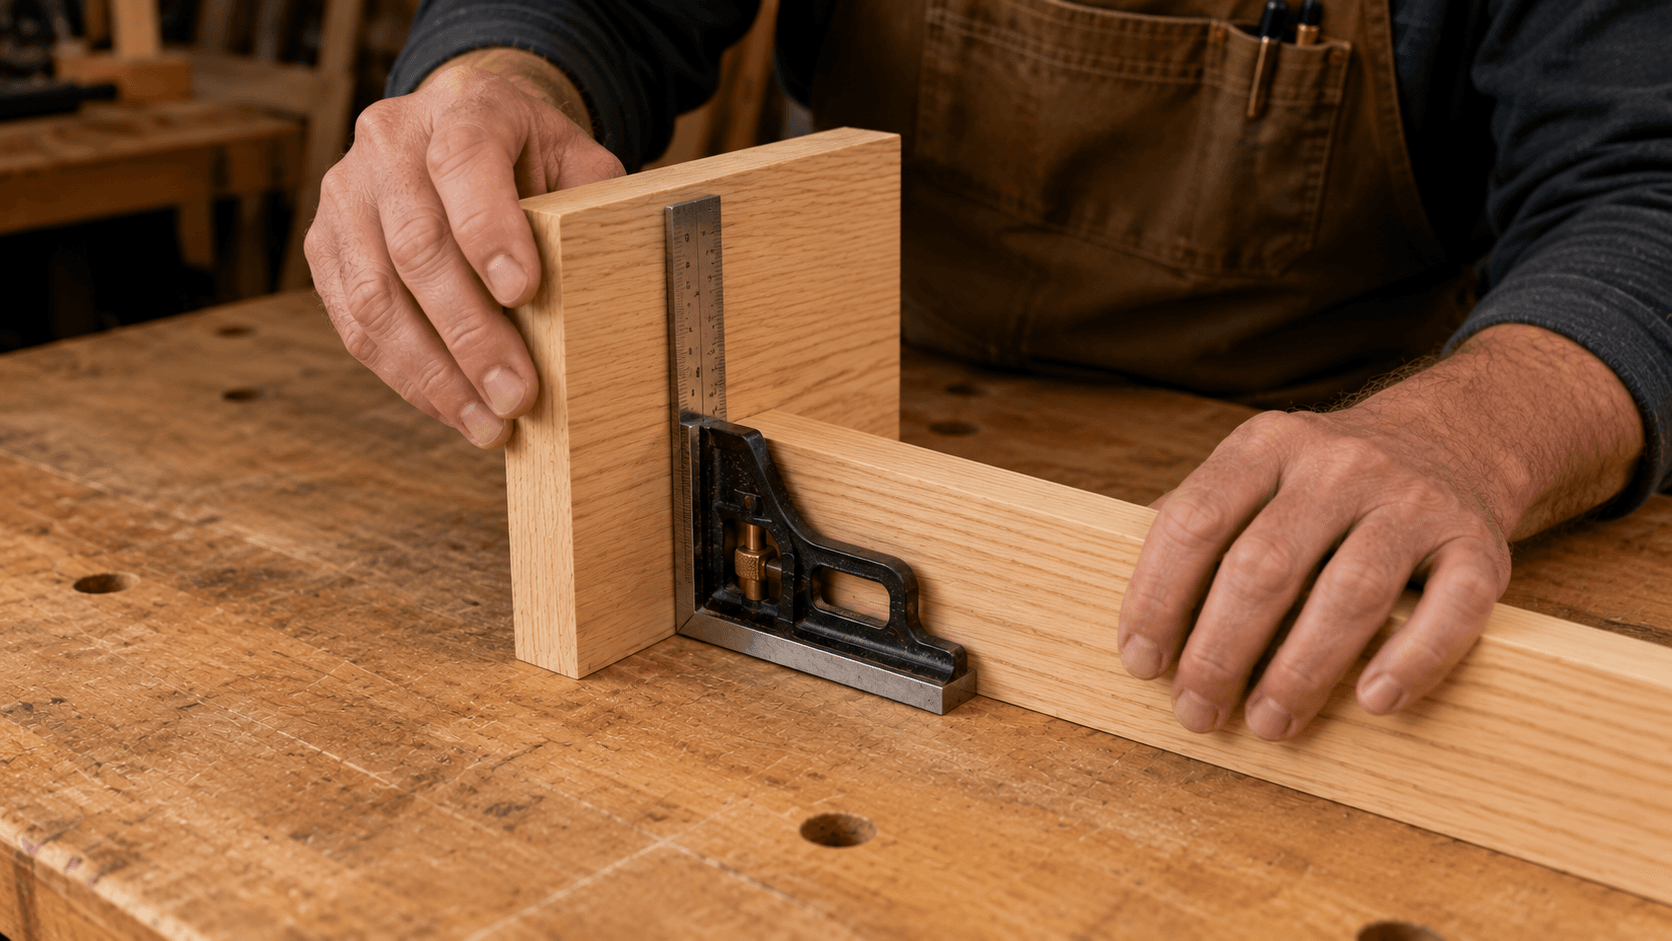
A project can contain accurately cut parts and still assemble incorrectly if the structure is not kept square. Plan where you will check diagonals, use a square, or temporarily clamp components during assembly.
Dry-fitting the parts before applying glue is often helpful. It allows you to confirm alignment, access, and assembly order while changes are still possible.
9. Plan Sanding and Finishing Before Assembly
Some surfaces are much easier to sand before the project is fully assembled. Interior corners, narrow gaps, and overlapping parts may become difficult to reach later.
Review the assembly sequence and identify any areas that should be sanded in advance. Mark them on the plan or cut list.
Also decide whether the project will be painted, stained, sealed, or left unfinished. Your choice may affect material selection, surface preparation, and the order in which parts are assembled.
Test the Finish on Scrap Material
Whenever possible, test the intended finish on an offcut from the same lumber. This provides a more realistic preview than relying on a color label or sample made from a different wood species.
Allow adequate time for preparation, application, drying, and any additional coats. Finishing should be treated as part of the project schedule rather than an afterthought.
10. Estimate the Time and Cost Honestly
A beginner project may take longer than the estimate printed in a plan. You may need additional time to review instructions, set up tools, practice unfamiliar steps, correct small errors, and clean the workspace.
Divide the project into manageable stages:
- Plan review and material preparation
- Material purchasing
- Measuring and cutting
- Dry fitting and drilling
- Assembly
- Sanding
- Finishing
- Final inspection
Estimate the cost of the complete project, not just the lumber. Include hardware, fasteners, glue, sandpaper, finishing products, and any tool or accessory that must be purchased.
It is better to simplify a project before starting than to abandon it after exceeding your available time or budget.
11. Prepare the Workspace
Clear enough room to measure, cut, assemble, and temporarily store the project. Good planning becomes harder when parts are buried beneath tools, packaging, and scraps.
Before beginning, make sure you have:
- A stable work surface
- Adequate lighting
- Safe access to electrical outlets when needed
- Space to support longer boards
- A location for finished and unfinished parts
- A plan for dust and debris
- Appropriate personal protective equipment
Keep the plan, cut list, pencil, and measuring tools in a consistent location. This reduces interruptions and makes it easier to confirm each step.
12. Complete a Final Pre-Build Review
Before making the first cut, pause and review the project one final time.
Confirm that:
- The project is appropriate for your current experience.
- The finished dimensions fit the intended location.
- The plan and diagrams are understandable.
- Every required material is available.
- The cut list has been checked against the drawings.
- The necessary tools and accessories are ready.
- The assembly sequence makes sense.
- Sanding and finishing steps have been considered.
- Your workspace is prepared.
- You have enough time to work without rushing.
If one part of the plan remains unclear, resolve it before continuing. A few extra minutes spent checking the project can prevent a much larger correction later.
Ready to choose a project? Compare these woodworking plans and project ideas to find an option that fits your available tools, workspace, and experience.
Start With a Plan You Can Finish
Your first woodworking project does not need to be large or elaborate to be worthwhile. A simple, completed project can teach you how to measure accurately, organize parts, follow an assembly sequence, correct small mistakes, and prepare for a finish.
Choose a useful project, study the plan carefully, prepare the materials and workspace, and move through each stage without rushing. The goal is not merely to produce an object. It is to build a repeatable planning process that makes future projects easier to understand and complete.

