
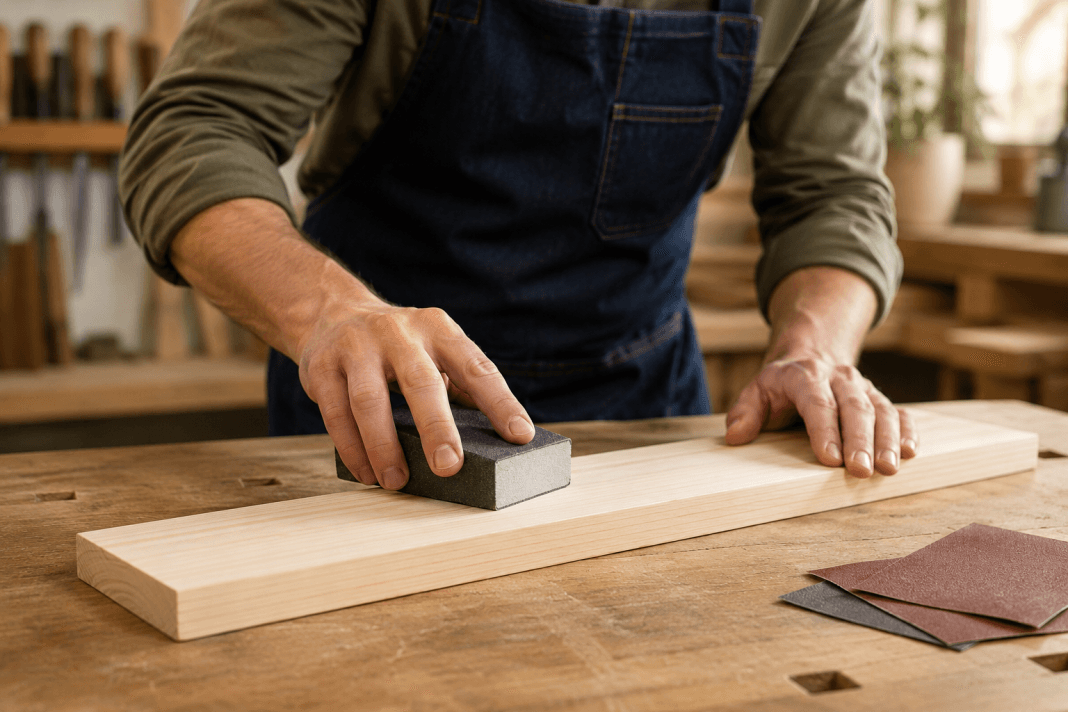
Learning how to sand wood properly is essential for creating smooth, clean, and professional-looking woodworking projects. Sanding is one of the most important steps in woodworking because it determines how smooth, clean, and professional the finished project will look. Even a carefully measured and accurately cut board can appear rough or uneven if the surface is not sanded correctly.
For beginners, the goal is not to remove large amounts of wood. The goal is to gradually smooth the surface, remove minor imperfections, soften sharp edges, and prepare the wood for paint, stain, oil, or another finish.
Why Proper Sanding Matters
Sanding improves more than the appearance of a woodworking project. It also affects how evenly the wood accepts stain, how comfortable the finished piece feels, and how well paint or protective finishes adhere to the surface.
Proper sanding can help you:
- Remove saw marks, scratches, and minor surface defects
- Smooth rough grain and uneven areas
- Soften sharp corners and edges
- Prepare the surface for paint, stain, or clear finish
- Create a more polished and professional result
Sanding works best when the earlier stages of the project have been completed carefully. Accurate layout and cutting reduce the amount of correction needed later. Review how to measure and cut wood accurately before beginning projects that require matching or precisely fitted parts.
Choose the Right Sandpaper Grit
Sandpaper is graded by grit number. Lower numbers are coarser and remove material quickly, while higher numbers are finer and create a smoother surface.
Coarse Grit: 60 to 80
Coarse sandpaper is useful for removing heavy scratches, dried glue, rough milling marks, or uneven areas. It removes wood quickly, so use it carefully. Many beginner projects made from reasonably smooth lumber do not require starting this low.
Medium Grit: 100 to 120
Medium-grit sandpaper is a practical starting point for many woodworking projects. It smooths ordinary surface roughness without removing too much material.
Fine Grit: 150 to 180
Fine sandpaper removes the scratches left by medium grits and prepares most wood surfaces for finishing.
Very Fine Grit: 220 and Above
Very fine sandpaper is often used for light final sanding or between coats of certain finishes. Sanding bare wood too finely can sometimes reduce stain absorption, so follow the instructions for the finish you plan to use.
A dependable beginner sequence for smooth lumber is often 120 grit, followed by 150 grit, and then 180 grit. Rougher wood may require starting with 80 or 100 grit.
Inspect the Wood Before Sanding
Before reaching for sandpaper, inspect the board under good lighting. Look for deep scratches, dents, dried glue, chipped corners, raised grain, pencil marks, and rough saw marks.
Run your hand lightly across the surface, but avoid sliding your fingers toward exposed splinters. Visual inspection combined with a careful touch can reveal imperfections that are difficult to see from directly above.
Confirm that the workpiece is stable and that the surrounding area is clear. The safety practices covered in essential beginner woodworking safety rules also apply during sanding, especially when using powered equipment or producing fine dust.
Secure the Workpiece
A board that shifts while you sand is difficult to control and may develop uneven areas. Place the workpiece flat on a stable bench and secure it with clamps or a nonslip work mat when necessary.
Position clamps where they will not interfere with the sanding path. If you need to reposition the board, stop sanding before loosening or moving the clamps.
Sand With the Direction of the Grain
Wood grain usually runs in the long direction of a board. Sanding parallel with the grain helps prevent visible cross-grain scratches.
Cross-grain scratches may be difficult to notice on unfinished wood but can become highly visible after stain is applied. Whenever practical, make your final sanding passes in the direction of the grain.
Use Even, Controlled Pressure
Pressing harder does not always produce a better result. Excessive pressure can create dips, round over edges unintentionally, wear out sandpaper quickly, and make powered sanders harder to control.
Use light to moderate pressure and keep the sanding tool moving evenly across the surface. Allow the abrasive to do the cutting.
Avoid Sanding One Spot Too Long
Concentrating on one small area can create a shallow hollow that becomes noticeable after assembly or finishing. Blend problem areas gradually into the surrounding surface rather than aggressively sanding only the defect.
Keep the Sanding Surface Flat
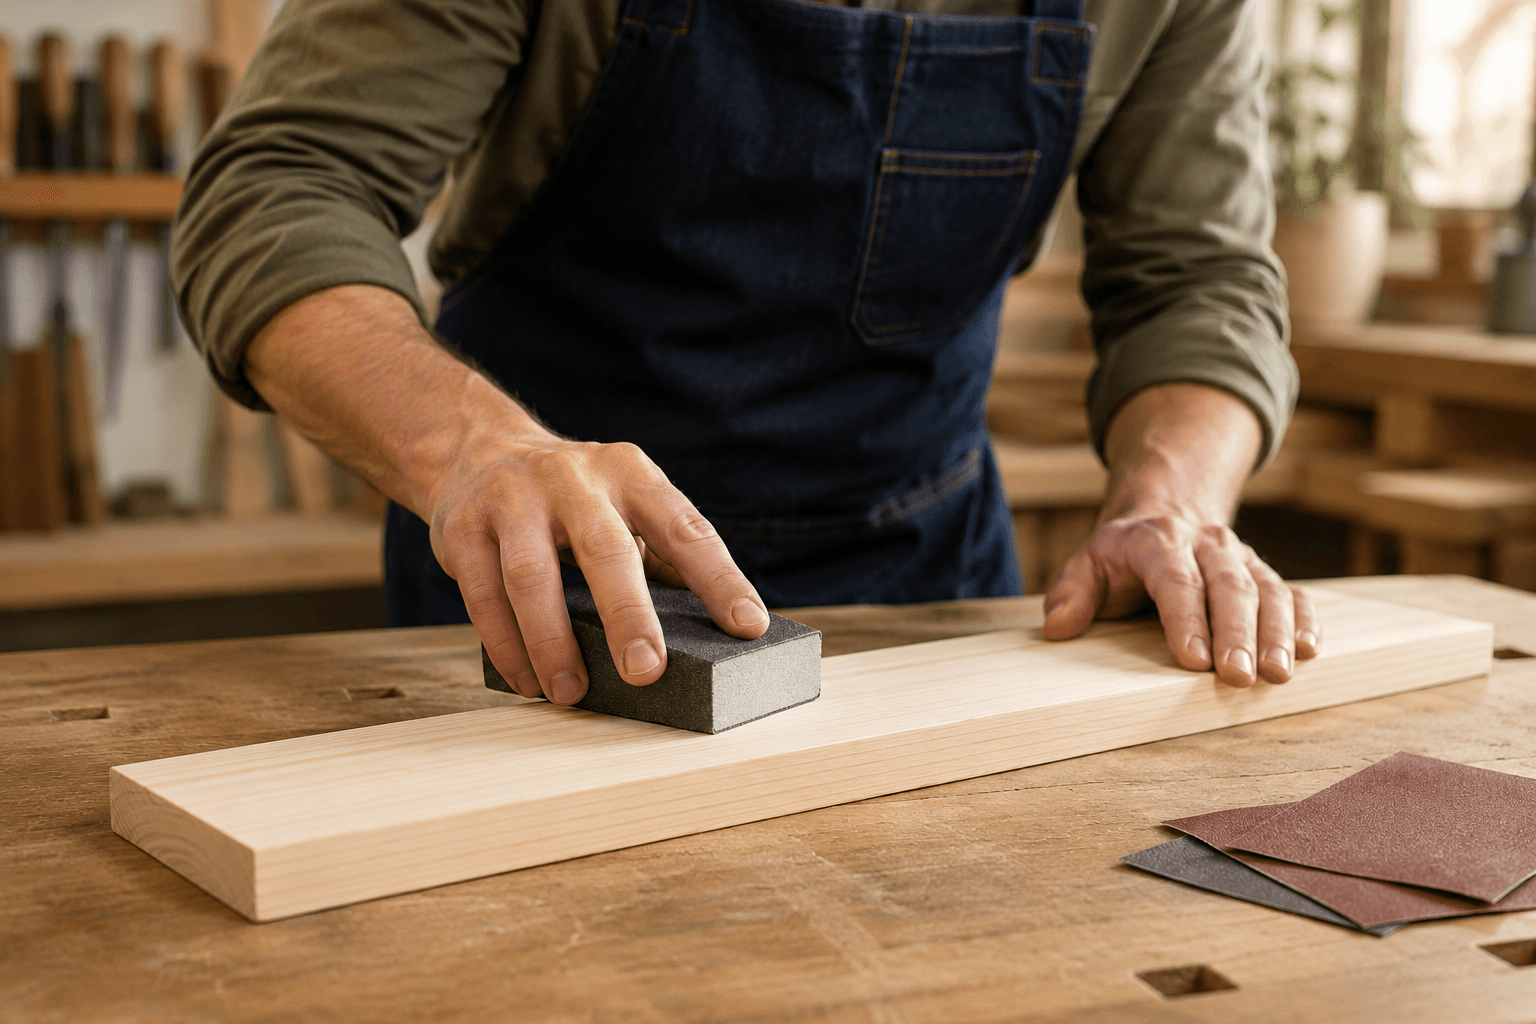
When hand sanding broad surfaces, wrap the sandpaper around a sanding block. The block distributes pressure more evenly and helps keep the board flat.
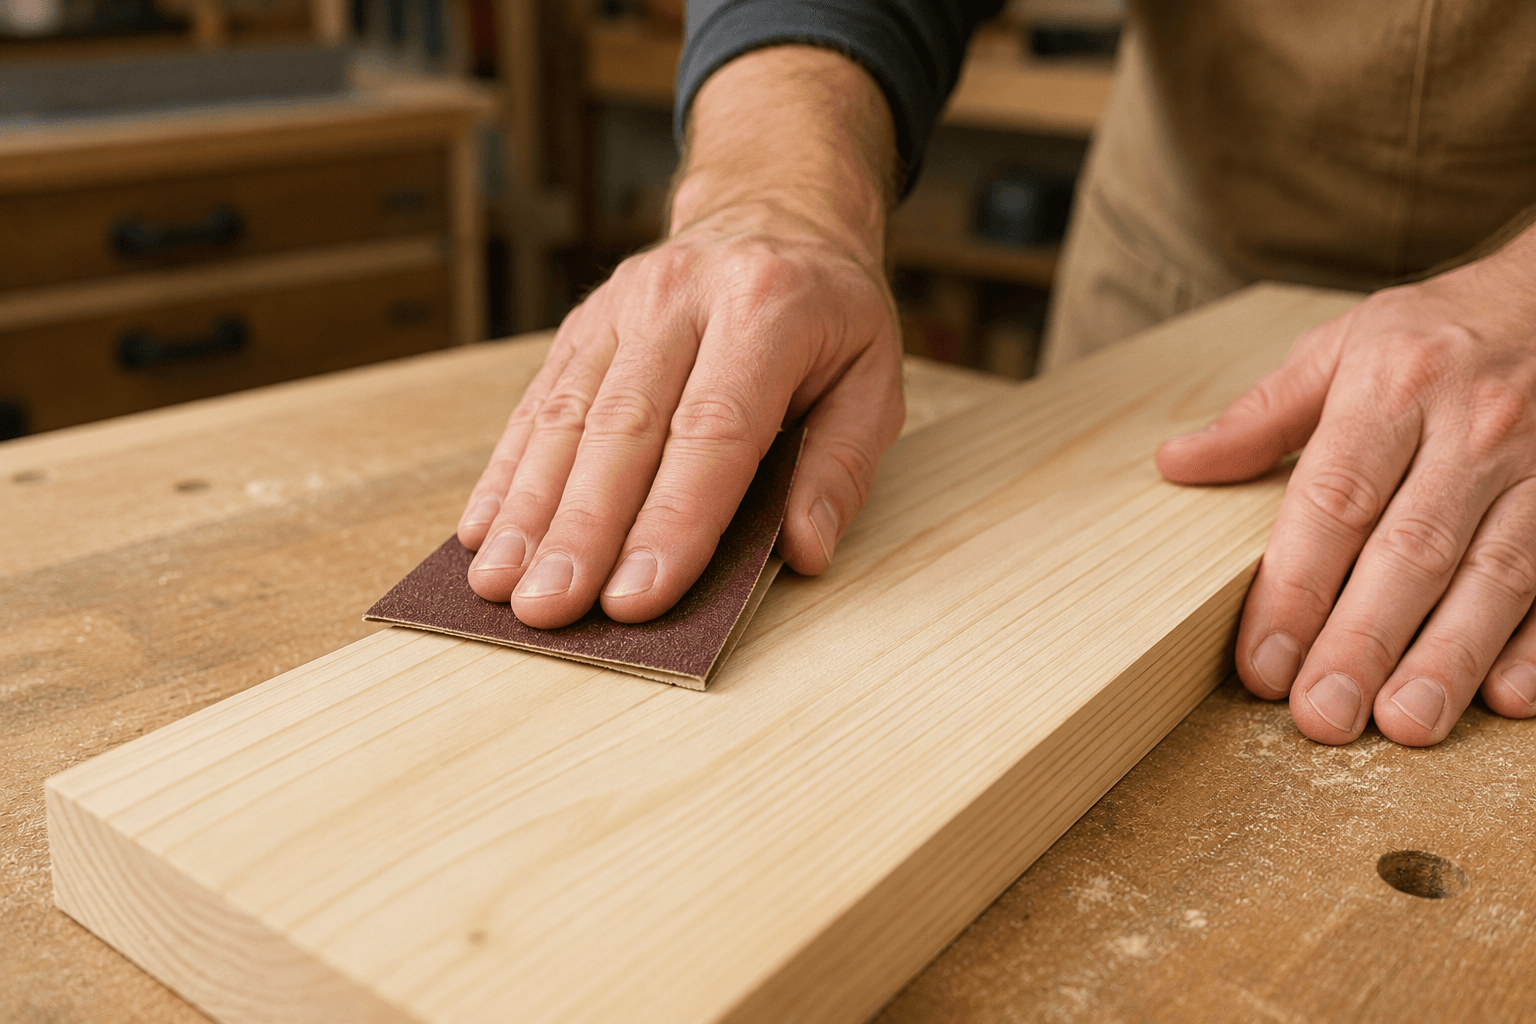
Using loose sandpaper directly under your fingers can create uneven pressure points. Loose paper is better reserved for curved profiles, rounded edges, and detailed areas.
Progress Through the Grits Gradually
Each sandpaper grit removes the scratches created by the previous grit. Skipping too many grit levels can leave deeper scratches behind, even when the surface feels smooth.
A practical progression might be:
- Begin with 100 or 120 grit to remove ordinary roughness
- Vacuum or brush away the sanding dust
- Continue with 150 grit to refine the surface
- Clean the surface again
- Finish with 180 grit when appropriate for the planned finish
Do not move to the next grit until the scratches and defects addressed by the current grit have been removed evenly.
Clean the Surface Between Grits
Sanding dust can hide scratches and become trapped beneath the next piece of sandpaper. Clean the board between grit changes with a vacuum, soft brush, or clean lint-free cloth.
Avoid blowing dust into the workshop air. Fine sanding dust can travel throughout the room and settle on tools, surfaces, and unfinished projects.
How to Sand Edges and Corners
Edges require less sanding than broad faces because they contain less material. A few controlled passes are often enough to remove roughness and soften sharp corners.
Keep the sanding block square to the edge when the project requires a crisp profile. Tilting the block can unintentionally round the edge or change the dimensions of the workpiece.
Break Sharp Edges Lightly
A perfectly sharp corner can splinter easily and may feel uncomfortable. To break the edge, make one or two light passes with fine sandpaper at a slight angle.
The goal is to remove the sharpness without creating an obvious rounded profile unless the design specifically calls for one.
Hand Sanding Versus Power Sanding
Both hand sanding and power sanding have useful roles in beginner woodworking.
When Hand Sanding Works Best
- Small projects and narrow parts
- Edges, corners, and detailed areas
- Final smoothing before finishing
- Situations where precise control is important
When a Random-Orbit Sander Helps
- Large, flat surfaces
- Tabletops, shelves, and panels
- Projects requiring consistent surface preparation
- Removing light milling marks efficiently
A random-orbit sander can save time, but it must remain flat on the workpiece. Tilting it onto an edge can create gouges or rounded areas. Start the tool while it is resting flat on the surface when the manufacturer’s instructions permit, and keep it moving steadily.

Common Beginner Sanding Mistakes
Starting With Sandpaper That Is Too Coarse
Very coarse sandpaper creates deep scratches that require additional sanding to remove. Start with the finest grit capable of correcting the surface.
Skipping Grits
Jumping directly from coarse to very fine sandpaper often leaves visible scratches behind. Move through a gradual sequence.
Sanding Across the Grain
Cross-grain sanding can create scratches that become especially noticeable after staining. Make the final passes with the grain.
Using Worn-Out Sandpaper
Dull or clogged sandpaper cuts slowly and may polish the surface unevenly. Replace it when it no longer removes material effectively.
Rounding Edges Accidentally
Excessive pressure near the edge of a board can alter its shape. Keep sanding blocks and power sanders flat unless you intentionally want a rounded profile.
Ignoring Dust Control
Wood dust affects visibility, surface quality, and workshop safety. Use appropriate dust collection and personal protective equipment.
Check the Surface Before Applying Finish
After the final sanding pass, remove all dust and inspect the board from several angles. Side lighting is especially helpful because it casts small shadows into scratches, dents, and uneven areas.
Run your hand lightly over the surface to feel for rough spots. Also inspect the edges, corners, joints, and end grain.
Do not rely only on touch. A surface can feel smooth while still containing scratches that become visible after stain or clear finish is applied.
Consider Raising the Grain
Water-based finishes can cause wood fibers to rise slightly, making a previously smooth surface feel rough. To reduce this effect, some woodworkers lightly dampen the sanded wood with clean water, allow it to dry completely, and then sand very lightly with fine sandpaper.
This step is optional and should match the finish you intend to use. Always test the process on scrap wood from the same board or species first.
Practice on Scrap Wood First
Scrap wood is useful for testing sandpaper grits, sanding pressure, edge treatment, stain color, and finishing methods. Practice pieces allow you to learn how quickly each grit removes material without risking the actual project.
Planning these steps before assembly can prevent avoidable errors. The process described in planning your first woodworking project can help you organize material preparation, sanding, assembly, and finishing in the correct order.
Build your skills with clear project guidance.
Well-planned projects make it easier to practice accurate cutting, careful sanding, and clean assembly. Explore beginner-friendly woodworking plans and project ideas designed to help you work through each stage with confidence.
A Simple Beginner Sanding Routine
For many small woodworking projects, the following routine provides a dependable starting point:
- Inspect the wood and mark any defects that need attention
- Secure the workpiece on a stable surface
- Begin with 100 or 120 grit sandpaper
- Sand evenly with the direction of the grain
- Clean away all dust
- Continue with 150 grit sandpaper
- Clean the surface again
- Finish with 180 grit when appropriate
- Lightly soften sharp edges
- Inspect the surface under angled lighting
- Remove all remaining dust before finishing
Final Thoughts
Learning how to sand wood properly is less about speed and more about consistency. Choose an appropriate starting grit, work through the grits gradually, sand with the grain, use even pressure, and inspect the surface carefully before applying a finish.
With practice, sanding becomes a predictable part of the woodworking process rather than a frustrating final correction. Careful surface preparation helps even simple beginner projects look cleaner, feel smoother, and accept finish more evenly.
Ready to put these sanding techniques into practice?
Choose a straightforward woodworking project that lets you practice preparing faces, edges, and corners before assembly and finishing.

