
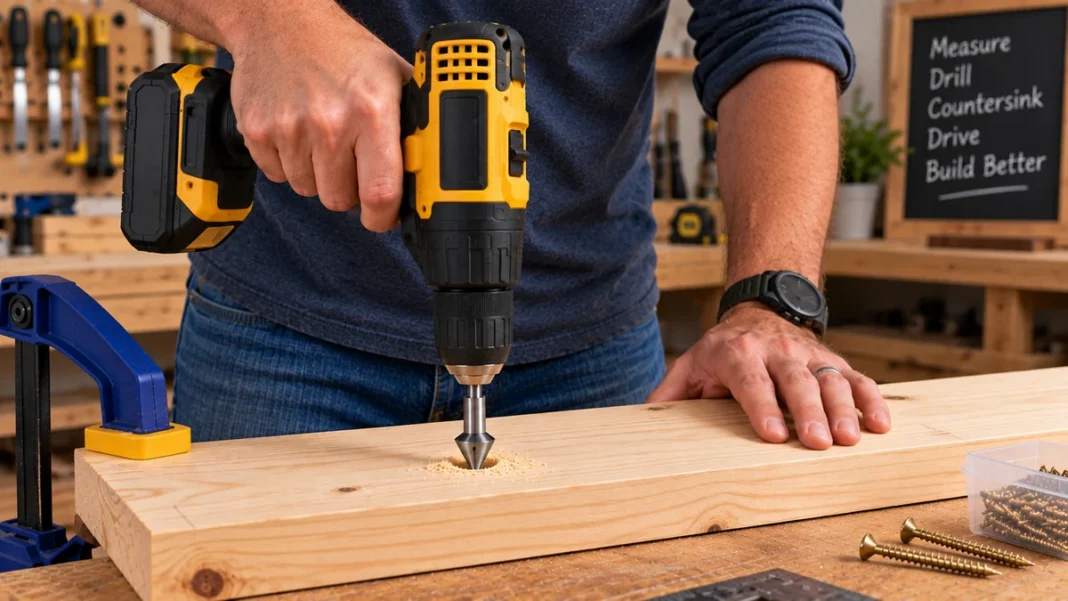
Learning how to countersink screws in wood is a simple woodworking skill that can make your projects look much cleaner and more professional. Instead of leaving the screw head sitting above the surface, countersinking creates a small recessed area that allows the head of the screw to sit flush with or slightly below the wood.
It is especially useful when building furniture, shelves, cabinets, shop projects, and other woodworking projects where exposed screw heads could get in the way or affect the finished appearance.
The good news is that countersinking does not require complicated equipment. With the correct drill bit and a little practice, even a beginner can create clean, consistent results.
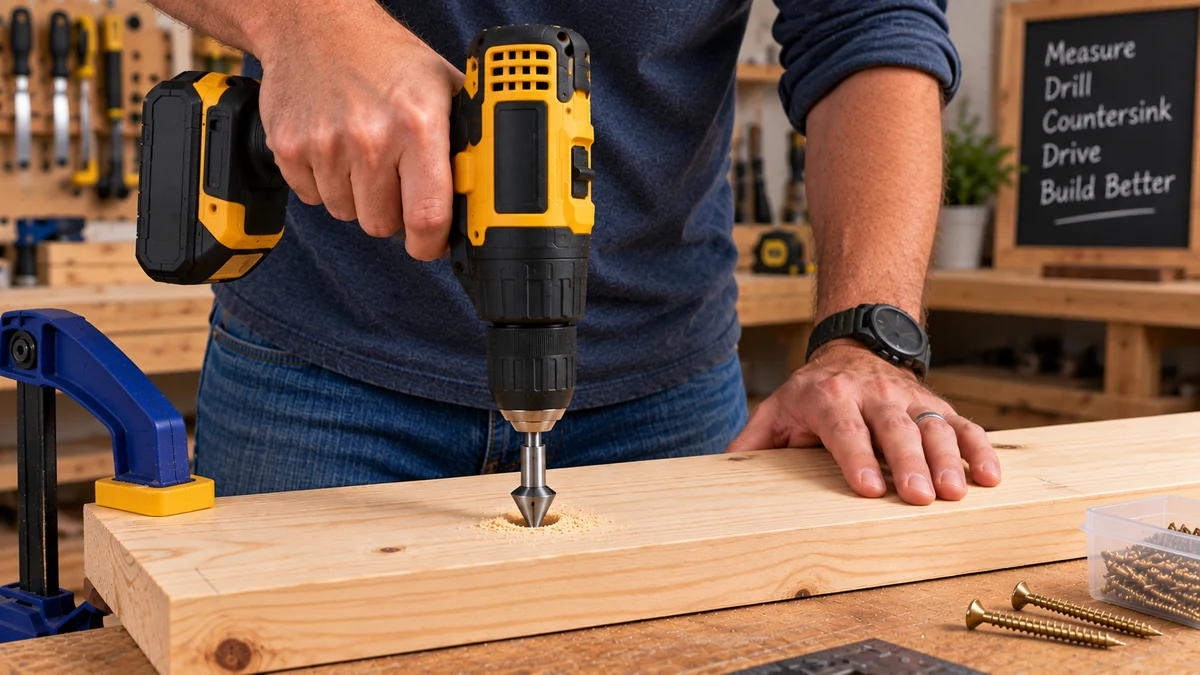
What Does It Mean to Countersink a Screw?
Countersinking means creating a cone-shaped recess around the top of a drilled hole. This recess matches the angled underside of a flat-head screw.
When the screw is driven into the wood, its head settles into the recess instead of remaining above the surface.
A properly countersunk screw can sit:
- Exactly flush with the wood surface
- Slightly below the surface
- Deep enough to be covered with wood filler when you want to hide the screw
For most beginner woodworking projects, the goal is simply to make the screw head flush without removing more wood than necessary.
Pilot Hole vs. Countersink Hole
A pilot hole and a countersink serve two different purposes.
A pilot hole is a narrow hole drilled before installing the screw. It guides the screw and reduces the chance of splitting the wood.
A countersink widens only the top of that pilot hole so the screw head has somewhere to sit.
In many projects, you should use both.
If you’re still getting comfortable with pre-drilling, our guide on how to drill pilot holes for wood screws explains how to create the pilot hole before driving the screw.
Tools You Need to Countersink Screws
You do not need a large collection of tools to learn how to countersink screws in wood.
For most projects you will need:
- Drill or drill/driver
- Pilot-hole drill bit
- Countersink bit
- Flat-head wood screws
- Scrap wood for practice
- Clamp or another safe way to secure the workpiece
- Pencil or marking tool
Combination countersink bits are also available. These drill the pilot hole and countersink the top in one operation, which can save time when making several identical holes.
If keeping your holes square to the workpiece is difficult, practicing the techniques in our guide to drilling straight holes can improve your results.
How to Countersink Screws in Wood Step by Step
1. Mark the Screw Location
Start by marking the exact place where the screw will go.
Make sure the screw is not positioned too close to an edge, especially when working with wood that is prone to splitting.
Accurate marking makes everything that follows easier.
2. Secure the Workpiece
Clamp the board to your workbench or another stable surface whenever possible.
Do not hold a small piece of wood in your hand while drilling. A stable workpiece makes the countersink cleaner and gives you much better control over the drill.
3. Drill the Pilot Hole
Choose a drill bit that creates an appropriate pilot hole for your screw.
Drill straight into the wood to the necessary depth.
A pilot hole is particularly important in hardwood and near the ends or edges of boards, where driving a screw without pre-drilling can cause splitting.
4. Insert the Countersink Bit
Remove the pilot bit if you are using separate bits and install the countersink bit in your drill.
Position the point directly over the pilot hole. Hold the drill straight so the recess develops evenly around the hole.
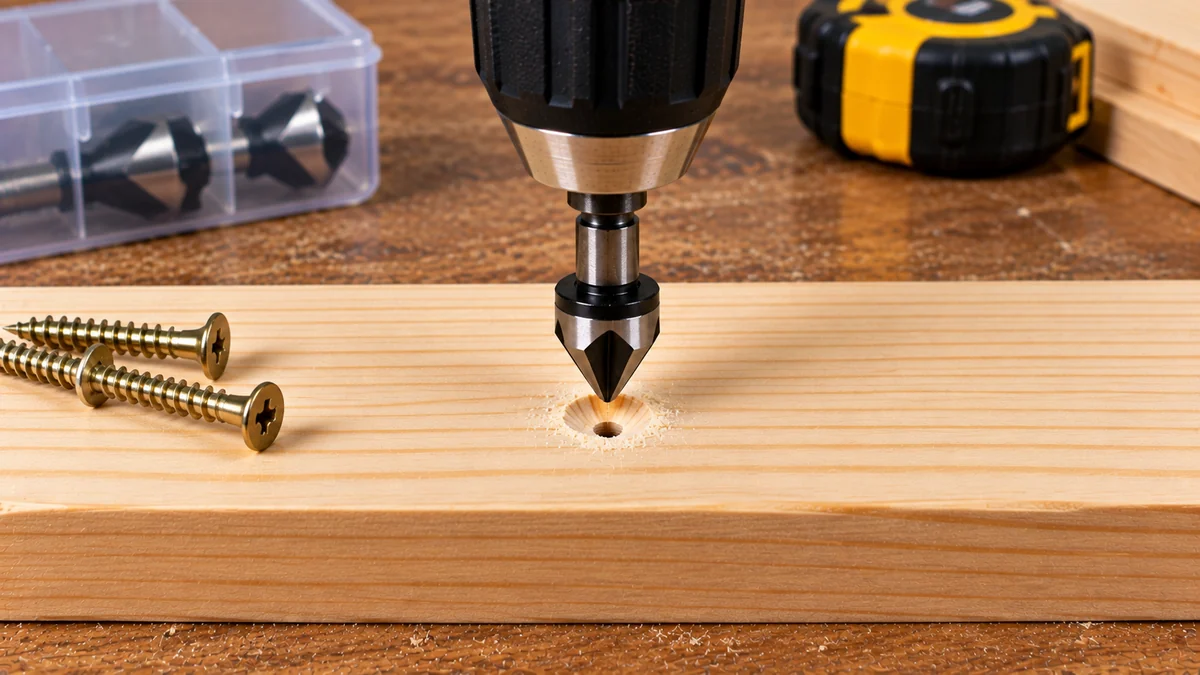
5. Drill the Countersink Slowly
Run the drill at a controlled speed and apply light pressure.
You usually need to remove only a small amount of material. Stop frequently and inspect the hole rather than trying to reach the final depth in one attempt.
It is much easier to make the recess slightly deeper than it is to repair one that has been drilled too deeply.
6. Test the Screw Head
Place the screw into the hole and check how the head fits.
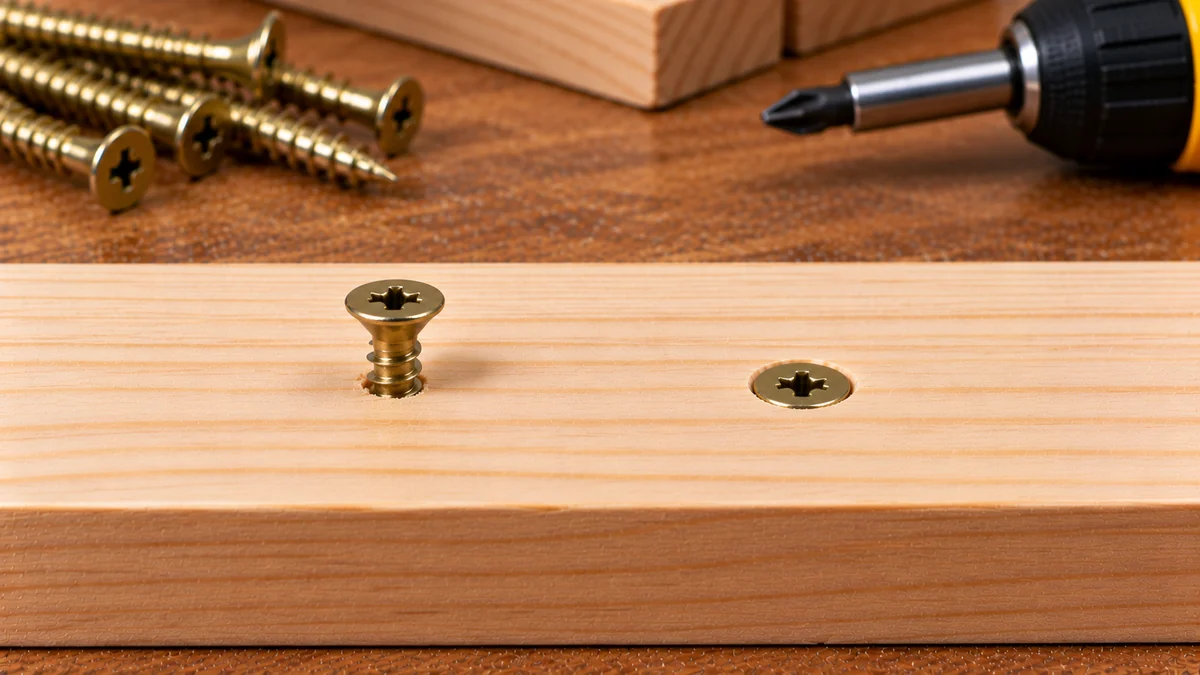
The outer edge of a flat-head screw should sit approximately level with the surface when your countersink is the correct size.
If the head still sits high, remove the screw and deepen the countersink slightly.
7. Drive the Screw Carefully
Drive the screw until the head sits flush with the wood.
Slow down as the screw approaches the surface. Do not keep applying heavy torque after the screw reaches the correct position.
Overtightening can crush the wood fibers, strip the hole, or pull the screw too far below the surface.
How Deep Should a Countersink Be?
There is no single countersink depth that works for every screw.
The correct depth depends mainly on the diameter and shape of the screw head.
For a flush installation, the countersink needs to be only deep enough for the screw head to become level with the wood.
If you plan to cover the screw with wood filler, you can recess it slightly deeper.
The easiest method for beginners is to practice on scrap wood using the exact screws you intend to use in the project. Make a shallow countersink, test the screw, and gradually increase the depth until you find the correct setting.
Use the Right Type of Screw
Countersinking works best with screws that have a flat underside designed to fit into a tapered recess.
Flat-head wood screws are a common example.
Some screw-head designs are intended to remain above the surface and should not be forced into a countersunk hole.
The countersink also needs to fit the screw head reasonably well. Using compatible screws and bits helps the screw seat evenly instead of pressing unevenly against the wood.
For another beginner-friendly method of joining woodworking parts with angled screws, see our guide on how to use a pocket hole jig.
Using a Combination Pilot and Countersink Bit
A combination bit can make repeated work much faster.
Instead of drilling the pilot hole, changing bits, and then creating the countersink, a combination bit performs both jobs during the same drilling operation.
Many designs also include an adjustable stop or collar that lets you control how deep the countersink goes.
These are particularly convenient when building a project with many screws that need identical recesses.
However, beginners should still practice on scrap wood first. Even a depth stop needs to be adjusted correctly before drilling into the actual project.
For an additional explanation of countersink bits and screw-head fit, Kreg’s countersinking guide provides a useful visual overview.
Can You Countersink Without a Countersink Bit?
A dedicated countersink bit is the best choice because it is designed specifically to form the tapered recess.
However, a larger standard drill bit can sometimes be used carefully to create a shallow recess.
If you try this method, use very light pressure and remove only a small amount of wood at a time. Standard twist bits can grab the surface or create a rougher opening more easily than a real countersink bit.
For regular woodworking, an inexpensive countersink bit is usually worth having.
Countersinking in Softwood vs. Hardwood
Softwood
Pine and other softwoods are relatively easy to countersink, but they can also compress quickly.
Avoid drilling too deeply or overtightening the screw. The screw head can sink much farther than expected.
Hardwood
Hardwoods usually require more deliberate pilot-hole preparation.
Use sharp bits and do not force the countersink cutter. Removing the material gradually can produce a cleaner recess.
Plywood
Countersinking plywood requires extra care because the thin surface veneer can chip.
Use a sharp countersink bit and light pressure. Testing on an offcut of the same plywood is especially helpful before working on the finished piece.
Common Countersinking Mistakes
Drilling Too Deep
This is one of the most common beginner mistakes.
Once too much material has been removed, the screw may sit much farther below the surface than intended.
Start shallow and deepen the recess gradually.
Skipping the Pilot Hole
A countersink does not replace a proper pilot hole.
Driving screws into some woods without pre-drilling can split the board or make the screw difficult to control.
Using Too Much Drill Speed
Excessive speed can make it harder to control the cutter and may leave a rough or oversized recess.
Use a controlled speed and let the bit cut the wood.
Countersinking at an Angle
If the drill is tilted, one side of the recess can become deeper than the other.
Keep the drill aligned with the pilot hole.
Overtightening the Screw
The screw should stop when the head reaches the desired position.
Continuing to drive it can crush the surrounding wood or strip the threads from the hole.
How to Get Cleaner Countersunk Screw Holes
A few simple habits can improve your results quickly.
Always use sharp drill bits, secure the workpiece, and practice on scrap material whenever you change screw sizes or wood species.
Drill the countersink progressively rather than aggressively.
Most importantly, test the screw before assuming the recess is finished. A few extra seconds spent checking the depth can prevent an oversized hole.
Should Countersunk Screws Be Covered?
That depends on the project.
On utility projects, workshop fixtures, and hidden areas, leaving a properly countersunk screw visible is often perfectly acceptable.
For furniture and decorative projects, you may want to recess the screw slightly and cover it with wood filler or a matching wood plug.
After sanding and finishing, this can make the fastener much less noticeable.
If you are ready to put these basic skills into practice, explore these woodworking plans and project ideas for projects where accurate drilling, fastening, and assembly all come together.
Frequently Asked Questions
Do I need to countersink every wood screw?
No. Countersinking is most useful when you want a flat-head screw to sit flush or below the surface. Some projects and screw types do not require it.
Should I drill the pilot hole before countersinking?
Usually, yes. The pilot hole guides the screw and helps prevent splitting, while the countersink creates space for the screw head.
How do I know when the countersink is deep enough?
Test the actual screw. When the top of the screw head sits flush with the wood without crushing the surrounding fibers, the depth is usually correct.
Can countersinking prevent wood from splitting?
The pilot hole does most of the work in reducing splitting, while the countersink removes material around the screw head. Using both together can reduce stress around the fastener.
Can I countersink screws in plywood?
Yes. Use a sharp bit, light pressure, and test on scrap plywood first because the face veneer can chip if the countersink is drilled aggressively.
Final Thoughts
Learning how to countersink screws in wood is a small skill that can noticeably improve the appearance and quality of beginner woodworking projects.
The basic process is simple: drill the correct pilot hole, create a shallow tapered recess, test the screw, and drive it only until the head reaches the desired depth.
Practice the technique on scrap wood first, and you will quickly develop a feel for how much material each screw requires.

