
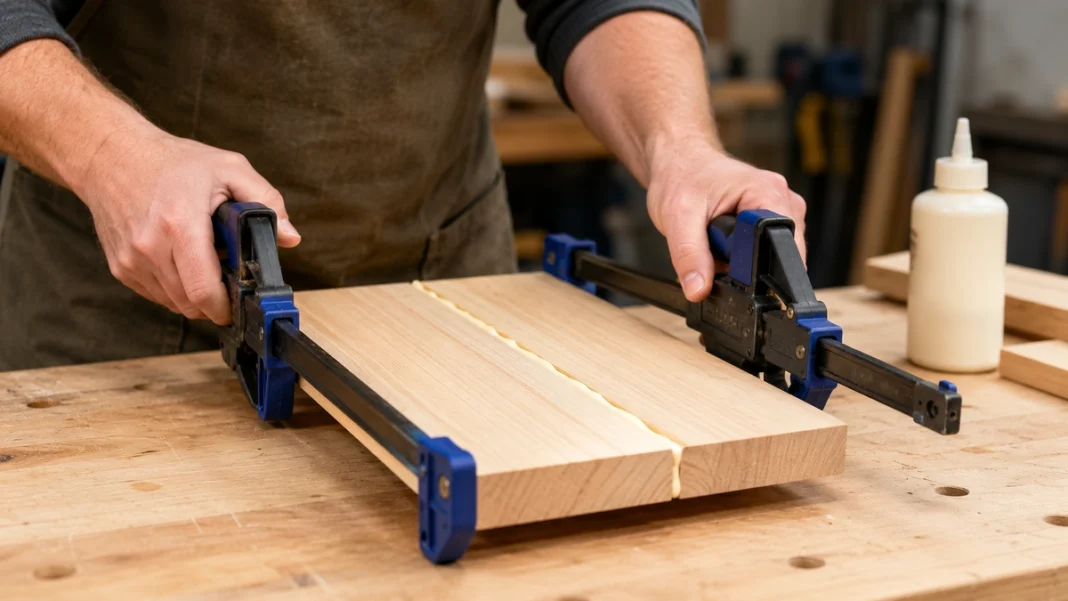
If you are learning how to use woodworking clamps for beginners, the most important thing to understand is that clamps are not just for squeezing pieces of wood together. They help keep parts aligned, hold work securely, improve glue joints, and make many woodworking tasks easier and more accurate.
The good news is that beginners do not need a wall full of expensive clamps. A few versatile clamps, used correctly, can handle many common woodworking projects. This guide explains the basic clamp types, how much pressure to use, where to position clamps, and how to avoid the mistakes that often cause crooked or damaged glue-ups.
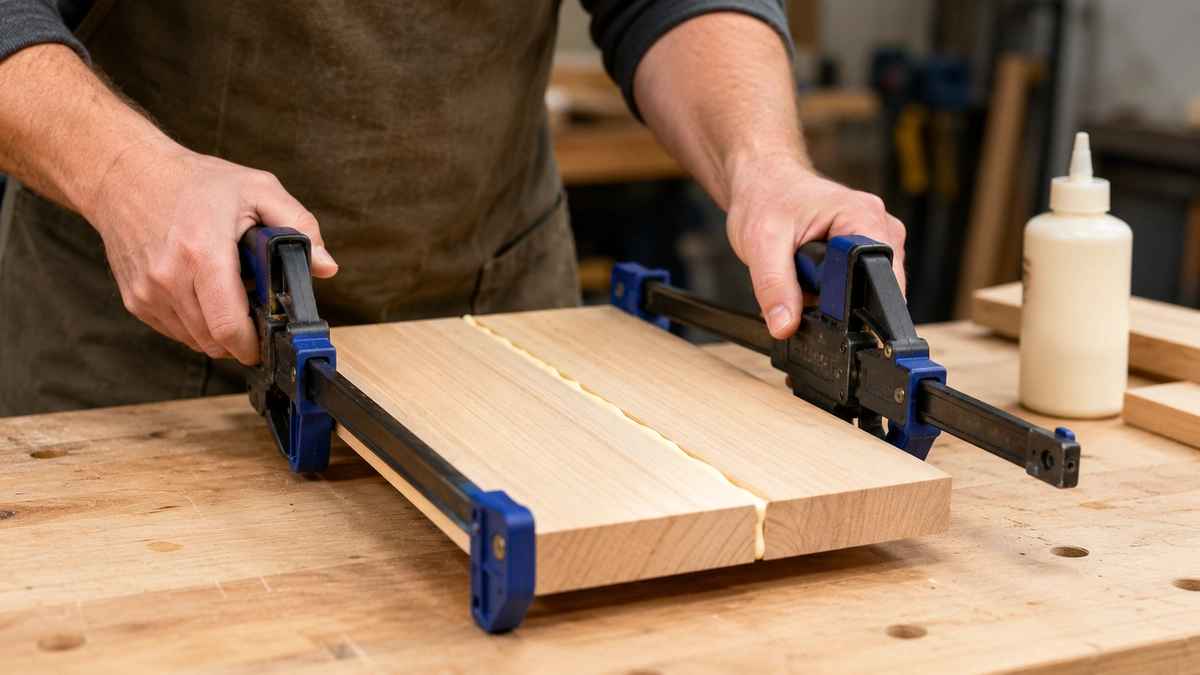
Why Woodworking Clamps Are So Important
Woodworking clamps temporarily hold pieces in position while you work. They are especially useful when gluing boards, assembling furniture parts, drilling, sanding, or holding a workpiece steady.
A clamp can help prevent two pieces from sliding out of alignment while glue dries. It can also keep an assembly square while you fasten the parts together.
Clamps work especially well alongside other basic skills. For example, learning how to use wood glue correctly becomes much easier when you understand how to apply even clamping pressure.
Common Types of Woodworking Clamps for Beginners
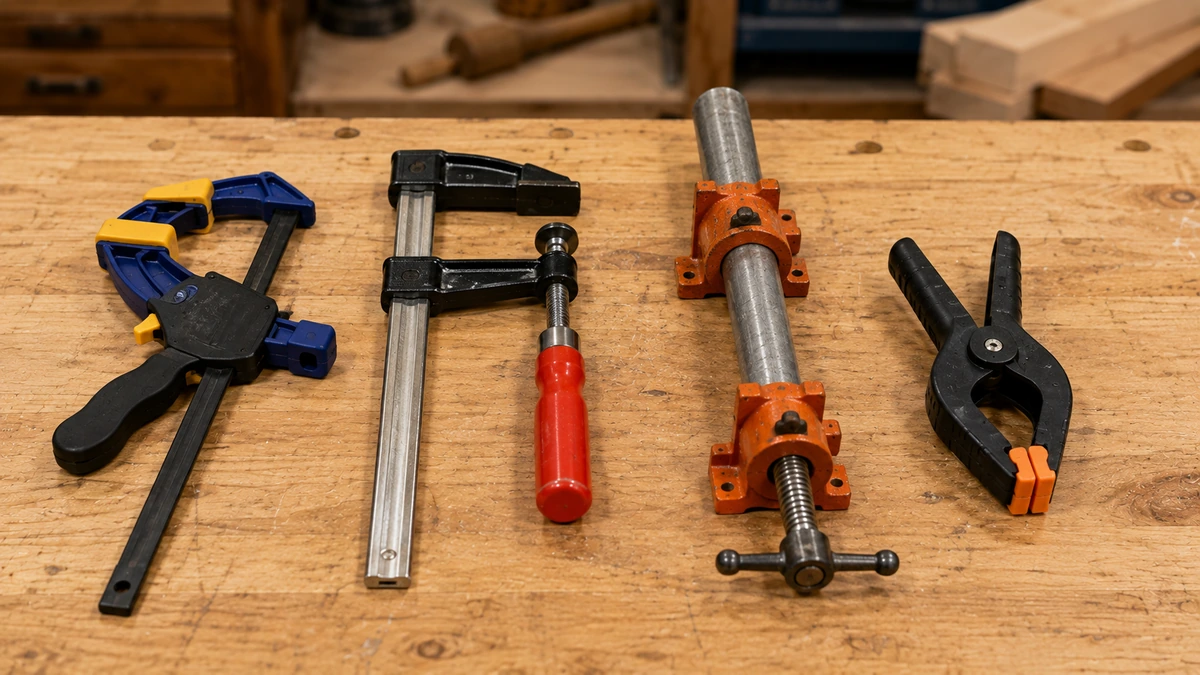
There are many specialty clamps available, but most beginners can start with only a few basic types.
Quick-Release Clamps
Quick-release clamps, sometimes called trigger clamps, are among the easiest clamps for beginners to use. One hand can usually position and tighten the clamp while the other hand holds the workpiece.
They are useful for light assembly, holding material to a workbench, positioning parts, and many small glue-ups.
F-Style Clamps
F-style clamps have a sliding jaw and a screw handle. They provide more controlled pressure than many lightweight trigger clamps and are useful for furniture assembly, glue-ups, and general shop work.
A small collection of different-length F-style clamps can handle a surprising number of beginner projects.
Bar Clamps
Bar clamps are designed for wider workpieces and larger assemblies. Their long bar allows the jaws to spread much farther apart than smaller clamps.
They are particularly useful when gluing boards edge-to-edge or assembling wider projects.
Pipe Clamps
Pipe clamps use clamp fixtures mounted on lengths of metal pipe. One advantage is that the clamp length can be changed by using different lengths of pipe.
They can provide substantial clamping pressure, so beginners should be careful not to overtighten them.
Parallel Clamps
Parallel clamps are commonly used for cabinets, panels, boxes, and furniture assemblies because their jaws are designed to remain roughly parallel as pressure is applied.
They are extremely useful, but they are usually more expensive than basic F-style or trigger clamps. A beginner does not necessarily need them immediately.
Spring Clamps
Spring clamps work like heavy-duty clothespins. They are fast and convenient for light holding jobs but usually do not provide enough controlled pressure for major glue-ups.
Corner and Band Clamps
Corner clamps can help hold two pieces near a 90-degree angle during assembly. Band clamps wrap around larger shapes such as frames or boxes and apply inward pressure from several directions.
These can be useful as your projects become more complicated, but they are not essential for your first clamp collection.
How to Use Woodworking Clamps for Beginners
The basic clamping process is simple, but good results depend on preparation and even pressure.
1. Dry Fit the Project First
Before applying glue, assemble the pieces without glue and position your clamps.
This is called a dry fit. It lets you discover alignment problems before the clock starts ticking on your glue’s working time.
Check that the parts fit properly, that the clamps can reach the necessary areas, and that you can tighten everything without struggling.
2. Position the Clamp Before Tightening
Place the clamp jaws so the pressure pushes the pieces together in the direction you want them to move.
Whenever possible, center the clamp pressure across the joint instead of placing all the force near one edge.
For wider assemblies, use multiple clamps rather than trying to make one clamp do all the work.
3. Tighten Gradually
Do not fully tighten one clamp immediately.
Instead, apply light pressure to each clamp first. Check the alignment, then gradually increase pressure across the assembly.
This approach makes it easier to catch shifting boards before they become locked into the wrong position.
4. Check for Square
Clamping pressure can pull an assembly out of square even when the pieces were positioned correctly at the beginning.
A speed square is useful for checking smaller assemblies while you tighten the clamps.
For rectangular frames or boxes, you can also compare the two diagonal measurements. If both diagonals are equal, the assembly is generally square.
How Much Clamping Pressure Should You Use?
One of the biggest beginner mistakes is assuming that tighter is always better.
You generally need enough pressure to bring the mating surfaces firmly together and close small gaps. You do not need to tighten the clamp with maximum force.
Excessive pressure can bow boards, distort assemblies, damage softer wood, or squeeze too much adhesive from the joint.
A properly fitted glue joint should not require extreme clamping pressure to pull the pieces together.
Watch the Glue Squeeze-Out
When two glued surfaces are clamped together, a small amount of glue will usually squeeze from the joint.
A thin, fairly consistent bead along the joint is generally a useful sign that the surfaces have made good contact.
If nearly all the glue is forced out, you may be using more pressure than necessary.
If you are still developing your glue-up technique, review our beginner guide on using wood glue before attempting a larger assembly.
How to Prevent Clamp Marks
Metal clamp jaws can leave dents or dark marks on a project, especially when working with softer woods.
You can protect the surface by placing a thin scrap of wood between the clamp jaw and the workpiece. These protective scraps are commonly called clamp pads or cauls depending on how they are being used.
Some clamps already have soft protective jaw covers, but it is still worth checking the workpiece before applying heavy pressure.
Use Cauls to Spread Pressure
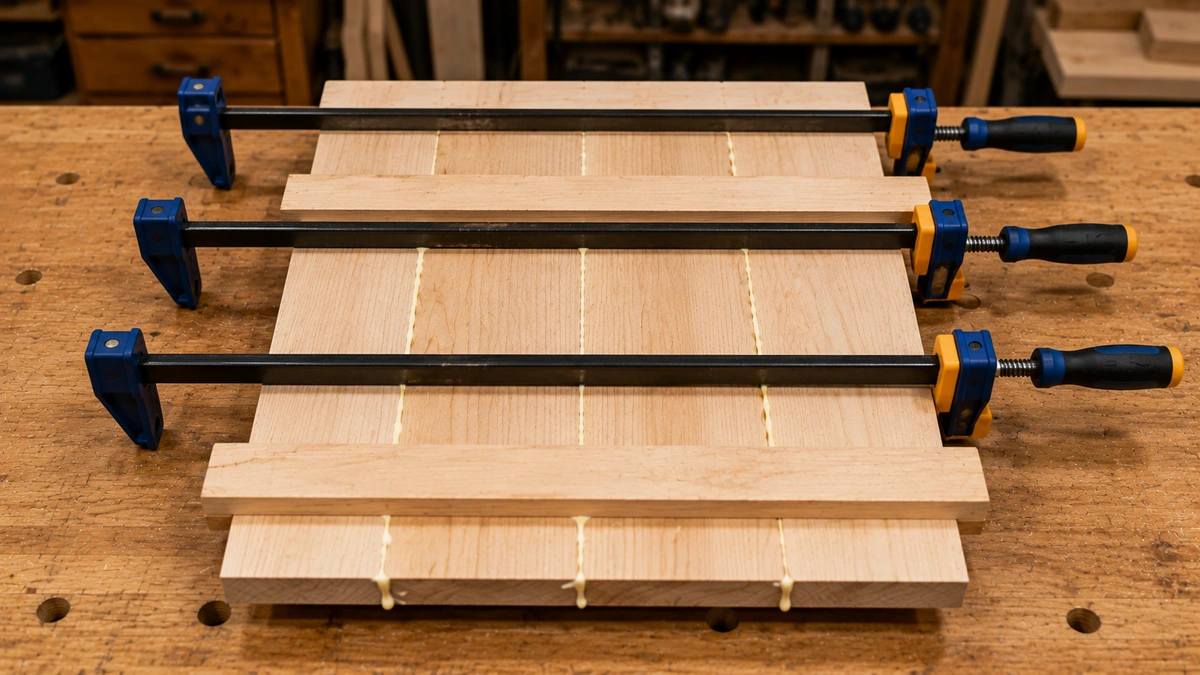
A caul is a straight piece of scrap wood placed between the clamps and the project. It spreads pressure across a wider area and can help keep boards aligned.
Cauls are especially helpful during panel glue-ups where several boards are being joined edge-to-edge.
Wax paper or packing tape can be placed between a caul and a glue joint when necessary to help prevent the caul from accidentally becoming glued to the project.
Alternate Clamps Above and Below Wide Panels
When gluing several boards into a wider panel, placing every clamp on the same side can sometimes encourage the panel to bow.
A common technique is to alternate clamps above and below the workpiece. This helps balance the forces acting on the boards.
Apply each clamp gradually and keep checking that the boards remain flat and properly aligned.
Common Beginner Clamping Mistakes
Using Too Few Clamps
A long joint may need pressure at several points. One clamp at each end can leave the center of the joint poorly supported.
Overtightening
More force is not automatically better. Extreme pressure can damage the wood or distort the project.
Skipping the Dry Fit
Discovering that a clamp is too short after glue has already been applied creates unnecessary stress. Arrange the entire setup first.
Ignoring Alignment
A clamp can pull pieces together while simultaneously causing them to slide sideways. Watch the joint closely as pressure increases.
Forgetting to Check for Square
An assembly can look correct while still being slightly racked. Check it with a square or compare diagonal measurements before the glue begins to set.
Clamping an Unsafe Workpiece
Make sure the workpiece and clamp are stable. A clamp should improve control, not create a setup where the material can suddenly tip, spring loose, or fall.
How Many Clamps Does a Beginner Need?
You do not need to buy every clamp style at once.
A practical beginner collection might start with several small or medium quick-release clamps and a few F-style or bar clamps. Add longer or more specialized clamps when a project actually requires them.
This approach saves money and helps you learn which clamp styles fit the kind of woodworking you enjoy.
Rockler’s introduction to woodworking clamps provides another useful overview of the different clamp styles and the jobs they are designed to handle.
Clamps and Pocket-Hole Projects
Clamps are also extremely useful when assembling pocket-hole joints. The screw can sometimes pull two pieces slightly out of position as it is driven.
Clamping the pieces together first helps maintain alignment. If you are learning this method, see our guide on how to use a pocket hole jig for beginners.
Build Projects That Help You Practice Clamping
The best way to become comfortable with clamps is to use them on simple projects where you can practice dry fitting, applying glue, checking for square, and tightening clamps evenly.
If you are looking for project ideas that give you opportunities to practice these skills, explore these woodworking plans and project ideas and choose something that matches your current tools and experience.
Final Tips for Better Glue-Ups
Set out your clamps before opening the glue bottle. Keep scrap wood nearby to protect finished surfaces. Apply pressure gradually instead of tightening everything at once, and check alignment throughout the process.
Most importantly, remember that clamps cannot fix badly fitting parts. Accurate measuring, straight cuts, clean joints, and careful preparation should come first. The clamps simply hold everything in the correct position while the joint is assembled or the glue cures.
Final Thoughts
Learning how to use woodworking clamps for beginners is less about applying maximum pressure and more about keeping the workpiece aligned, square, and under control. Choose a clamp that fits the job, dry fit before gluing, distribute pressure evenly, protect the workpiece, and check that the assembly remains square.
Once those habits become automatic, glue-ups and assemblies become far more predictable—and you will have another foundational woodworking skill you can carry into almost every future project.

