
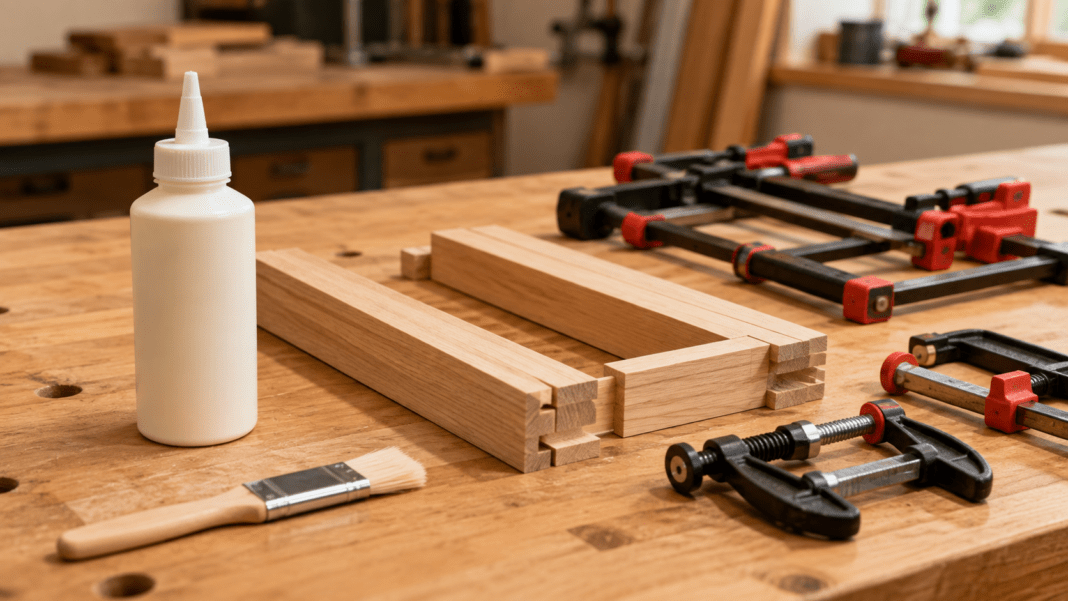
Wood glue can turn a few accurately cut boards into a strong, clean woodworking project—but the glue itself is only part of the process. Good results come from preparing the joint correctly, applying the right amount of adhesive, positioning the pieces accurately, and using clamps without forcing the assembly out of alignment.
If you are new to woodworking, learning a dependable glue-up routine is one of the most useful skills you can develop. The same basic process applies to small boxes, shelves, frames, stools, organizers, and many other beginner projects.
This guide walks through how to choose wood glue, prepare the pieces, apply glue evenly, clamp the assembly, handle squeeze-out, and allow the joint enough time to cure.
Why Proper Gluing and Clamping Matter
A woodworking joint does not become strong simply because glue was added to it. The mating surfaces still need to fit together properly, and the parts need to remain aligned while the adhesive sets.
That is why glue-ups actually begin before the glue bottle is opened.
A good glue-up depends on four things:
- Accurate parts that fit together without large gaps.
- Clean mating surfaces that allow the adhesive to contact the wood.
- Even glue coverage across the joint.
- Controlled clamping pressure that keeps the pieces together and correctly aligned.
If you are still getting familiar with how different joints work, review our guide to 7 essential woodworking joints for beginners. Understanding the joint itself makes it much easier to understand where glue and clamping pressure need to be applied.
1. Choose the Right Wood Glue for the Project
For many beginner woodworking projects, ordinary woodworking PVA glue is the simplest place to start. It is easy to apply, works well on properly fitted wood-to-wood joints, and is readily available.
However, not every adhesive is intended for the same conditions.
Standard PVA Wood Glue
This is a practical choice for many indoor projects such as shelves, boxes, frames, small furniture pieces, and decorative woodworking. It is generally easy to spread and clean up while wet.
Water-Resistant or Waterproof Wood Glue
If a finished project may be exposed to moisture, choose an adhesive specifically rated by its manufacturer for the environment in which the project will be used. Do not assume that every bottle labeled “wood glue” offers the same moisture resistance.
Epoxy
Epoxy can be useful when bonding certain dissimilar materials or handling situations where a gap-filling adhesive is appropriate. It requires accurate mixing and usually involves more preparation than ordinary woodworking glue, so it is not necessary for most basic beginner glue-ups.
Polyurethane and Specialty Adhesives
These can be useful for particular materials or environments, but they behave differently from common PVA glue. For a simple indoor wood-to-wood project, there is usually no reason to complicate the process unless the plans or material requirements call for another adhesive.
Beginner rule: choose the glue according to the materials, expected moisture exposure, and manufacturer instructions—not simply by grabbing the strongest-sounding bottle on the shelf.
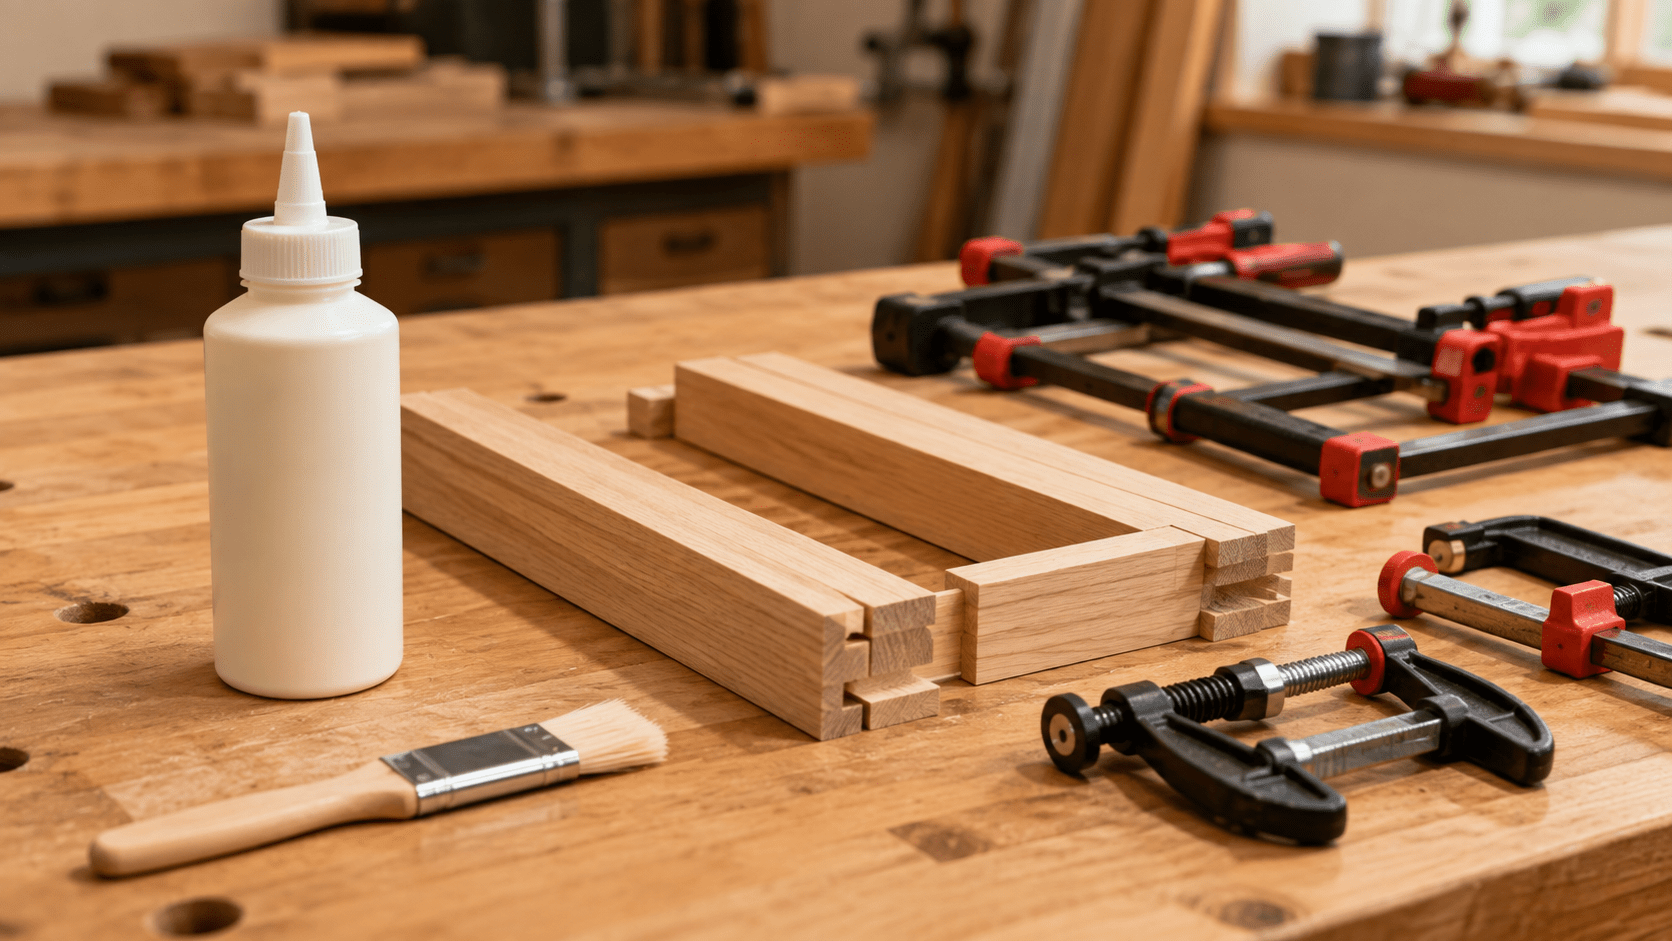
2. Dry-Fit Everything Before Opening the Glue
One of the easiest ways to make a glue-up stressful is to discover a fitting problem after adhesive is already on the pieces.
Before applying anything, assemble the project without glue.
During the dry fit, check:
- Do all joints close properly?
- Are the boards oriented the right way?
- Are the visible faces positioned where you want them?
- Can every clamp reach the joint?
- Do the clamps interfere with one another?
- Does the assembly remain square?
- Can you tighten the clamps in a sensible order?
This practice run gives you a chance to solve problems while there is still plenty of time.
If you are building from a new set of plans, planning the entire sequence before assembly is especially helpful. Our guide to planning your first woodworking project explains how to organize the materials, cuts, tools, and build sequence before starting.
3. Prepare the Mating Surfaces
Glue works best when the two pieces actually meet. A visible gap cannot be corrected simply by filling it with more ordinary wood glue.
Inspect the joint before assembly.
The surfaces should generally be:
- Clean
- Dry
- Free of heavy dust
- Properly fitted
- Free of loose fibers or damaged edges
If two boards rock against one another or only touch at a few points, correct the fit before proceeding.
This is particularly important with joinery. A poorly fitting joint may need to be recut, adjusted, or replaced rather than forced together with clamps.
Accurate drilling matters for the same reason when dowels, screws, or other alignment methods are involved. If that is part of your project, see how to drill straight holes in wood before assembly.
4. Apply a Thin, Even Layer of Glue
Beginners often assume that more glue automatically means a stronger joint. Usually, the goal is not to flood the joint. The goal is to create consistent adhesive contact across the mating surfaces.
Apply enough glue to cover the joint with a thin, continuous layer. Depending on the shape and size of the joint, you can spread it with the bottle tip, a small glue brush, a plastic spreader, or another suitable applicator.
Pay attention to edges and corners. Missing an area entirely can leave part of the joint without adequate adhesive contact.
What Should Happen When You Clamp It?
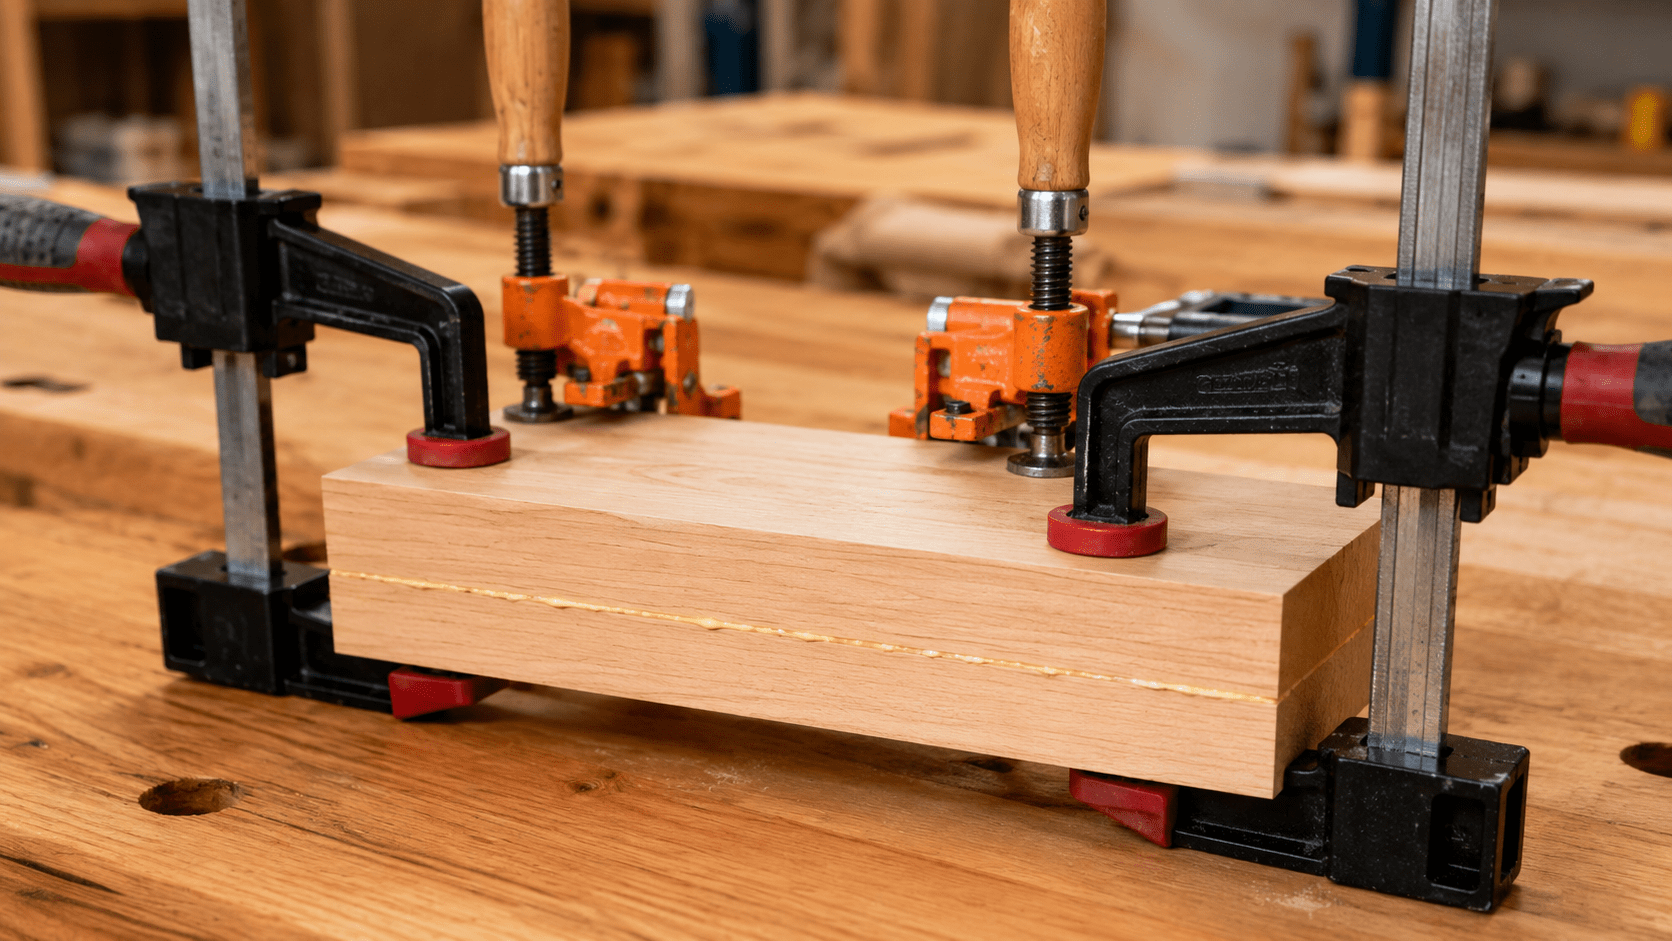
A small, fairly consistent line of squeeze-out along the joint is often a useful sign that glue coverage is reasonably complete. Huge amounts running down the workpiece usually mean more adhesive was used than necessary.
At the other extreme, completely dry areas along a large joint may suggest uneven application or poor contact.
The correct amount varies with the adhesive, wood, joint, and project, so always follow the glue manufacturer’s directions when they specify application requirements.
Once the adhesive has been spread, move deliberately. Many woodworking glues give you only a limited working period before they begin to set.
5. Clamp the Joint Without Fighting It
Clamps are there to hold properly fitted pieces together while the adhesive develops strength. They should not be used to force badly fitting parts into submission.
Start with light pressure and watch the joint as the clamps begin to close.
Check that:
- The pieces remain flush where they should be flush.
- The joint does not slide sideways.
- The assembly stays square.
- The clamp jaws are positioned securely.
- The clamp is not denting a finished face or soft wood.
Once everything is aligned, tighten the clamps enough to bring the joint firmly together.
Use More Than One Clamp When Necessary
A long edge joint may need several clamps rather than one clamp tightened aggressively in the center. Distributing pressure helps keep the pieces seated more evenly.
For wider assemblies, alternating clamp positions can also help balance pressure.
Protect the Wood
Clamp jaws can leave marks, especially in soft species. Scrap-wood pads or cauls can help spread the pressure and protect visible surfaces.
A caul can also help keep several boards aligned across a panel or assembly.
6. Check the Assembly Before the Glue Sets
Do not assume that tightening the clamps means the glue-up is finished.
Take a moment to inspect the entire assembly while small adjustments are still possible.
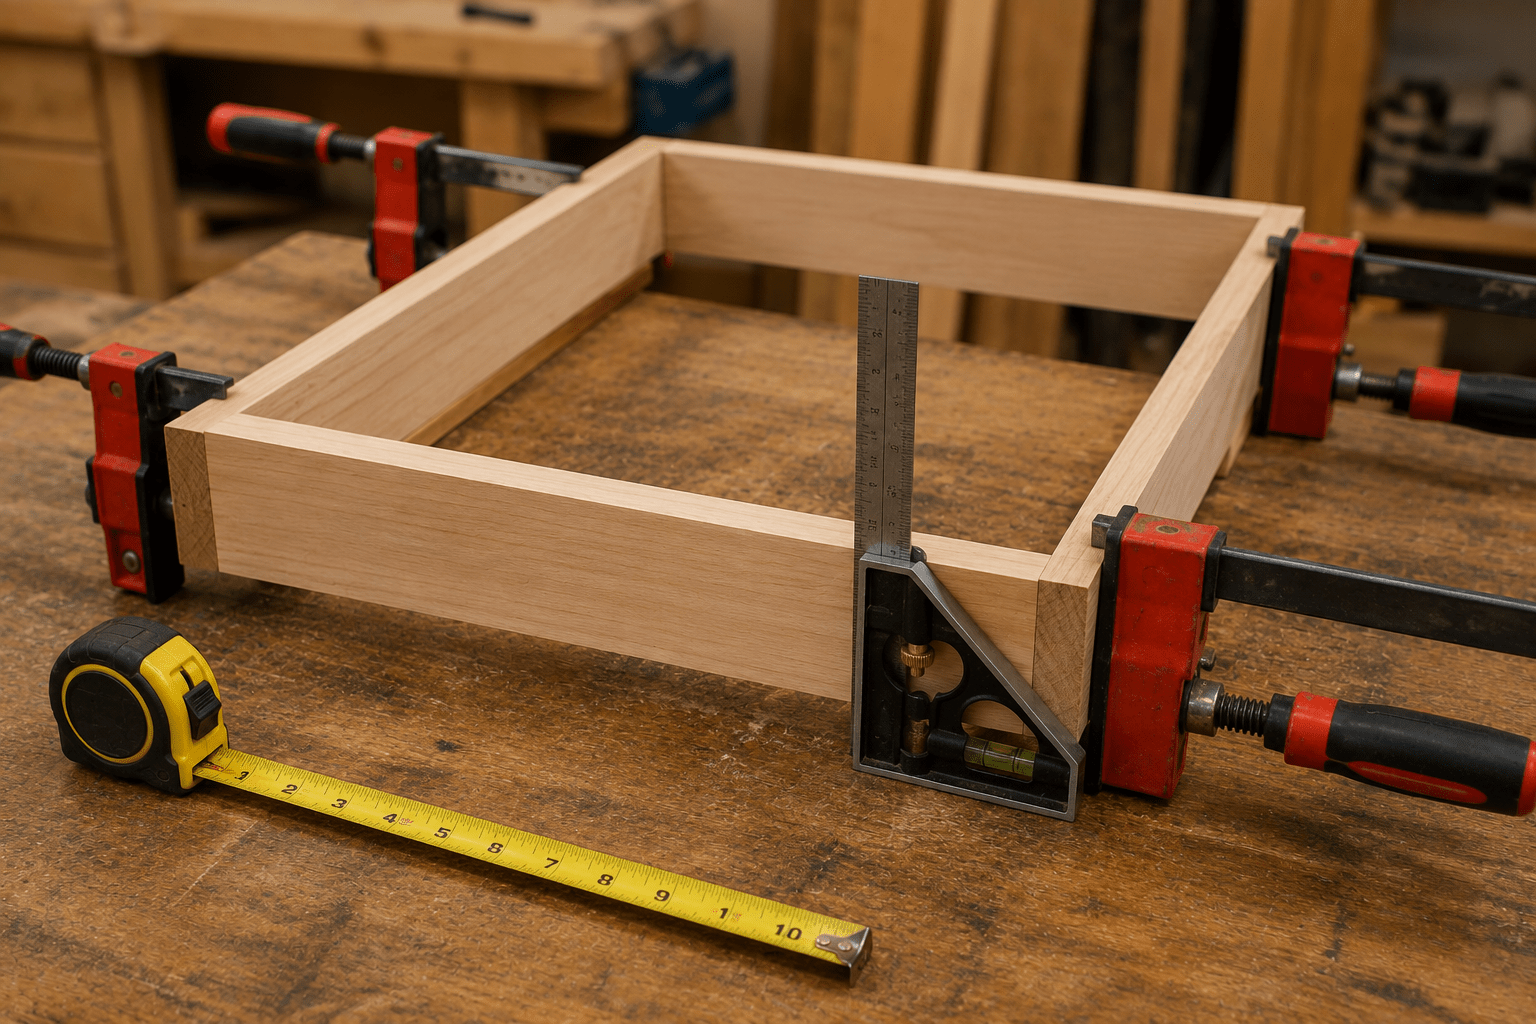
Check for Square
If you are assembling a rectangular frame or box, use an appropriate square to inspect the corners. You can also compare diagonal measurements on many rectangular assemblies: when the diagonals match, the assembly is generally square.
Check for Slippage
Glue can make mating surfaces slippery. A board that was perfectly flush during the dry fit may move slightly as clamp pressure is applied.
Run your fingers carefully across aligned edges and inspect the faces from several angles.
Look at Every Joint
Do not focus only on the clamp you just tightened. Pressure applied at one location can move another part of the project.
Work around the assembly and confirm that each joint is seated correctly before leaving it to set.
This small inspection can save a large amount of sanding, trimming, or repair work later.
7. Handle Glue Squeeze-Out Before Finishing
Squeeze-out is normal during many glue-ups, but dried adhesive left on a visible surface can interfere with sanding and finishing.
There are several ways woodworkers manage it. The right approach depends on the adhesive and finish being used.
For ordinary woodworking glue, one option is to allow the squeeze-out to begin firming up and then remove it carefully with an appropriate scraper before it becomes fully hardened. Another approach is careful wet cleanup when permitted by the adhesive manufacturer.
The important point is to avoid smearing glue unnecessarily across a large area of exposed wood. Adhesive residue that remains in the grain may become noticeable later when stain or finish is applied.
After the joint has cured, inspect the surrounding wood under good lighting and remove any remaining residue before final sanding.
How Long Should Wood Glue Stay Clamped?
There is no single clamping time that applies to every adhesive and every project.
Temperature, humidity, wood species, joint design, adhesive formula, and the amount of stress placed on the joint can all affect the process.
For that reason, use the clamp time and cure guidance printed by the adhesive manufacturer.
Also remember that clamp time and full cure time are not necessarily the same thing. A joint may be ready to come out of the clamps before it is ready for heavy loading, aggressive machining, or normal service.
When there is no reason to rush, giving the assembly adequate curing time is usually easier than repairing a joint that was disturbed too early.
Common Wood Glue and Clamping Mistakes
Most beginner glue-up problems come from a small group of preventable mistakes.
Skipping the Dry Fit
Finding out that a joint does not fit after glue has been applied creates unnecessary pressure and encourages rushed decisions.
Using Glue to Compensate for Poor Joinery
Ordinary wood glue should not be treated as a substitute for accurate joinery. Correct large gaps and poorly fitting parts before assembly.
Using Far Too Much Glue
Excessive adhesive creates a larger cleanup job without automatically improving the joint.
Overtightening the Clamps
Extreme pressure can distort an assembly, dent the workpiece, move parts out of alignment, or make the glue-up harder to control.
Forgetting to Check Square
A project can look correct from one side while the entire frame or box is slightly racked.
Removing the Clamps Too Soon
Follow the adhesive manufacturer’s instructions rather than guessing based on how dry the exposed squeeze-out looks.
Leaving Glue Where Finish Will Be Applied
Inspect the surfaces carefully before sanding and finishing. Dried adhesive can become much more obvious after stain or finish is added.
Glue Is Only One Part of a Strong Joint
Some joints depend heavily on good long-grain glue contact, while others gain strength from their shape, mechanical fasteners, dowels, pocket screws, or interlocking geometry.
For example, simply gluing one board’s end grain against the face of another board may not provide the durability needed for a heavily stressed project. A different joint or some form of reinforcement may be the better choice.
That is why learning glue technique and learning joinery go together. Before committing to an assembly method, think about how the finished project will be loaded and what forces the joint needs to resist.
A Simple Beginner Glue-Up Routine
When you are ready to assemble a project, use this sequence:
- Dry-fit the project. Confirm that every part fits and that your clamps can reach the joints.
- Prepare the surfaces. Remove dust, inspect the fit, and make any final corrections.
- Arrange the clamps. Have them open and ready before applying adhesive.
- Apply the glue. Spread a thin, even layer across the required mating surfaces.
- Assemble the pieces. Put everything together in the same order you practiced during the dry fit.
- Clamp gradually. Apply balanced pressure while watching alignment.
- Check square and flushness. Correct movement before the adhesive begins setting.
- Manage squeeze-out. Use a cleanup method appropriate for your adhesive and finishing plan.
- Let the joint cure. Follow the manufacturer’s timing before placing the assembly under stress.
After you have done this a few times, the sequence becomes routine—and glue-ups become far less stressful.
Put Your Gluing Skills Into a Real Project
The best way to become comfortable with wood glue and clamps is to use them on simple projects where the assembly sequence is easy to understand.
Small shelves, boxes, organizers, frames, trays, and similar builds let you practice alignment, glue application, clamping, and cleanup without taking on an overly complicated project. You can also browse our 7 small woodworking projects for a weekend for ideas that can help you build those core skills.
Looking for your next woodworking project? Explore our beginner-friendly woodworking plans and project ideas to find practical builds you can use to keep developing your skills.
Final Thoughts
Successful wood glue-ups are less about working fast and more about being prepared. Dry-fit the project first, make sure the joint fits correctly, arrange your clamps before applying glue, spread the adhesive evenly, and tighten the assembly gradually while checking alignment.
Most importantly, give the adhesive the time it needs to do its job.
Once this routine becomes familiar, gluing and clamping stop feeling like a risky final step and become another controlled part of the woodworking process.
Ready to keep building? Visit our woodworking plans and project guide for more beginner-friendly ideas and practical projects.

