

Small woodworking projects for a weekend are one of the best ways to build confidence without committing to an expensive or complicated build. A manageable project lets you practice measuring, marking, cutting, sanding, joining, and finishing while still producing something useful for your home.
The seven ideas below are suitable for beginners and can be adjusted to match the tools, lumber, and time you already have. Start with the simplest design, work carefully, and focus on clean results rather than speed.
Why Small Woodworking Projects Are Ideal for Beginners
A large furniture build can quickly become overwhelming. Small projects are easier to plan, require less material, and give you more opportunities to correct mistakes before they become expensive.
They also help you develop the core habits used in nearly every woodworking project:
- Reading and checking measurements
- Marking straight, accurate cut lines
- Holding workpieces securely
- Making controlled cuts
- Sanding progressively for a smooth surface
- Applying glue and fasteners neatly
- Choosing a simple protective finish
Before beginning, review the basic planning process in our guide to planning your first woodworking project. A few minutes of preparation can prevent wasted lumber and frustrating rework.
1. Simple Wooden Serving Tray
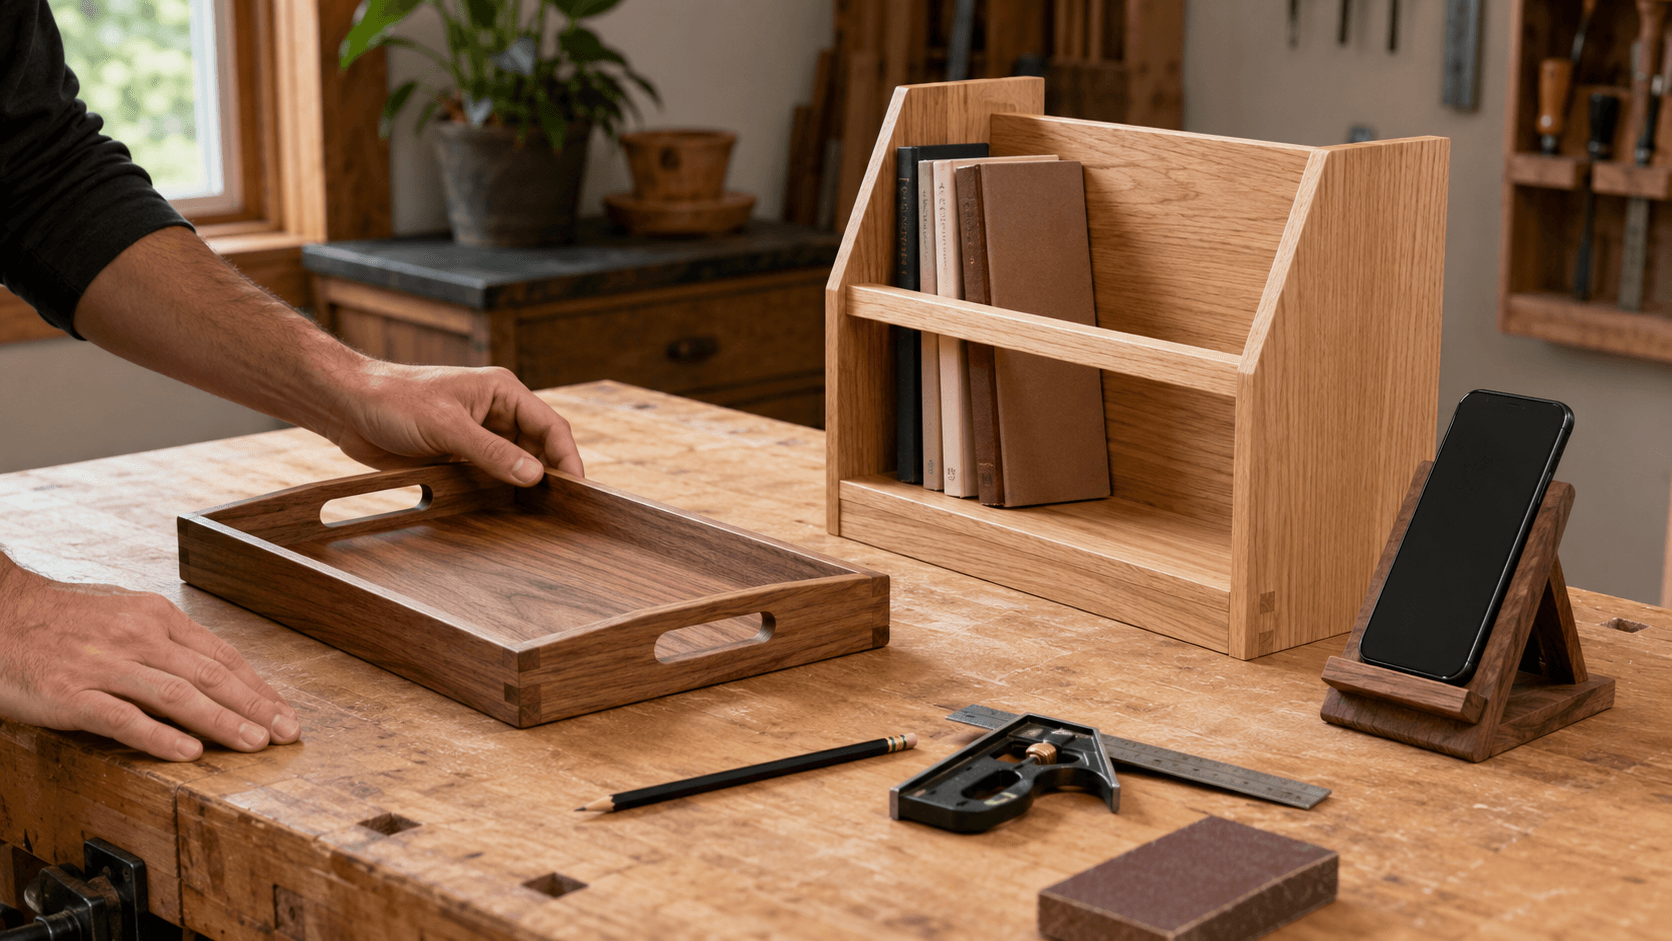
A serving tray is a practical first project because its construction is straightforward. The basic design uses a flat wooden base with narrow side pieces attached around the perimeter.
Skills You Will Practice
- Measuring a rectangular base
- Cutting matching side pieces
- Keeping corners square during assembly
- Sanding edges and corners comfortably
Plywood can be used for the base, while solid wood strips can form the sides. Keep the tray modest in size so it remains easy to handle. Handles are optional; beginners can begin with simple open ends or add small wooden pulls after the main structure is complete.
2. Wall-Mounted Key Holder
A wooden key holder can be made from a single finished board with several hooks installed across the front. It is compact, useful, and easy to personalize without requiring complicated joinery.
Choose a board long enough to hold the number of keys your household uses. Sand it thoroughly, soften the sharp edges, and mark the hook positions at equal intervals. Pre-drilling the screw holes can reduce the chance of splitting the wood.
Mounting hardware should be selected according to the wall surface and the finished weight of the holder. Make certain the board is level before securing it.
3. Small Desktop Bookshelf
A desktop bookshelf or bookend-style organizer is a manageable introduction to assembling square corners. A basic version uses one bottom board, two upright sides, and an optional back strip for added stability.
Keep the Design Beginner-Friendly
Avoid decorative curves or angled joints for the first version. Straight cuts make it easier to concentrate on alignment. Dry-fit the pieces before applying glue so you can confirm that the sides sit evenly and the shelf does not rock.
Clamps are helpful while the glue dries, but screws or small brad nails can also be used to reinforce the assembly. Check that your fasteners are the correct length so they do not break through the opposite face.
Need structured plans for your next build?
Browse the woodworking plan resource we use to help beginners compare project ideas, material requirements, and step-by-step build options before choosing what to make.
4. Wooden Phone Stand
A phone stand requires very little material and is useful for practicing careful layout. The simplest design consists of a stable base with a support piece positioned at a slight angle.
Before cutting anything, place your phone on a paper sketch and determine the viewing angle you prefer. Remember to leave access for the charging port if you plan to use the stand while the phone is plugged in.
Round over or sand the contact edges so they will not scratch the device. A thin felt pad can be added after finishing, but it is not necessary for the stand to function.
5. Rustic Wooden Plant Stand
A low wooden plant stand can be built from a square top supported by short legs. It provides practice cutting multiple pieces to the same length, which is an important woodworking skill.
The most important part of this project is keeping all legs equal. Even a small difference can cause the finished stand to wobble. Cut one carefully measured leg first, then use it as the reference for marking the remaining pieces.
For a first build, keep the stand low and use it only for a lightweight indoor pot. Wider legs and a broad top will create a more stable base.

6. Entryway Mail Organizer
A compact mail organizer can help control envelopes, receipts, and small papers near an entryway or home office. One beginner-friendly design uses a back panel with a shallow front pocket.
The pocket can be formed with a front board and two narrow side spacers. Keep the opening wide enough for easy access and avoid making the pocket so deep that papers disappear inside it.
Assembly Tips
- Lay out all pieces before gluing.
- Confirm that both side spacers are the same size.
- Use a square to align the pocket with the back panel.
- Wipe away glue squeeze-out before it hardens.
- Allow the assembly to dry fully before mounting it.
A small label holder or row of hooks can be added later, but the basic organizer should remain simple for your first attempt.
7. Basic Wooden Tool Tote
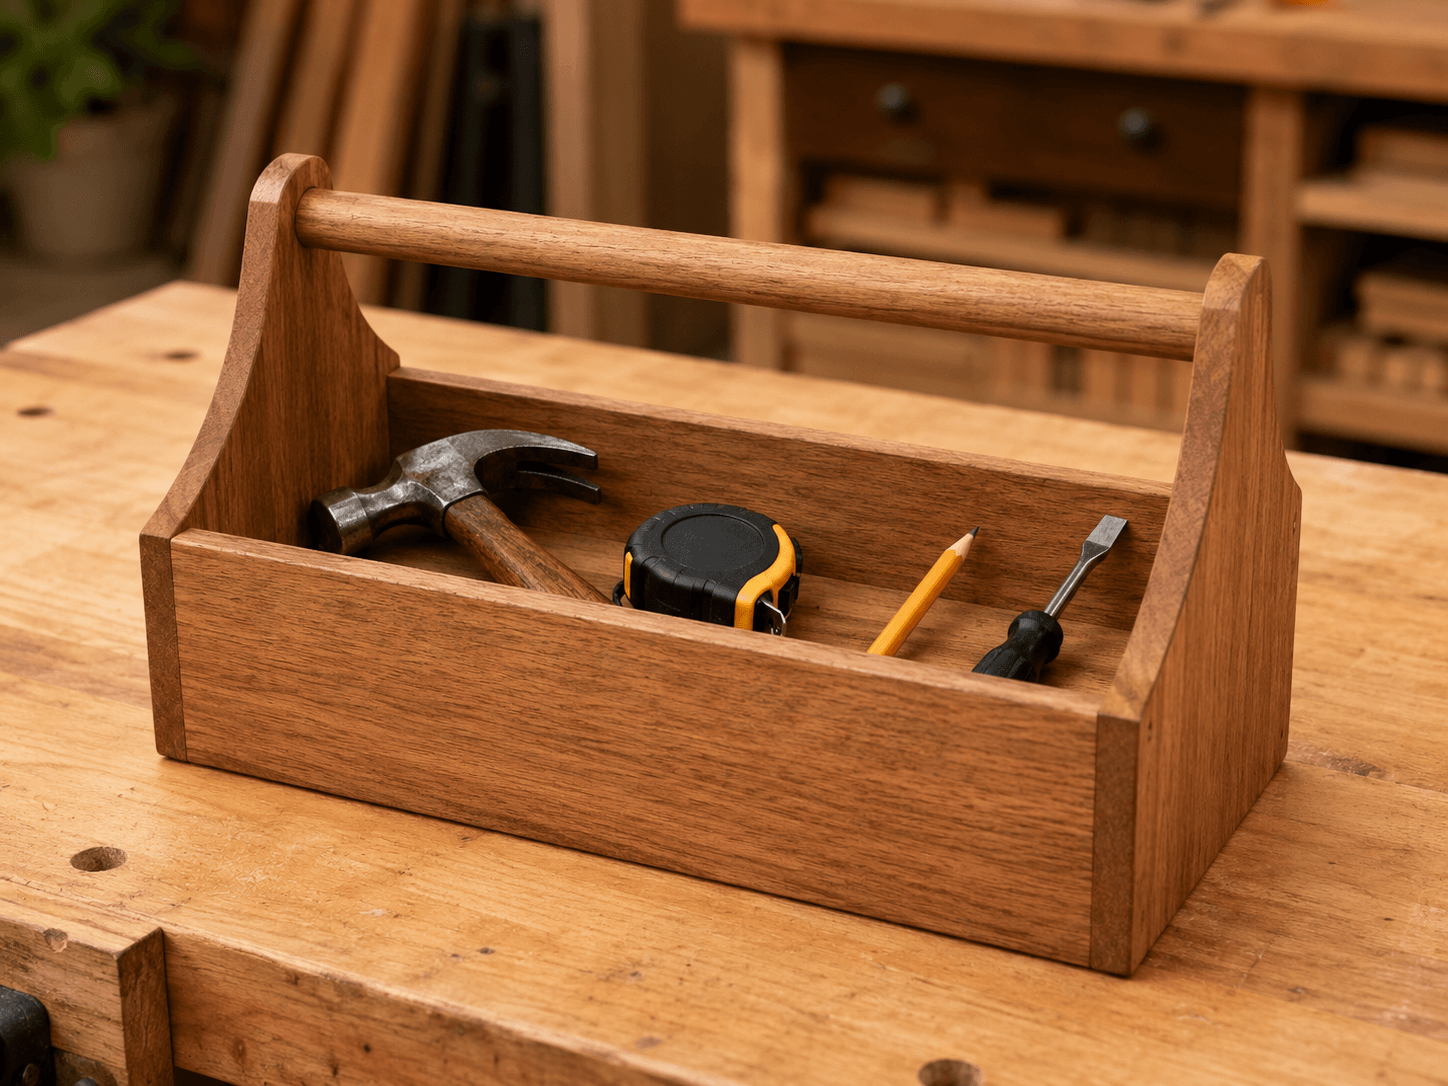
A small tool tote is one of the most useful weekend woodworking projects because it can store the tools used for future builds. A traditional beginner design has a bottom, two side panels, two end panels, and a wooden handle.
This project involves more pieces than the others, so make a complete cut list before starting. Label each piece lightly in pencil as it is cut. This prevents similar-looking boards from being installed in the wrong position.
The handle should be smooth, comfortable, and securely attached. Keep the tote small enough that it will not become excessively heavy when filled.
Not sure which equipment is necessary for these builds? Review our guide to essential woodworking tools for beginners before buying additional tools.
How to Choose Your First Weekend Project
The best first project is not necessarily the most impressive one. Choose the build that matches your current tools and requires only one or two new techniques.
Consider these questions:
- Do you already have the necessary cutting and sanding tools?
- Can the project be made from readily available lumber?
- Do you have enough workspace to assemble it safely?
- Can you complete the finish within the available time?
- Will the finished item be genuinely useful?
A phone stand or key holder may be the easiest starting point. A plant stand, bookshelf, or tool tote is better after you are comfortable keeping assemblies square.
Plan the Build Before Buying Lumber
Sketch the project and list every required piece before visiting the lumber aisle. Include the length, width, thickness, and quantity of each component. This becomes your cut list.
Then account for the saw kerf, damaged board ends, knots, and possible mistakes. Buying a small amount of extra material is usually less frustrating than discovering halfway through the build that you are one usable piece short.
Whenever possible, select straight boards and inspect them from several angles. A twisted or badly bowed board can make even a simple project difficult to assemble.
Use Safe, Controlled Work Habits
Wear appropriate eye and hearing protection, follow the manufacturer’s instructions for every tool, and secure the workpiece before cutting or sanding. Keep hands away from blades and moving parts.
Do not rush merely to finish within one weekend. It is better to stop and continue later than to work while tired, distracted, or uncertain about a cut.
Test unfamiliar techniques on scrap wood first. A practice cut can reveal an incorrect setting before it damages the actual project piece.
Ready to move beyond a single practice project?
Review a broader collection of woodworking plans to find projects that match your available tools, skill level, and workshop space.
Finish the Project Without Overcomplicating It
Many small projects only need thorough sanding and a simple protective finish. Begin with a coarser grit only when necessary, then move through progressively finer grits. Sand with the grain whenever possible.
Remove all dust before applying a finish. Depending on the project, you might choose paint, stain, clear polyurethane, oil, or a wax finish. Follow the product instructions and allow sufficient drying time between coats.
For an item that will contact food, moisture, or soil, select a finish specifically appropriate for that use.
Build Skills One Small Project at a Time
Completing a small woodworking project gives you more than a finished object. It teaches you how accurately you measure, where your cutting technique needs improvement, and which tools are most comfortable for you to use.
Choose one of these seven projects, simplify the design where necessary, and complete it carefully. Each successful weekend build will make the next project easier to plan and execute.

