

Drilling a hole may look simple, but keeping the drill bit straight can be surprisingly difficult when you are new to woodworking. A slightly tilted hole can cause screws to enter at an angle, weaken a joint, or prevent project parts from lining up correctly.
Fortunately, you do not need expensive equipment to improve your accuracy. With careful marking, correct drill setup, steady pressure, and a few beginner-friendly techniques, you can learn how to drill straight holes in wood consistently.

Why Straight Holes Matter in Woodworking
A drill bit naturally follows the direction in which the drill is held. Even a small tilt at the beginning of the hole can become more noticeable as the bit moves deeper into the wood.
Straight holes are especially important when you are:
- Drilling pilot holes for screws
- Joining two boards together
- Installing dowels or wooden pegs
- Drilling through thick material
- Creating matching holes in multiple project parts
- Installing hardware such as handles, brackets, or hinges
Accurate drilling also reduces the chance of screws wandering, wood splitting, or fasteners breaking through the side of a board.
Choose the Right Drill Bit
Before drilling, make sure the bit matches the type and size of hole you need. A sharp, correctly sized bit is easier to control than a dull or damaged one.
Twist Bits
Standard twist bits are useful for general drilling and small pilot holes. They are common, affordable, and suitable for many beginner woodworking projects.
Brad-Point Bits
Brad-point bits are often easier to position accurately in wood. The pointed center tip helps the bit stay on your mark instead of sliding across the surface when the drill starts.
Spade Bits
Spade bits create larger holes quickly, but they require more control. Begin slowly and keep the drill stable because the wide cutting edges can grab the wood.
Forstner Bits
Forstner bits create clean, flat-bottomed holes. They are useful for furniture hardware and other projects where a neat, controlled hole is important.
Mark the Hole Location Carefully
Accurate drilling starts before the drill touches the wood. Use a tape measure and pencil to locate the hole, then confirm the measurement before drilling.
Draw two light lines that cross at the exact center of the hole. The intersection gives you a clear target for the drill bit.
For better accuracy, press an awl, nail, or center punch lightly into the mark. This creates a small indentation that helps keep the bit from wandering.
If you are still developing your measuring skills, review how to measure and cut wood accurately before drilling project parts.
Secure the Wood Before Drilling
Never try to hold a small board in one hand while drilling with the other. The board may shift, spin, or lift as the bit enters the wood.
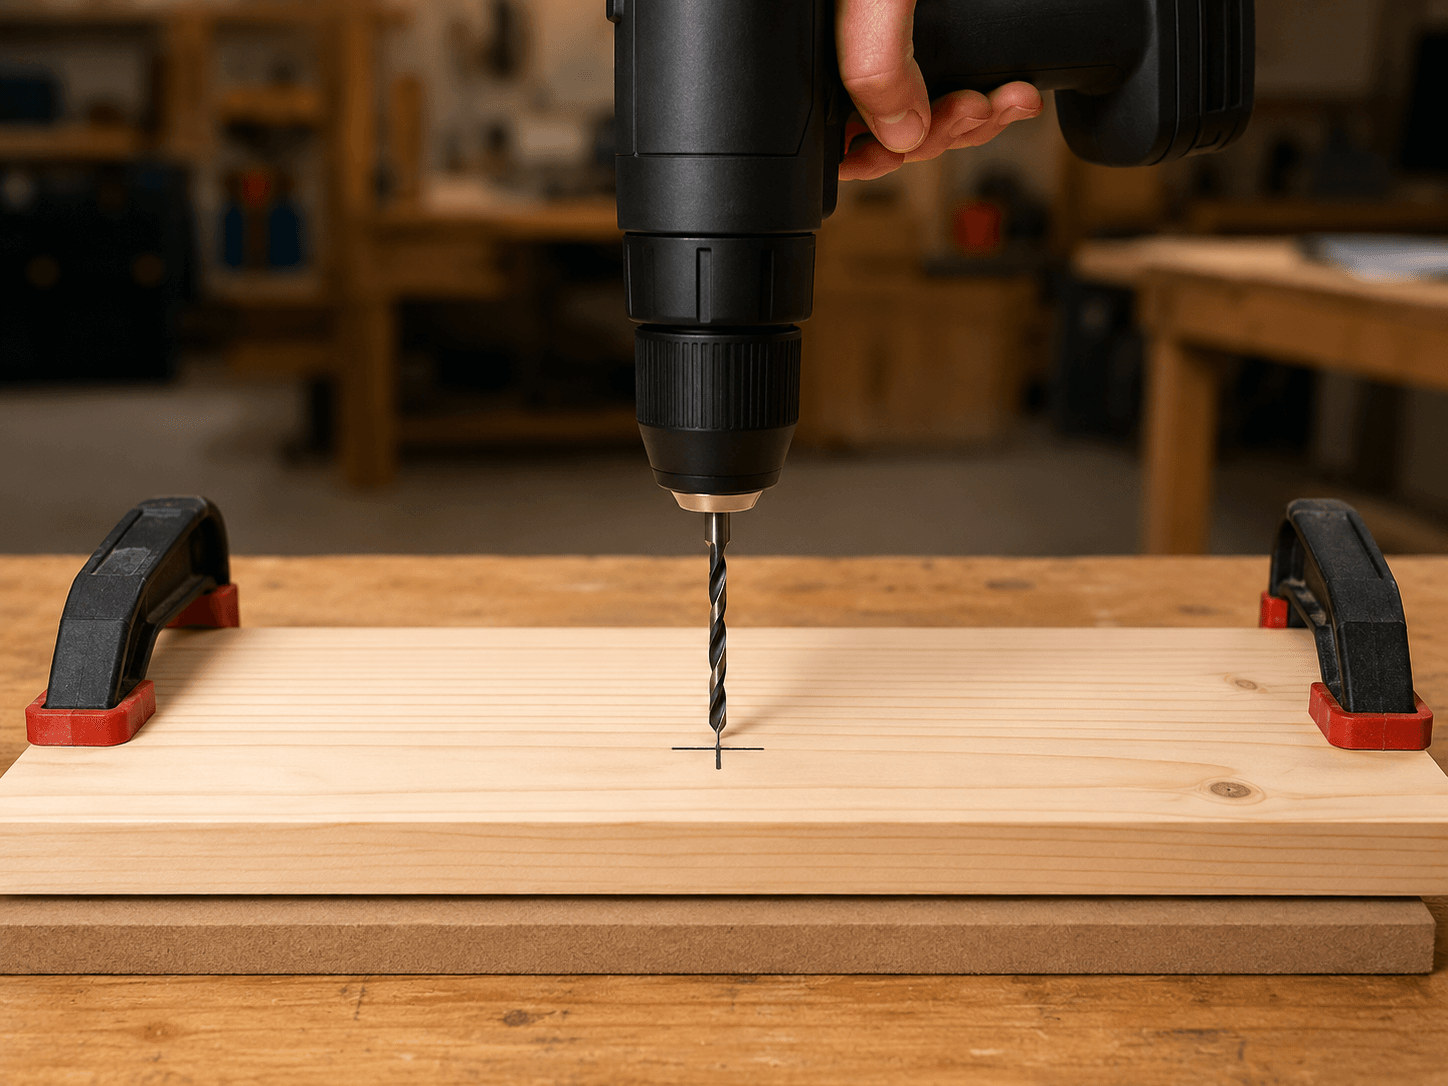
Place the workpiece on a stable workbench and secure it with clamps. Position the clamps where they will not interfere with the drill or block your view of the mark.
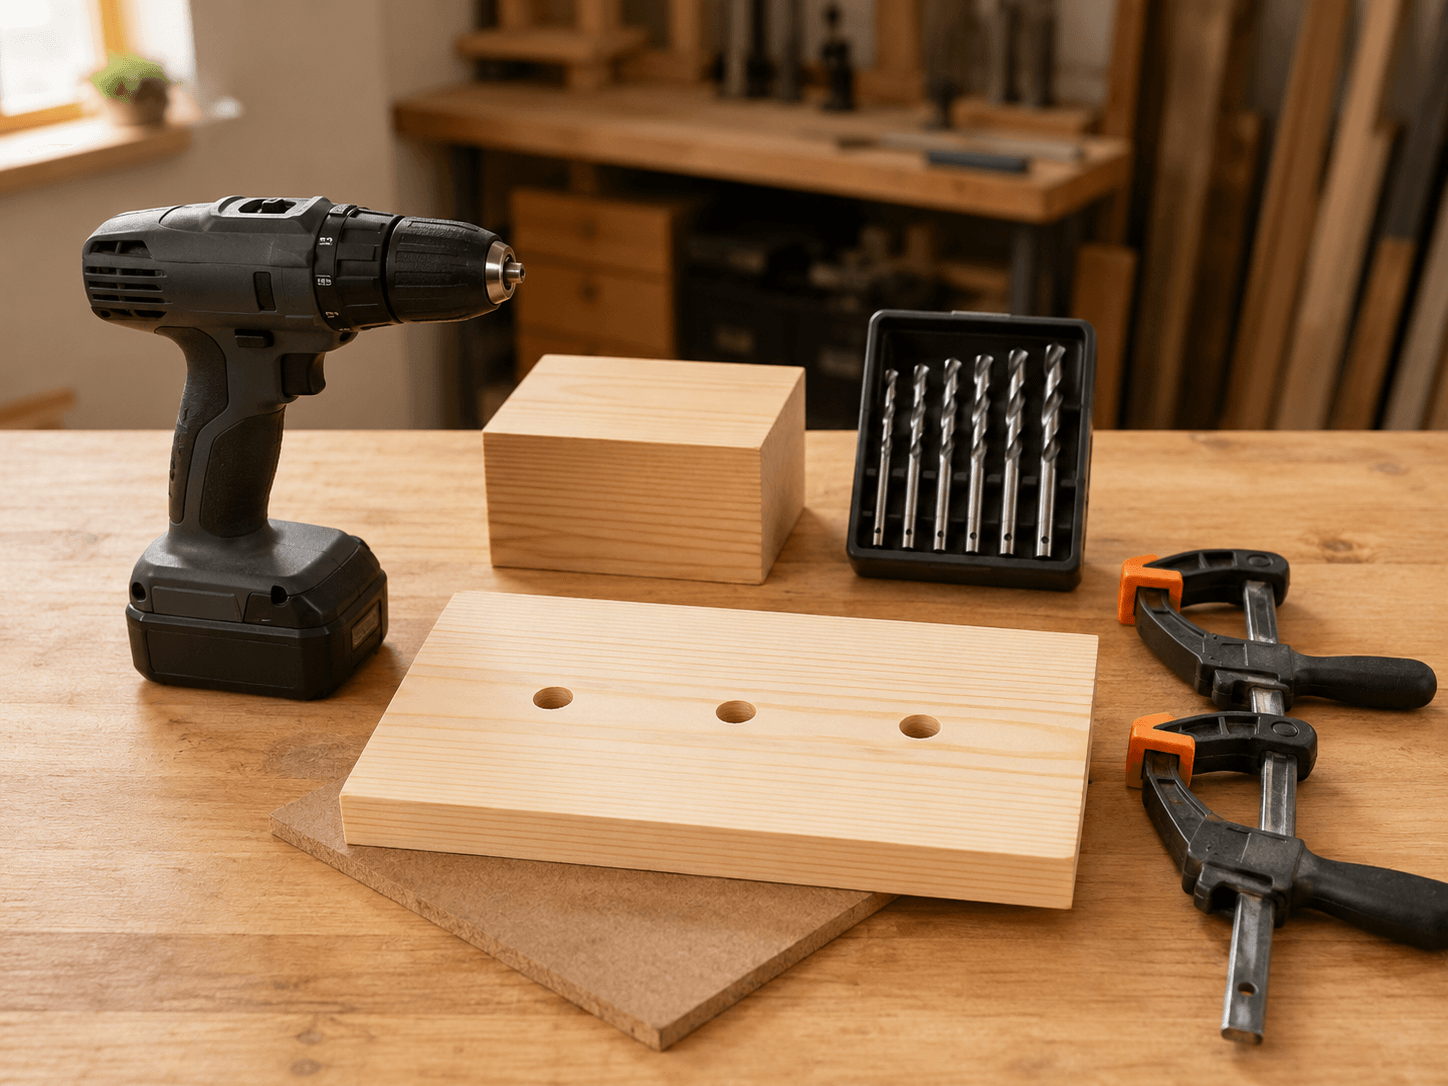
When drilling completely through a board, place a scrap piece of wood underneath it. The scrap board supports the wood fibers as the bit exits and helps reduce splintering on the underside.
Safe clamping and stable work habits are part of the essential practices covered in beginner woodworking safety.
How to Hold the Drill Straight
Stand in a balanced position with your shoulders facing the workpiece. Hold the drill firmly with your dominant hand and support it with your other hand when possible.
Position your eyes so you can view the drill from the side. The drill bit should appear perpendicular to the surface of the board.
Before pulling the trigger, check the alignment from two directions:
- Look from the front to check left-to-right alignment.
- Look from the side to check forward-and-back alignment.
A drill may look straight from one direction while still leaning from the other. Checking both views greatly improves accuracy.
Start Slowly and Establish the Hole
Place the tip of the bit directly in the center mark. Hold the drill steady and begin at a low speed.
Allow the bit to create a shallow starting hole before increasing speed. This small recess helps guide the bit and reduces wandering.
Do not force the drill downward. Apply firm, controlled pressure and let the cutting edges remove the wood. Excessive pressure can cause the bit to bend, overheat, or drift away from the intended angle.
Keep the Drill Moving Smoothly
Once the hole is established, maintain consistent pressure and speed. Avoid twisting your wrist or changing your stance while drilling.
For deep holes, periodically pull the bit partly out while it is still turning. This clears wood chips from the flutes and prevents the bit from binding.
Build Your Skills With Beginner-Friendly Plans
Well-designed woodworking plans provide clear measurements, drilling locations, material lists, and step-by-step instructions that make early projects easier to complete accurately.
Explore beginner-friendly woodworking plans and project ideas.
Use a Simple Drill Guide
A drill guide helps keep the bit perpendicular to the wood. Commercial drill guides are available, but beginners can also use a simple square block of scrap wood.
Place a block with a perfectly square corner beside the drill bit. As you drill, compare the bit to the vertical edge of the block. If the bit remains parallel to the edge, the hole should remain close to straight.
You can also place two square blocks at a right angle to each other, creating a corner that guides the drill from two directions.
Try a Portable Drill Guide
A portable drill guide holds a handheld drill at a controlled angle. Many models can be set to 90 degrees for straight drilling or adjusted for angled holes.
This can be helpful when drilling repeated holes or working on a project that will not fit under a drill press.
Use a Drill Press for Maximum Accuracy
A drill press holds the bit in a fixed vertical position while the workpiece rests on a flat table. It is one of the most reliable ways to create straight, repeatable holes.
A drill press is especially useful for:
- Drilling multiple holes to the same depth
- Creating dowel joints
- Drilling thick boards
- Using large Forstner bits
- Making repeated holes in matching project parts
However, a drill press is not required for basic woodworking. Careful handheld drilling can produce accurate results for many beginner projects.
Control the Drilling Depth
Some projects require a hole that stops before passing through the board. You can control the depth by placing a piece of painter’s tape around the drill bit.
Measure the required depth from the tip of the bit and wrap the tape at that point. Stop drilling when the tape reaches the surface of the wood.
A drill-stop collar provides a more precise option. The collar attaches to the bit and physically prevents it from entering the wood beyond the selected depth.
Prevent Tear-Out on the Back of the Board
Tear-out occurs when wood fibers break away as the bit exits the underside of the board. This can leave a rough or chipped edge around the hole.
To reduce tear-out:
- Place scrap wood tightly beneath the workpiece
- Clamp both boards together
- Use a sharp drill bit
- Reduce pressure as the bit approaches the underside
- Drill from both sides when appearance is especially important
If drilling from both sides, stop when the tip of the bit just begins to break through. Turn the board over, place the bit in the small exit mark, and finish the hole from the opposite side.
Common Beginner Drilling Mistakes
Starting at Full Speed
High speed can cause the bit to skate away from the mark. Start slowly until the bit has created a stable entry point.
Drilling Without Clamps
An unsecured board can shift during drilling and produce an angled or misplaced hole. Clamp the workpiece before beginning.
Applying Too Much Pressure
Heavy pressure makes the drill harder to control and can overheat the bit. Use steady pressure and allow the bit to cut at its own pace.
Ignoring Alignment From One Direction
Checking only the front view may allow the drill to lean forward or backward. Always check alignment from both the front and the side.
Using a Dull Bit
A dull bit requires more pressure and is more likely to wander. Replace or sharpen bits that no longer cut cleanly.
Practice Before Drilling Project Parts
Before drilling into your final workpiece, practice on scrap wood of the same type and thickness. Mark several holes and try drilling each one while checking your alignment carefully.
After drilling, place a square beside the bit or insert a straight dowel into the hole to evaluate the angle. This gives you immediate feedback and helps improve your technique.
Practicing first is also an important part of planning your first woodworking project, especially when learning a new tool or method.
Turn Accurate Drilling Into Finished Projects
Straight holes are easier to master when you practice them as part of simple, clearly planned woodworking projects.
Browse woodworking plans designed to help beginners build with confidence.
Final Tips for Drilling Straight Holes
Accurate drilling depends more on preparation and control than speed. Mark the hole carefully, secure the workpiece, align the drill from two directions, and begin slowly.
Use a square guide block when extra visual support is helpful, and practice on scrap wood before drilling important project parts. With repetition, holding the drill straight will begin to feel natural.
Clean drilling is only one part of producing professional-looking results. After assembly, proper surface preparation using the techniques in how to sand wood properly will help prepare your project for paint, stain, or a clear finish.

