
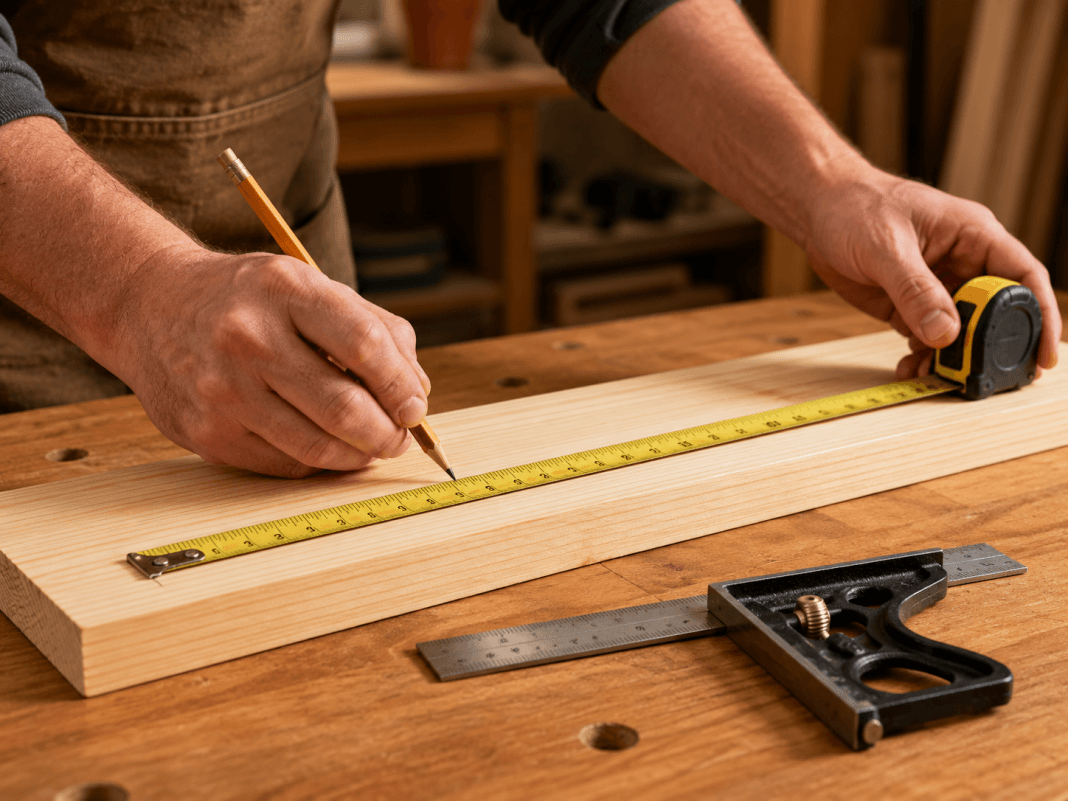
Accurate measuring and cutting are two of the most important skills a beginning woodworker can develop. Even a simple project can become frustrating when boards are slightly too short, cuts are not square, or matching pieces end up different lengths.
The good news is that accurate woodworking does not require expensive equipment. A dependable tape measure, a sharp pencil, a square, and careful work habits can produce excellent results. This guide explains how to measure and cut wood accurately while avoiding the mistakes that commonly affect beginner projects.
Why Accurate Measuring and Cutting Matter
Woodworking projects are built from individual pieces that must fit together correctly. A small measuring error on one board may affect the alignment of an entire shelf, box, bench, or storage project.
Accurate work helps you:
- Produce square and level assemblies
- Create matching parts that fit together cleanly
- Reduce gaps between joints
- Avoid wasting lumber
- Spend less time correcting mistakes
- Build projects that look more professional
Before cutting anything, review your project plan and confirm every required dimension. The planning process described in how to plan your first woodworking project can help you organize your measurements, materials, and cut list before work begins.
Basic Tools for Measuring and Marking Wood
You do not need a large collection of tools to measure accurately. A few dependable tools are usually enough for beginner woodworking projects.
Tape Measure
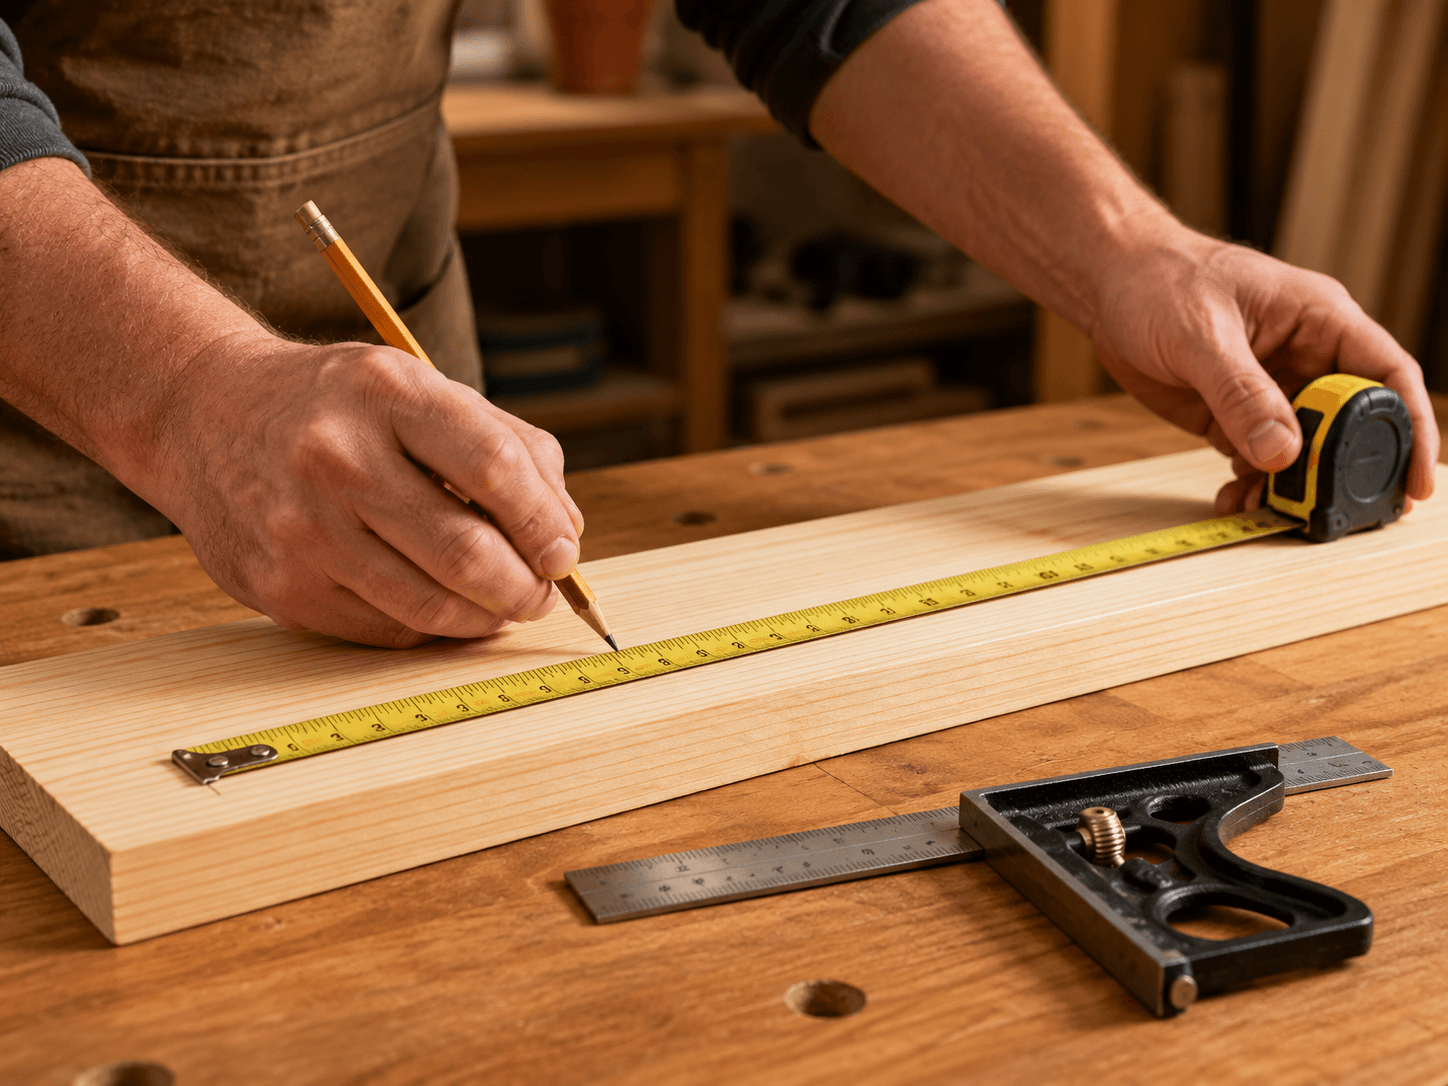
A tape measure is useful for checking board lengths, project dimensions, and larger measurements. Choose one with clear markings and a locking blade that remains extended while you work.
Keep the metal hook firmly against the edge of the board when measuring. If the hook is loose, bent, or not seated correctly, the measurement may be inaccurate.
Combination Square or Speed Square
A square helps you mark straight lines across a board and check whether corners are 90 degrees. It is one of the most useful tools for preventing angled or crooked cuts.
Place the square firmly against the straight factory edge of the board before drawing your cut line.
Sharp Pencil
A sharp pencil creates a thin, precise line. A wide or dull pencil mark can make it difficult to identify the exact location of the cut.
For especially precise work, make a small V-shaped mark at the measurement and draw the cut line through the point of the V.
Marking Knife
A marking knife is optional, but it can create an extremely fine line for joinery and detailed work. Most beginners can start with a sharp pencil and add a marking knife later.
These tools are part of the practical starter collection discussed in essential woodworking tools for beginners.
Measure From a Reliable Reference Edge
Always begin measuring from a straight, undamaged edge. This edge becomes your reference point for the remaining layout work.
If one end of a board is rough, cracked, or not square, trim it before measuring the finished length. Measuring from an uneven end can transfer that error to every piece cut from the board.
Use the same reference edge whenever several measurements must align. Switching between different edges can introduce small inconsistencies.
Understand the “Measure Twice, Cut Once” Rule
The familiar woodworking rule to measure twice and cut once is more than a reminder to repeat a number. It means pausing to verify the entire setup before making an irreversible cut.
Before cutting, confirm:
- You are measuring the correct board
- The measurement matches the cut list
- The tape begins at the correct edge
- The mark is placed on the correct face
- The waste side has been identified
- The board is positioned correctly for the tool
A second measurement takes only a few seconds and can prevent the loss of an entire board.
Mark the Waste Side of Every Cut
A saw blade removes a narrow strip of material called the kerf. If you cut directly through the center of your measurement line, the finished board may become slightly shorter than intended.
After marking the cut line, draw a small X on the waste side of the board. Position the saw blade so the kerf falls inside the waste area while the edge of the blade remains beside the line.
The measurement line should remain on the finished piece whenever possible.

How to Mark a Straight Cut Line
Follow this basic process when marking a board for a crosscut:
- Place the board flat on a stable workbench.
- Hook the tape measure securely over the reference end.
- Measure to the required length.
- Make a small pencil mark or V at that point.
- Place a square against the straight edge of the board.
- Align the square with the measurement mark.
- Draw a thin line completely across the face of the board.
- Mark an X on the waste side.
- Measure once more before cutting.
Extending the line across the full width of the board makes it easier to keep a hand saw, circular saw, or miter saw aligned during the cut.
Support and Secure the Wood Before Cutting
A board that moves during a cut can produce an inaccurate result and create a serious safety risk. Support the board on a stable bench, sawhorses, or another suitable work surface.
Clamp the workpiece whenever practical. The section you plan to keep should be supported securely, while the waste piece should be able to separate without pinching the blade.
Never hold a small workpiece close to a moving blade. Use the correct clamping method, fence, push device, or cutting jig for the tool.
Review the precautions in beginner woodworking safety rules before operating any cutting tool.
How to Make Accurate Cuts With Common Tools
Hand Saw
Start the cut with several light strokes. Use your thumb only as a guide while the saw is stationary, then move your hand away once the groove has formed.
Keep the saw blade on the waste side of the line and watch the line across the top and side of the board. Let the saw do the work rather than forcing it downward.
Circular Saw
A circular saw can make accurate cuts when used with a guide. Measure the distance between the blade and the edge of the saw’s base plate, then clamp a straight board or cutting guide at the correct offset.
Allow the saw to reach full speed before entering the wood. Keep the base plate flat against the board throughout the cut and move forward at a steady pace.
Miter Saw
A miter saw is especially useful for repeated crosscuts. Place the board firmly against the rear fence and align the correct side of the blade with the cut line.
Bring the blade down slowly without turning it on to confirm its position. Raise the blade, start the saw, allow it to reach full speed, and then complete the cut.
Table Saw
A table saw is commonly used for ripping boards to width. Set the fence to the required measurement and verify the distance between the fence and the blade before cutting.
Use appropriate push sticks, featherboards, blade guards, and other safety equipment. Beginners should receive proper instruction before using a table saw.
Use Stop Blocks for Matching Pieces
When a project requires several pieces of identical length, measuring every piece separately can create small variations. A stop block provides a consistent reference point.
Clamp a scrap block to the miter saw fence or cutting station at the required distance from the blade. Place each workpiece against the stop before cutting.
Do not position a loose stop block where it can trap a cutoff between the blade and fence. The stop should be arranged according to the tool manufacturer’s safe operating instructions.
Account for Boards That Are Not Perfectly Straight
Lumber may be bowed, cupped, twisted, or uneven along an edge. These defects can affect both measuring and cutting accuracy.
Inspect each board before marking it. Select the straightest edge as your reference and avoid measuring from damaged corners. Severely warped lumber may need to be straightened, trimmed, or replaced.
The material-selection guidance in how to choose the right wood for beginner woodworking projects can help you select boards that are easier to measure and cut accurately.
Build With a Clear Cut List
Well-organized woodworking plans can help you confirm dimensions, arrange cuts efficiently, and reduce wasted material before construction begins.
Check Every Cut Before Assembly
Do not assume a cut is correct simply because it followed the marked line. Check each piece immediately after cutting.
Use a tape measure to confirm length and a square to check the cut end. Place matching parts side by side to identify small differences before assembly.
It is easier to correct a slightly oversized board than one that has already been cut too short. When appropriate, leave a piece slightly long and trim it gradually until it fits.

Common Measuring and Cutting Mistakes
Reading the Wrong Measurement
Fractional markings can be confusing when you are beginning. Slow down and count the marks carefully rather than estimating.
Starting From the Wrong End
Measuring from a damaged or uneven board end can make every cut inaccurate. Establish a square reference end first.
Using a Thick Pencil Line
A broad line creates uncertainty about where the blade should travel. Keep the pencil sharp and use thin marks.
Cutting on the Wrong Side of the Line
Always mark the waste side with an X. Position the blade kerf on that side rather than removing material from the finished piece.
Forgetting to Secure the Board
Movement during a cut can change the angle, damage the material, or cause injury. Support and clamp the workpiece correctly.
Rushing Repeated Cuts
When several pieces must match, use a stop block or carefully compare each new piece with a verified reference piece.
A Simple Accuracy Routine for Beginners
Use the same routine for every cut until it becomes automatic:
- Inspect the board and select a reference edge.
- Confirm the required dimension on the cut list.
- Measure carefully and make a fine mark.
- Use a square to extend the line.
- Mark the waste side with an X.
- Measure the finished section again.
- Support and secure the board.
- Align the blade on the waste side of the line.
- Make the cut at a steady pace.
- Check the finished length and squareness.
This process may feel slow at first, but it soon becomes faster and more reliable. Accuracy is usually the result of consistent habits rather than speed.
Practice With Simple Projects
The best way to improve measuring and cutting skills is to practice on uncomplicated builds. Small shelves, storage boxes, simple plant stands, and workshop organizers provide useful repetition without requiring advanced joinery.
Start with inexpensive straight boards and make several marked practice cuts before beginning an important project. Compare the pieces and identify whether any errors came from measuring, marking, blade placement, or tool control.
Projects such as those in seven small woodworking projects for a weekend provide practical opportunities to strengthen these basic skills.
Plan Your Next Woodworking Project
A detailed plan gives you a clear material list, dimensions, and cutting sequence so you can work with greater confidence and accuracy.
Final Thoughts
Learning how to measure and cut wood accurately is one of the most valuable steps in becoming a confident woodworker. Begin with reliable tools, measure from a consistent reference edge, mark thin lines, account for the blade kerf, and secure every workpiece before cutting.
Most importantly, avoid rushing. A few extra seconds spent checking a measurement can save lumber, prevent frustration, and produce a project that fits together correctly. With practice, accurate measuring and cutting will become a natural part of every woodworking build.

