
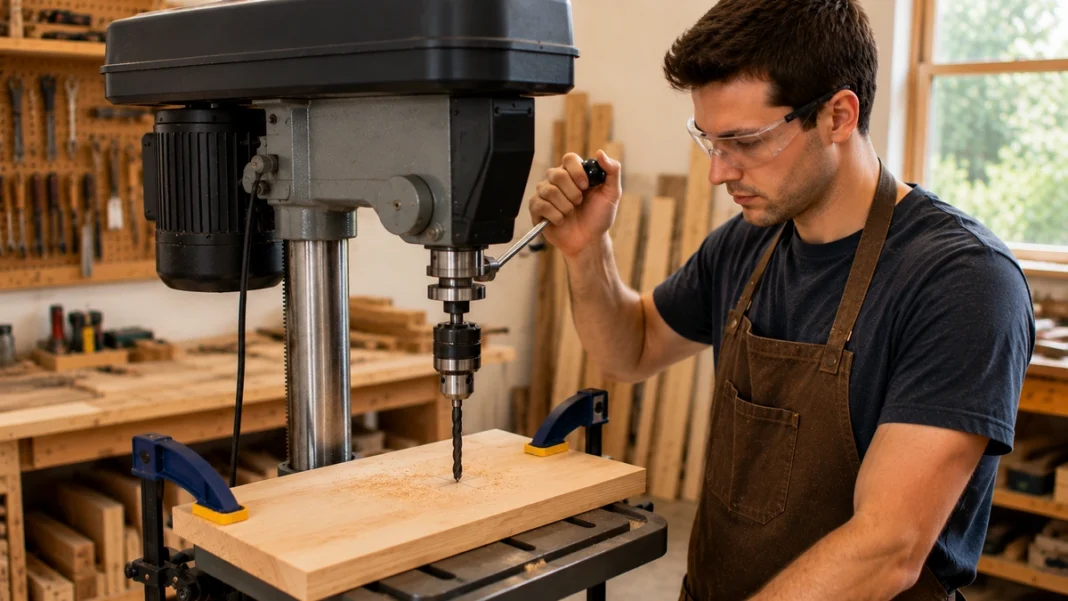
A drill press gives beginner woodworkers something that can be difficult to achieve with a handheld drill: repeatable, straight, accurate holes. The machine holds the drill bit vertically while the workpiece rests on an adjustable table, making it easier to control hole location, depth, and angle.
Learning how to use a drill press for beginners is mostly about proper setup. Choose the correct bit, adjust the table, secure the workpiece, select an appropriate speed, and keep your hands safely away from the rotating bit.
This guide walks through the process step by step so you can drill cleaner holes with more confidence while avoiding common beginner mistakes.
What Is a Drill Press?
A drill press is a stationary drilling machine with a motor, chuck, vertical column, adjustable table, and feed handle. Instead of bringing a handheld drill to the wood, you position the wood beneath the drill bit and lower the spinning bit into the workpiece.
A drill press is especially useful for:
- Drilling straight vertical holes
- Making several holes at the same depth
- Drilling repeated holes in multiple workpieces
- Using larger woodworking bits with better control
- Creating accurate holes for dowels, hardware, and project assembly
- Drilling holes with a depth stop
If you are still assembling your workshop, our guide to essential woodworking tools for beginners explains where a drill press fits among other useful woodworking tools.
How to Use a Drill Press for Beginners Safely
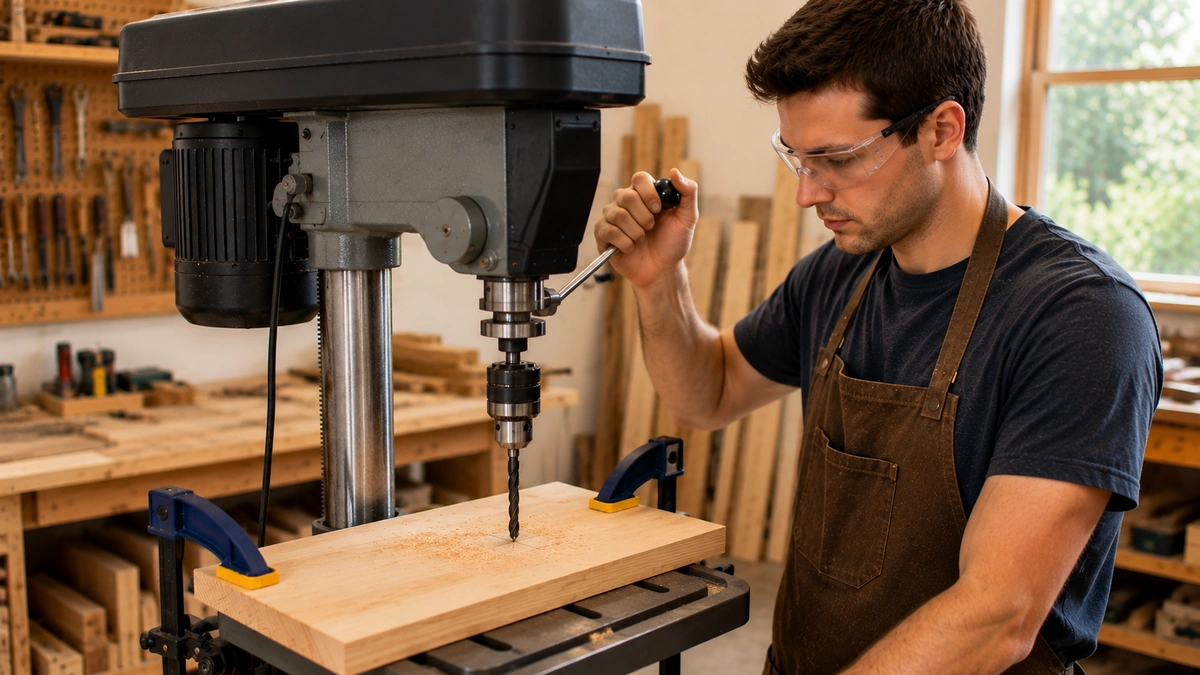
A drill press is precise, but it is still a rotating power tool. The bit, chuck, and spindle can grab loose material quickly, so safe setup matters before the motor is switched on.
Never wear loose gloves around a rotating drill press. Keep sleeves, jewelry, long hair, cords, and other loose items away from the spindle and bit.
Most importantly, do not rely on your hands to stop a workpiece from spinning if the drill bit catches. Secure the workpiece with clamps or an appropriate drill press vise whenever necessary.
1. Choose the Correct Drill Bit
The first step is choosing a bit that matches the hole and material you are working with.
Common woodworking choices include:
- Twist bits: Useful for general-purpose holes
- Brad-point bits: Excellent for accurate woodworking holes because the center point helps position the bit
- Forstner bits: Useful for larger, clean, flat-bottomed holes
- Spade bits: Useful for quickly drilling larger holes when maximum surface quality is not required
Inspect the bit before installing it. A damaged, bent, or extremely dull bit can produce poor results and increase the chance of problems while drilling.
2. Install the Bit Securely
Turn the drill press off before changing bits.
Open the chuck enough to accept the drill bit, insert the shank, and tighten the chuck securely according to the manufacturer’s instructions.
If your drill press uses a removable chuck key, remove it immediately after tightening the chuck. Never leave a chuck key installed when the drill press is started.
Rotate the chuck by hand with the machine off to make sure the bit appears centered and does not wobble excessively.
3. Set the Drill Press Table Height
Adjust the table so the workpiece can sit comfortably beneath the bit while leaving enough travel for the drill to reach the required depth.
The table should be high enough that you are not using excessive spindle travel, but low enough that the workpiece and any backer board fit safely beneath the bit.
Lock the table securely after adjusting its height.
4. Check That the Table Is Square
For straight vertical holes, the drill press table should be approximately perpendicular to the drill bit.
Many drill press tables can tilt for angled drilling. If the table has been moved previously, verify that it has returned to the correct position before drilling a project that requires a straight hole.
A small square can help you check the relationship between the table and the drill bit while the machine is turned off.
If you are working on projects where precise layout matters, our guide to measuring and cutting wood accurately covers several habits that can improve overall project accuracy.
5. Mark the Hole Location
Mark the center of the hole before positioning the workpiece on the drill press table.
A sharp pencil mark or small center indentation can make alignment easier, especially when using a brad-point bit.
With the drill press turned off, lower the bit carefully toward the workpiece and align the tip with the mark.
Do not start drilling until the workpiece is positioned correctly and secured.
6. Secure the Workpiece
This is one of the most important drill press safety habits.
A drill bit can catch the wood and cause the workpiece to rotate suddenly. A board that seems easy to hold can become dangerous very quickly if it begins spinning around the bit.
Use clamps, a drill press vise, a fence, or another appropriate holding method whenever the workpiece could move or rotate.
Keep clamps positioned so they do not interfere with the drill bit, chuck, feed handle, or moving parts of the machine.
For additional general workshop guidance, review our beginner woodworking safety rules.
7. Use a Backer Board to Reduce Tear-Out
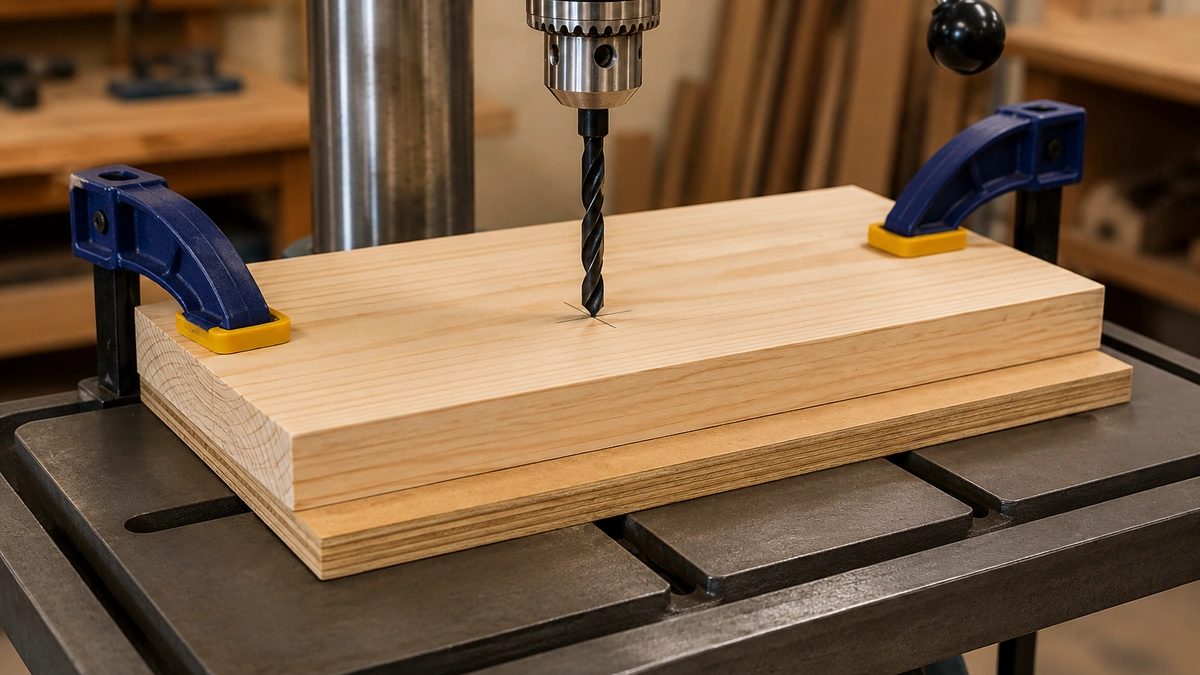
When drilling completely through a board, the underside can splinter as the drill bit exits the wood.
A simple sacrificial backer board placed beneath the workpiece can help support the wood fibers and reduce tear-out.
Clamp the project and backer board securely so they cannot shift during drilling.
The backer board also protects the drill press table from accidental contact with the drill bit.
8. Select an Appropriate Drill Press Speed
Drill presses often allow the spindle speed to be changed. The appropriate speed depends on the drill bit size, bit type, material, and recommendations for your particular machine.
As a general principle, larger-diameter bits usually require slower speeds than small drill bits.
Do not guess when using a large bit. Check the drill press manual and the recommendations supplied with the drill bit.
Always turn the machine off and follow the manufacturer’s procedure before changing belts, pulleys, or electronic speed settings.
9. Set the Depth Stop When Needed
One major advantage of a drill press is the ability to drill several holes to approximately the same depth.
If your machine includes a depth stop, position the workpiece correctly and set the stop according to the drill press instructions.
This can be helpful when drilling:
- Dowel holes
- Recesses for hardware
- Flat-bottomed holes with Forstner bits
- Repeated holes that should not pass completely through the workpiece
Test the depth setting on scrap material before drilling the actual project whenever accuracy is important.
10. Start the Drill Press and Let It Reach Speed
Before switching the machine on, confirm that the workpiece is secure and that the chuck key has been removed.
Stand in a stable position and switch on the drill press.
Allow the spindle to reach operating speed before feeding the bit into the wood.
If you notice unusual vibration, severe wobble, or an abnormal sound, turn the machine off and investigate the cause before drilling.
11. Lower the Bit Smoothly Into the Wood
Use the feed handle to lower the spinning drill bit into the workpiece with smooth, controlled pressure.
Do not force the bit aggressively into the wood. A sharp drill bit should cut without excessive pressure.
For deeper holes, it can help to periodically raise the bit slightly so chips can clear from the hole. This reduces heat and prevents packed chips from interfering with the cut.
Keep your hands away from the rotating chuck and bit throughout the operation.
12. Clear Chips Safely
Wood chips can accumulate around the hole and drill bit during use.
Do not brush chips away with your fingers while the drill press is running.
Wait until the machine has stopped completely before clearing debris. Use a brush, vacuum, or other appropriate method instead of reaching near sharp bits with bare fingers.
13. Inspect the Hole Before Repeating the Setup
After the spindle has stopped completely, remove or reposition the workpiece and inspect the result.
Check for:
- Correct hole location
- Correct depth
- Straight drilling
- Tear-out around the exit
- Burning or excessive heat marks
- Unexpected movement during drilling
If the hole is not correct, identify the cause before drilling additional project pieces.
How to Drill Repeatable Holes
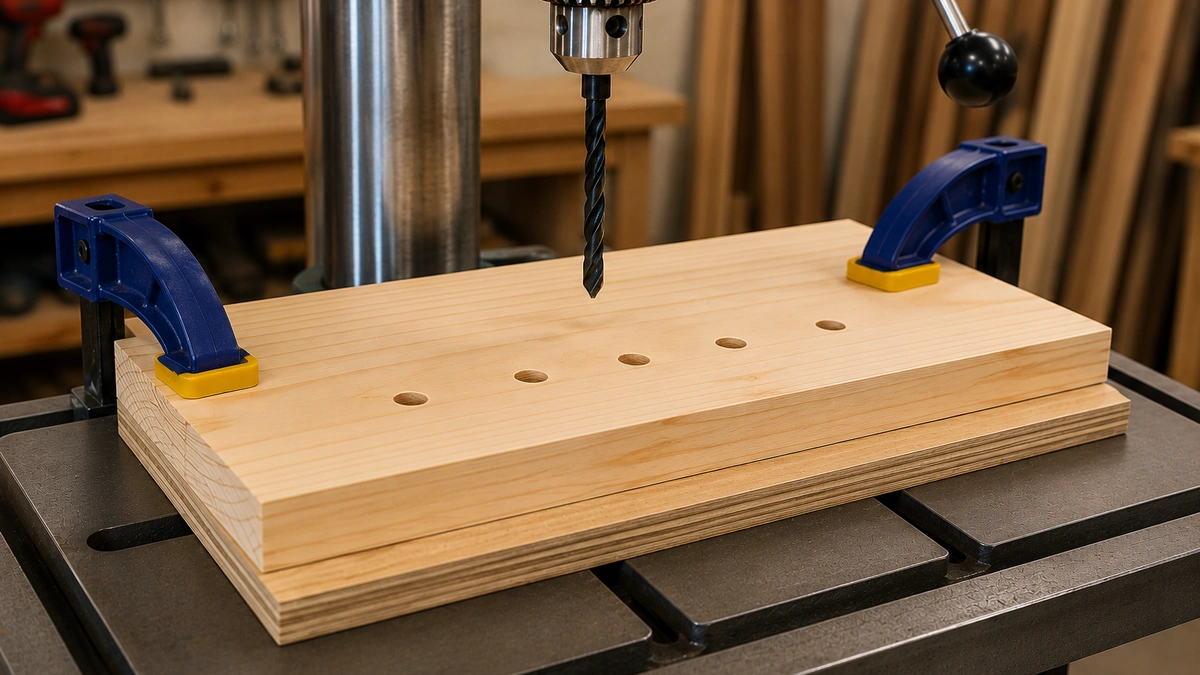
A drill press becomes especially useful when several workpieces need holes in the same location.
A fence and stop block can help position each piece consistently. Instead of measuring and aligning every board independently, the stop provides a repeatable reference point.
Make a test hole in scrap wood before drilling an entire batch of project pieces.
This approach can improve both speed and accuracy once the setup has been verified.
Common Drill Press Mistakes Beginners Should Avoid
Many beginner drill press problems come from setup rather than the drilling itself.
- Holding loose work by hand: Clamp the workpiece so the bit cannot spin it unexpectedly.
- Leaving the chuck key installed: Remove it immediately after tightening the bit.
- Using the wrong speed: Match spindle speed to the bit and material.
- Forcing the drill bit: Let the cutting edges do the work.
- Drilling without a backer board: Through-holes may develop unnecessary tear-out.
- Ignoring table alignment: A tilted table produces angled holes.
- Clearing chips by hand: Wait for the machine to stop and use a safer method.
- Drilling without testing: Scrap wood can reveal depth, speed, and alignment problems before the project is damaged.
Drill Press Safety Tips
Use these basic precautions every time you work at a drill press:
- Wear appropriate eye protection.
- Do not wear loose gloves around rotating machinery.
- Secure long hair and loose clothing.
- Remove jewelry that could catch in moving parts.
- Clamp workpieces when they could rotate or move.
- Keep hands away from the drill bit and chuck.
- Remove the chuck key before starting the machine.
- Turn the drill press off before making adjustments.
- Wait for the spindle to stop completely before reaching near the bit.
- Follow the operating instructions for your specific drill press.
WOOD Magazine also provides useful drill press tips and techniques for improving accuracy and getting more from the tool.
Drill Press vs. Handheld Drill
A drill press is not always a replacement for a handheld drill. Both tools have useful roles in a woodworking shop.
A handheld drill is portable and convenient for assembly, installation, and projects that cannot easily be brought to a stationary machine.
A drill press is especially useful when precision, repeatability, controlled depth, or larger bits matter.
If you are still working primarily with a handheld drill, our guide to drilling straight holes in wood covers several techniques for improving handheld drilling accuracy.
Practice on Scrap Wood First
The easiest way to become comfortable with a drill press is to practice on scrap wood before drilling an important project.
Practice aligning marks beneath the bit, clamping the board, controlling feed pressure, using a backer board, setting a depth stop, and drilling repeated holes.
If you want additional woodworking projects where you can practice drilling, measuring, fastening, and assembly skills, you can explore woodworking plans and project ideas here.
Final Thoughts
Learning how to use a drill press for beginners comes down to careful setup and controlled drilling. Choose the correct bit, secure the workpiece, verify table alignment, use an appropriate speed, and keep your hands away from rotating parts.
Once those habits become routine, a drill press can make accurate woodworking much easier. Straight holes, repeatable depth, cleaner drilling, and consistent results are all easier to achieve when the machine is set up correctly.
Take your time with the setup, practice on scrap wood, and let precision—not speed—be the goal.

