
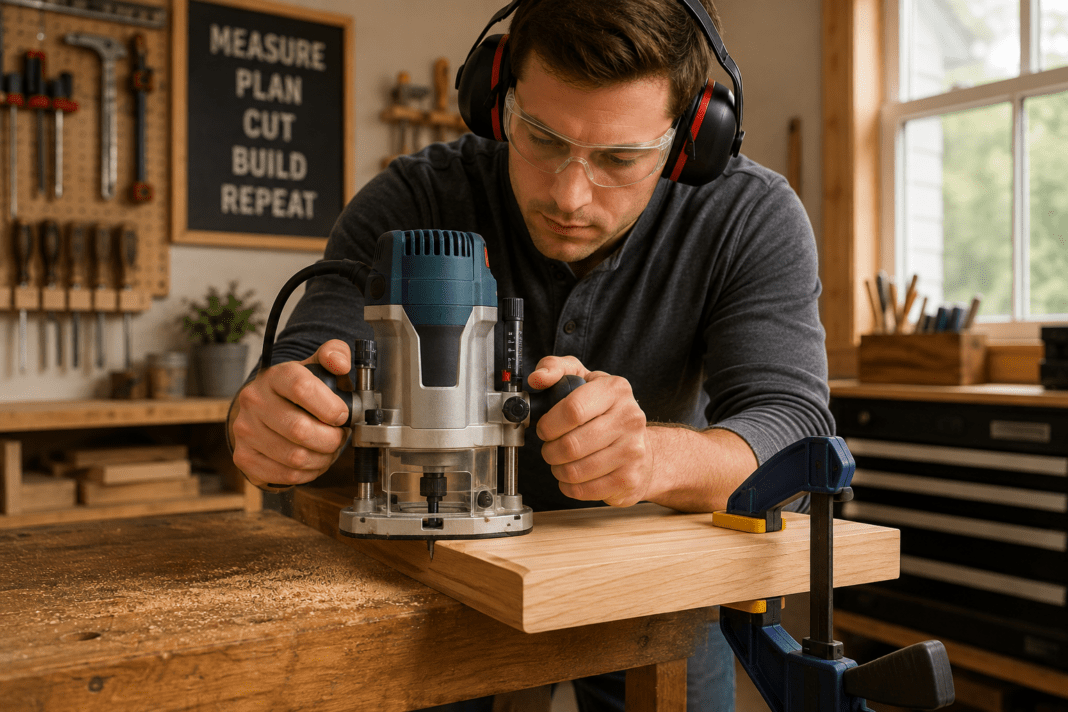
A wood router is one of the most versatile power tools you can add to a beginner woodworking shop. With the right router bit and a little practice, you can round over sharp edges, cut grooves and dados, trim material flush, shape decorative profiles, and give basic projects a much more finished appearance.
If you are learning how to use a wood router for beginners, the tool may look intimidating at first. Router bits spin at very high speeds, and the router can remove wood quickly. The key is not trying to master everything at once. Start with safe setup, shallow cuts, the correct feed direction, and simple practice cuts on scrap wood.
This beginner guide explains the basic parts of a wood router, how to install and set a bit, how to control the tool, and how to make clean edges and grooves without rushing the process.
What Is a Wood Router Used For?
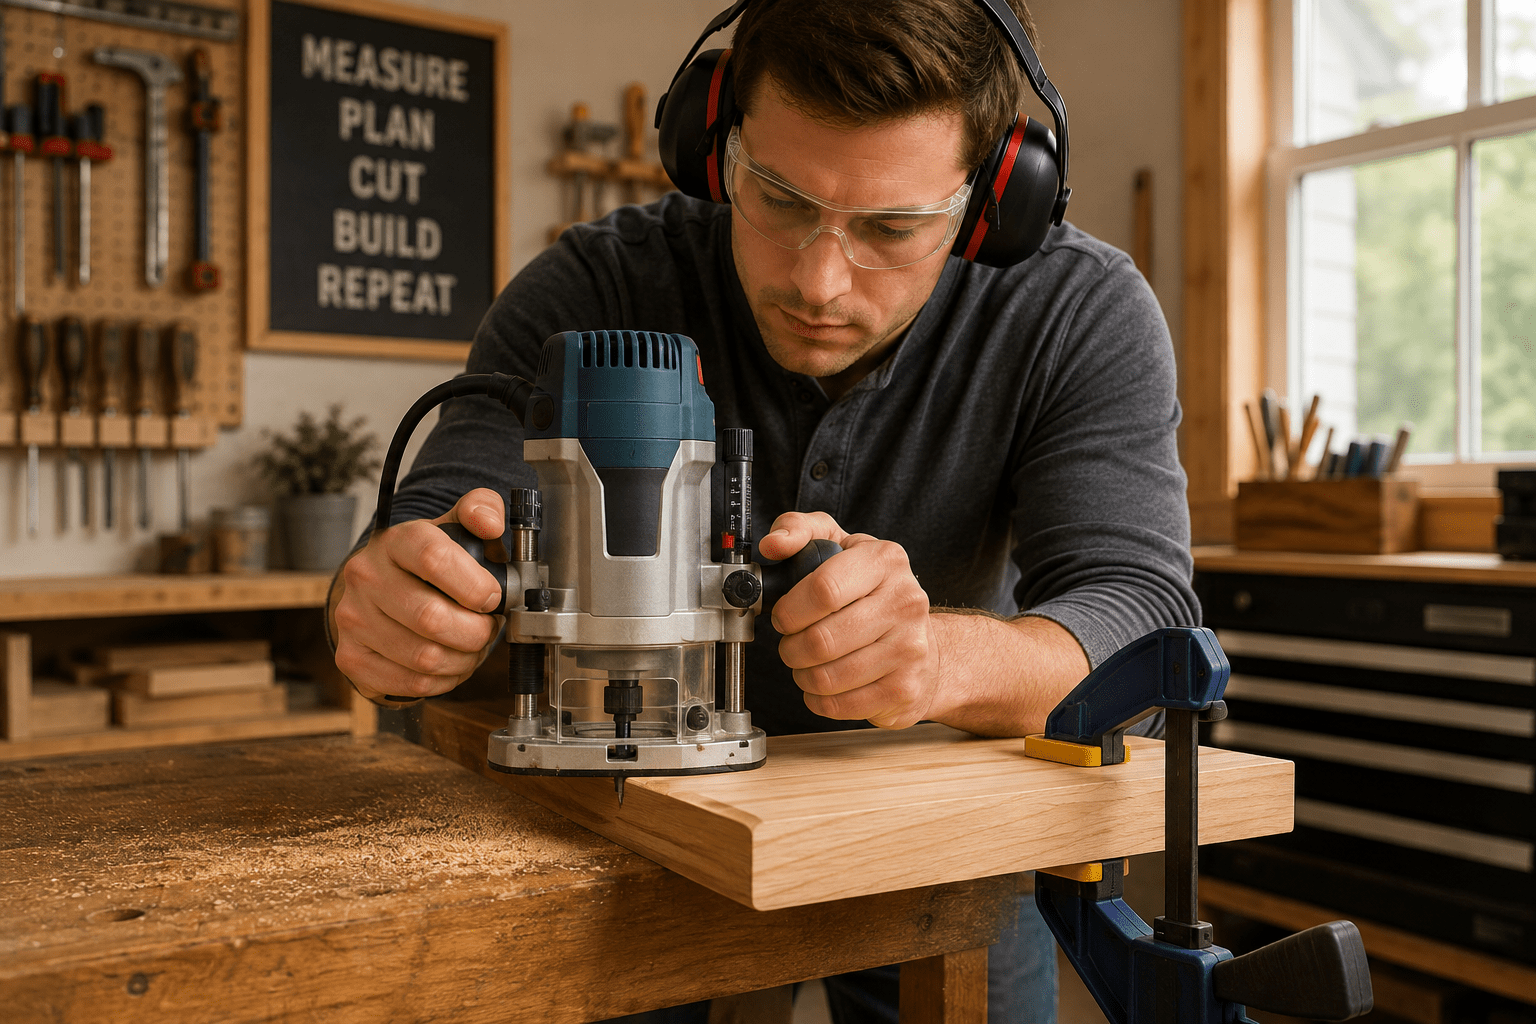
A wood router uses a rapidly spinning cutting bit to remove a controlled amount of material from wood. Unlike a circular saw or table saw, which is usually used to cut a board into separate pieces, a router is commonly used to shape an edge or remove material from a specific area of the workpiece.
Some common beginner router tasks include:
- Rounding over sharp board edges
- Adding simple decorative profiles
- Cutting straight grooves
- Cutting dados for shelves or panels
- Trimming one piece of material flush with another
- Creating recesses for hardware
- Following templates
- Making selected woodworking joints
You do not need to learn all of these techniques at once. For a first practice session, rounding an edge and cutting a shallow straight groove are enough to teach you the fundamentals of controlling the router.
Fixed-Base vs. Plunge Routers
Two common router configurations are the fixed-base router and the plunge router.
Fixed-Base Router
With a fixed-base router, you set the cutting depth before beginning the cut and lock the router at that depth. This design works especially well for edge shaping, flush trimming, and many other common routing jobs.
Plunge Router
A plunge router allows the motor and bit to move vertically through the base. This makes it useful when a cut must begin somewhere inside the surface of a board rather than entering from an outside edge.
Some router kits allow the same motor to be moved between fixed and plunge bases. You do not need both styles to start learning basic routing. The best choice depends on the work you intend to do.
If you are still deciding which tools belong in your first workshop, our guide to Essential Woodworking Tools for Beginners explains how routers fit alongside saws, drills, sanders, measuring tools, and other workshop basics.
How to Use a Wood Router for Beginners: 9 Simple Steps
Before trying decorative profiles or complicated joinery, learn a repeatable basic routing process. These nine steps will give you a safer and more controlled starting point.
1. Prepare Yourself and the Work Area
Start by clearing unnecessary tools, cords, scraps, and other obstacles from the work area.
Wear appropriate eye protection whenever you operate a router. Hearing protection is also important because routers can be loud. Depending on the material and dust-control setup, suitable respiratory protection may also be appropriate.
Avoid loose clothing, jewelry, or anything else that could move near the spinning bit. Long hair should be secured away from the tool.
Inspect the board before routing and make sure the cutting path is free of nails, screws, staples, and other hidden metal objects.
Router manufacturers provide model-specific operating and safety requirements, so always read the manual supplied with your own tool before use. The Bosch router operating and safety instructions provide a useful example of the precautions and operating principles manufacturers specify.
For a broader workshop safety refresher, see our Beginner Woodworking Safety: Essential Workshop Rules.
2. Choose a Simple Router Bit
Router bits come in many shapes and sizes, but beginners do not need a large collection.
Three common types are:
- Roundover bit: Creates a smooth rounded profile along the edge of a board.
- Straight bit: Removes material in a straight path and can be used for grooves, dados, and recesses.
- Flush-trim bit: Uses a bearing to follow an existing edge or template while trimming another surface to match.
A small roundover bit is an excellent choice for learning edge routing because the bearing helps guide the bit along the board. A straight bit is a logical next step when you are ready to practice grooves.
Always make sure the bit is compatible with the router, collet, material, and operating speed recommended by the tool and bit manufacturers.
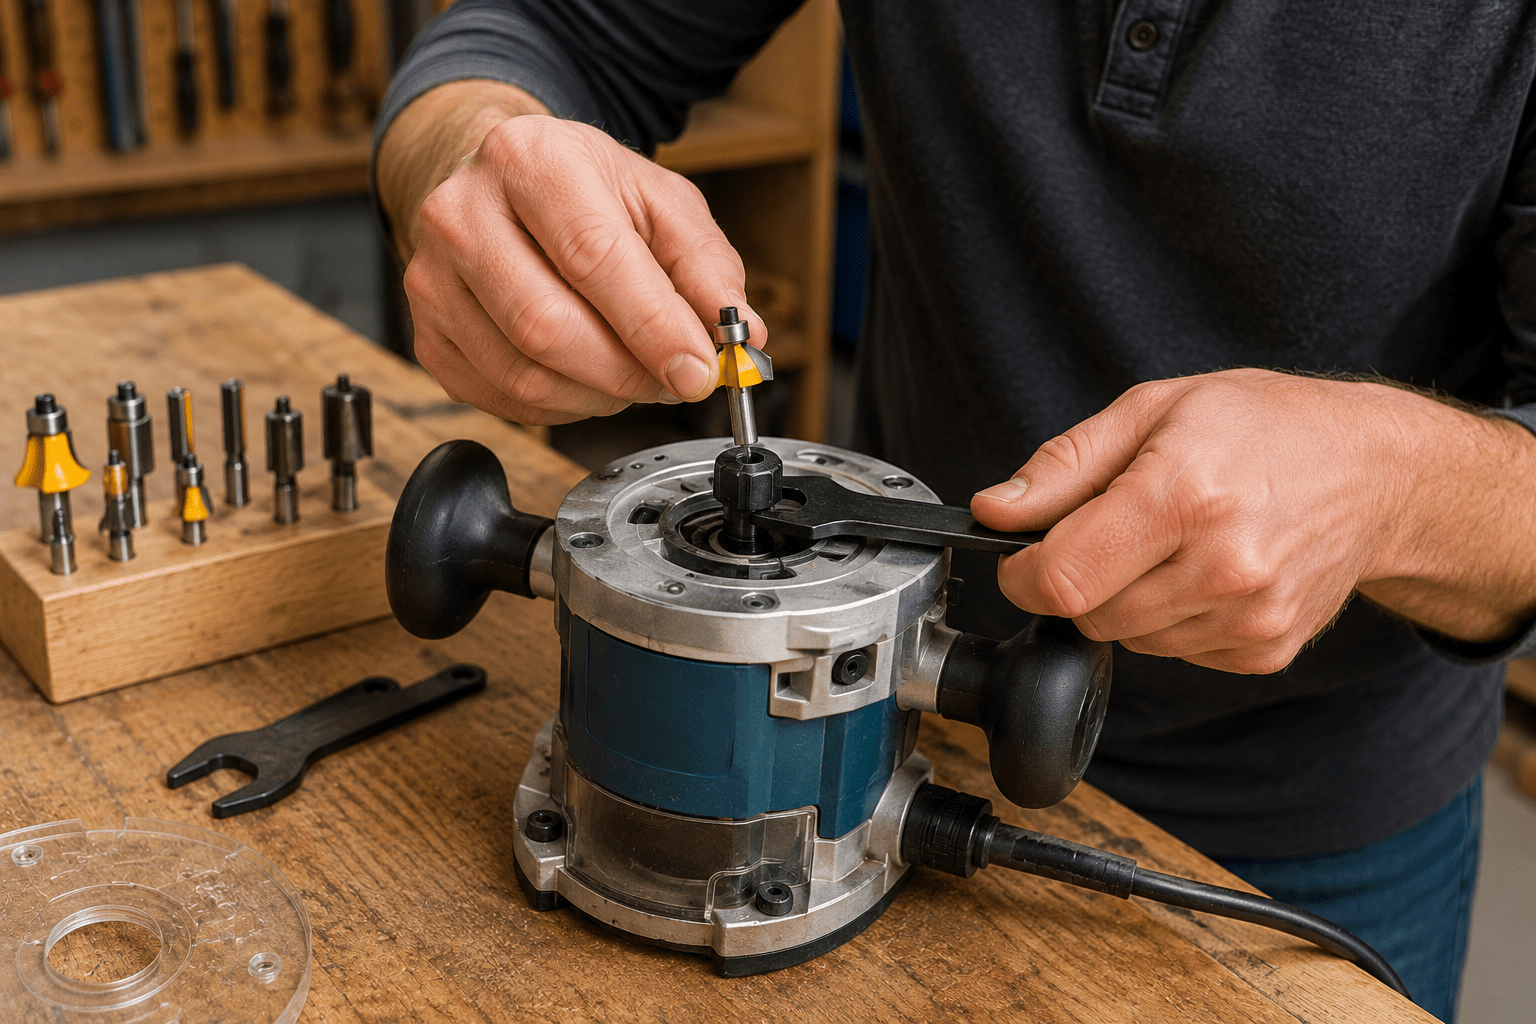
3. Disconnect Power Before Installing the Bit
Before changing or installing a router bit, make sure the router cannot accidentally start.
Unplug a corded router before working around the bit. If you are using a cordless router, remove the battery according to the manufacturer’s instructions.
Install the bit using the procedure specified for your router. Router models differ in their collets, spindle locks, wrenches, insertion requirements, and tightening procedures, so your owner’s manual should be the final authority.
After installing the bit, make sure the collet and any depth or base adjustments are securely locked before operating the router.
4. Set a Shallow Cutting Depth
One of the easiest ways for a beginner to make routing harder than necessary is to try to remove too much wood in one pass.
Start with a shallow cutting depth. If you need a deeper groove or a larger profile, make additional passes and gradually increase the depth.
Multiple light passes are easier to control than one aggressive cut. They also give you an opportunity to inspect the result and correct your setup before removing more material.
Practice the intended cut on scrap wood of similar thickness before touching the final project piece.
5. Clamp the Workpiece Securely
Your workpiece should remain stationary while you control the router.
Clamp the board securely to a stable workbench or work surface. Position the clamps where they will not interfere with the router base, bit, power cord, or your hands as you complete the cut.
Before switching on the router, trace the entire planned path and check that:
- The router base will remain properly supported
- The bit will not contact the workbench
- No clamp is in the router’s path
- The power cord is safely positioned
- You have room to maintain a balanced stance
- The cutting path is clear of metal fasteners
For a straight groove or dado, a securely clamped straightedge can help guide the router along a controlled path.
Accurate layout becomes especially important when routing grooves. If you need a refresher, see How to Measure and Cut Wood Accurately: A Beginner’s Guide.
6. Start With the Bit Clear of the Wood
Before switching on a handheld router, position it so the cutting bit is not already engaged with the workpiece.
Establish a secure grip on the tool, switch it on, and allow the motor to reach its operating speed before bringing the bit into the wood.
Starting a router while the bit is already contacting the material can cause an unexpected reaction and make the tool more difficult to control.
Keep the router base stable against the workpiece as you begin the cut. Do not rush this transition.
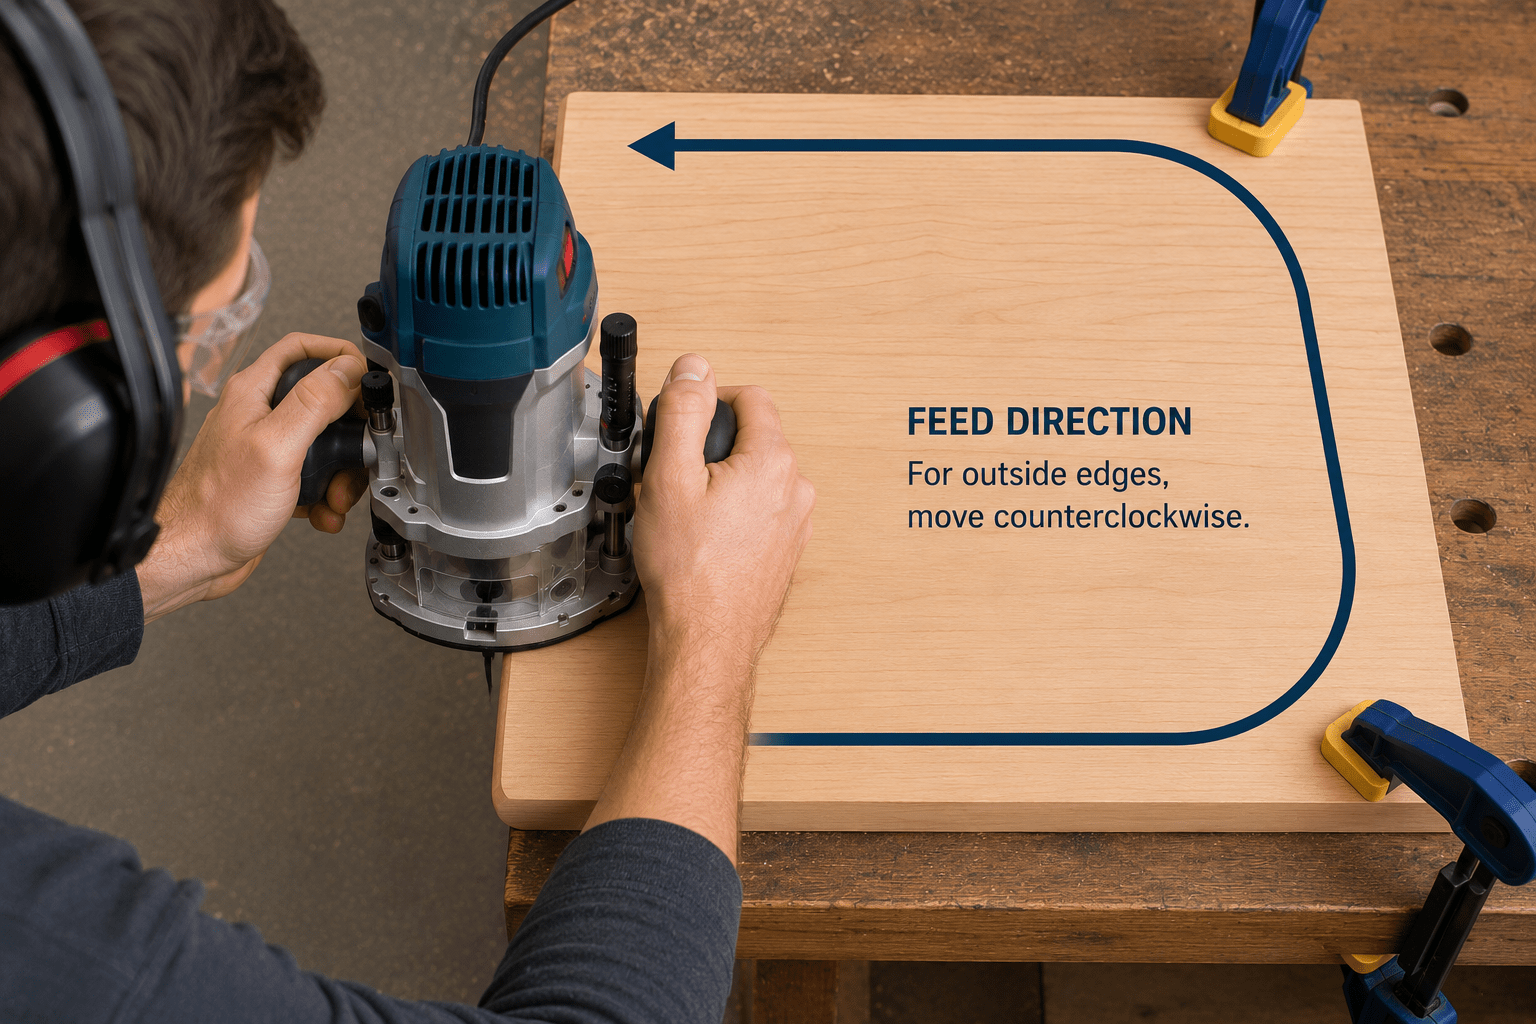
7. Feed the Router in the Correct Direction
Feed direction is one of the most important concepts for a beginner to learn.
When using a typical handheld router for conventional routing, the general rule is:
- Outside edge: Move counterclockwise around the workpiece.
- Inside edge: Move clockwise around the opening.
This relationship comes from the direction the router bit rotates. Feeding the router conventionally gives you resistance against the cut that helps you maintain control.
Moving in the opposite direction can cause the router to pull itself along the wood rather than allowing you to control the feed. This is commonly referred to as climb cutting.
Climb cutting can have specialized uses, but it is not the technique a beginner should use for ordinary routing practice. Learn conventional feed direction first and follow the instructions for your particular router and bit.
8. Keep the Router Moving Smoothly
Once the bit enters the wood, guide the router at a steady, controlled pace.
Do not force the router forward. At the same time, avoid unnecessarily stopping in one place while the bit continues spinning against the wood.
Keep the router base firmly supported and concentrate on maintaining contact with whatever is guiding the cut, such as a bearing, straightedge, fence, or template.
If the router sounds overloaded or becomes difficult to control, stop the operation safely and reconsider the depth of cut, router speed, bit selection, or feed rate rather than forcing the tool through the material.
For deeper cuts, make another shallow pass instead of trying to remove all of the material at once.
9. Wait for the Bit to Stop
When you finish the cut, maintain control of the router as you switch it off according to the operating procedure for your model.
Continue holding the tool securely until the router bit has stopped rotating. Do not place a handheld router down while the bit is still spinning.
Router bits can also become hot during use, so avoid touching the cutter immediately after completing a routing operation.
Disconnect the router from its power source before changing bits or performing adjustments that place your hands near the cutter.
How to Route a Clean Rounded Edge
Rounding over the edge of a scrap board is one of the best first exercises when learning how to use a wood router for beginners.
Start with a bearing-guided roundover bit that is appropriate for your router. Install it with the router disconnected from power, set the depth according to the bit and router instructions, and clamp a scrap board firmly to your work surface.
Before starting, check that the bearing will follow the intended edge and that the router base has enough support throughout the cut.
Start the router with the bit clear of the wood and allow it to reach operating speed. Bring the router smoothly into the workpiece and travel around the outside edge in the correct conventional direction.
Keep the base flat against the workpiece and allow the bearing to guide the profile. Do not tip the router as you move.
After completing the pass and allowing the bit to stop, inspect the edge. If the setup is correct, repeat the process on another piece of scrap until maintaining a smooth feed begins to feel natural.
How to Cut a Straight Groove or Dado With a Router
After you become comfortable routing an edge, a straight groove is a useful next exercise.
A groove is a channel cut into the wood, usually running with the grain. A dado is commonly used to describe a similar channel running across the grain. Both can be useful for shelves, panels, cabinet parts, and other woodworking assemblies.
For a beginner, a securely clamped straightedge provides a simple way to guide many straight cuts.
- Measure and mark the desired groove location.
- Install an appropriate straight bit with the router disconnected from power.
- Set a shallow first-pass depth.
- Calculate the offset between the router bit and the edge of the router base.
- Clamp the straightedge in the correct position.
- Verify that the router will follow the intended cut line.
- Start the router with the bit clear of the wood.
- Guide the router steadily along the straightedge.
- If greater depth is required, make additional shallow passes.
Taking the time to set the guide accurately matters more than trying to move quickly. A perfectly straight groove begins with careful measuring, marking, and setup.
Common Wood Router Mistakes Beginners Should Avoid
Trying to Remove Too Much Wood at Once
A deep, aggressive pass can make the router harder to control and place unnecessary load on the bit and motor. Start shallow and use additional passes when necessary.
Routing in the Wrong Direction
Learn conventional feed direction before experimenting with advanced routing techniques. The direction of travel matters because it affects how the spinning bit reacts against the workpiece.
Starting With the Bit Against the Workpiece
For normal handheld routing, start with the cutting bit clear of the material and allow the router to reach operating speed before beginning the cut.
Failing to Secure the Workpiece
Trying to hold a loose board while simultaneously controlling a router creates an unnecessary problem. Clamp the workpiece securely and keep the router path clear.
Making Adjustments While the Router Is Powered
Disconnect the power source before changing bits or making adjustments that require your hands to be near the cutter.
Ignoring the Owner’s Manual
Routers vary in speed controls, collets, bit capacities, depth-adjustment systems, handles, bases, and operating procedures. General woodworking advice does not replace the instructions for your specific model.
Skipping the Practice Cut
Scrap wood is one of the best learning tools in your workshop. A test cut lets you verify the router bit, depth, guide position, profile, and feed technique before you risk damaging a project piece.
What Should a Beginner Practice First?
You do not need complicated cabinetry or advanced joinery to start developing router skills.
Try this simple progression:
- Round over one edge of a scrap board.
- Repeat the cut on several pieces of scrap.
- Round over all four outside edges of a small board.
- Practice setting a shallow straight bit.
- Clamp a straightedge and cut a shallow groove.
- Deepen the groove using multiple passes.
- Repeat the same setup and try to produce consistent results.
The goal is not speed. You are learning what the router feels and sounds like when the setup and feed rate are working properly.
Once you are comfortable with basic tool control, our 7 Small Woodworking Projects for a Weekend can give you ideas for putting your growing woodworking skills to use.
Ready to Use Your New Router Skills?
Learning a woodworking tool becomes much more rewarding when you can use it to build something useful. If you are ready to move from scrap-wood practice to complete projects, explore these woodworking plans and project ideas for inspiration.
Build Confidence One Cut at a Time
When learning how to use a wood router for beginners, the tool may seem intimidating when you first hear the motor reach speed, but the fundamentals become much easier once you break them into a repeatable process.
Choose an appropriate router bit. Disconnect the power while installing or adjusting it. Secure the workpiece. Start with a shallow cutting depth. Keep the bit clear of the wood when starting the router. Use the correct feed direction. Maintain a smooth, controlled pace. Make additional light passes when needed. Then allow the bit to stop completely before setting the router down.
Most importantly, practice on scrap wood before making an important cut.
As your confidence grows, the router can become useful for everything from softened edges and straight grooves to templates, joinery, decorative profiles, and increasingly complex woodworking projects.
Before beginning a larger build, it can also help to review How to Plan Your First Woodworking Project so your measurements, materials, tools, and sequence of operations are organized before you start cutting.
Put Your Woodworking Skills Into a Real Project
You do not need to master every router technique before building something worthwhile. Start with projects that use simple cuts and repeatable steps, then add new techniques as your confidence improves. When you’re ready for your next build, take a look at our beginner-friendly woodworking plans.

