
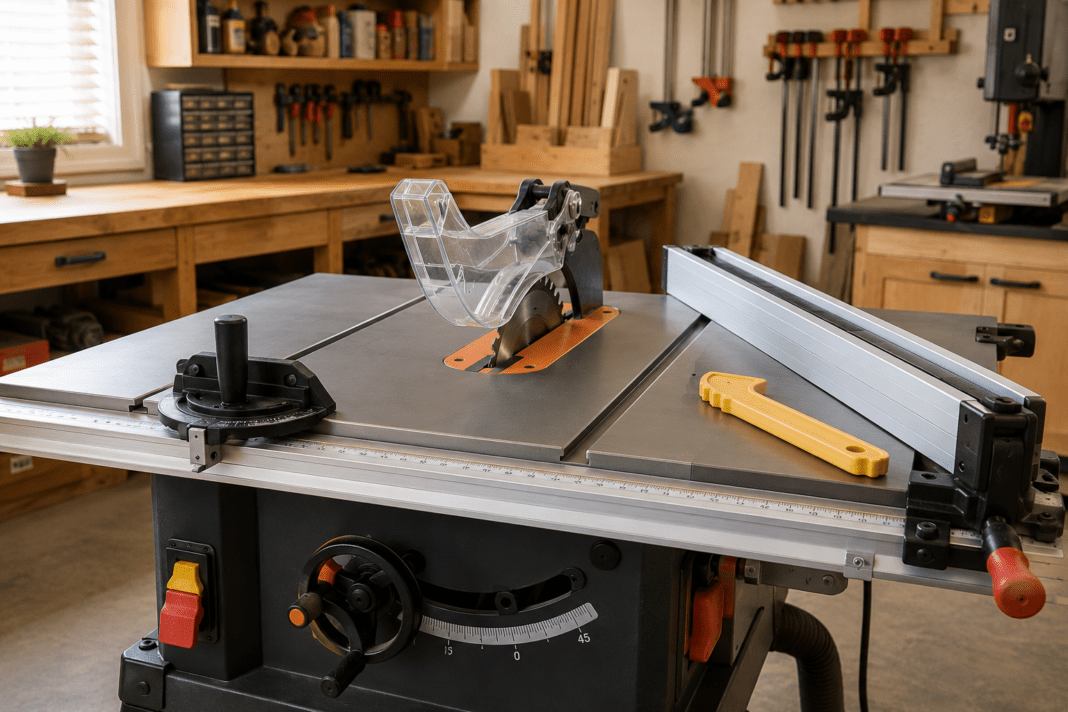
A table saw can become one of the most useful tools in a woodworking shop. It excels at making straight, repeatable cuts and is especially helpful when you need to rip boards to a consistent width. But because the blade operates above the table and the workpiece moves directly through the cutting area, learning proper setup and safe technique is essential.
If you are learning how to use a table saw for beginners, focus on control rather than speed. Understand the machine, prepare every cut before turning the saw on, and develop habits that keep your hands away from the blade and reduce the risk of kickback.
This beginner-friendly guide explains the main parts of a table saw, how to prepare for a cut, the difference between rip cuts and crosscuts, proper workpiece control, push-stick use, kickback prevention, and common mistakes to avoid.
Important: Table saw designs and safety systems vary. Always read and follow the owner’s manual for your specific saw before operating it, changing blades, adjusting guards, or modifying any part of the setup.
1. Learn the Main Parts of a Table Saw
Before making your first cut, identify the major components of your saw and understand what each one does. Becoming familiar with the machine before turning it on makes every later step easier.
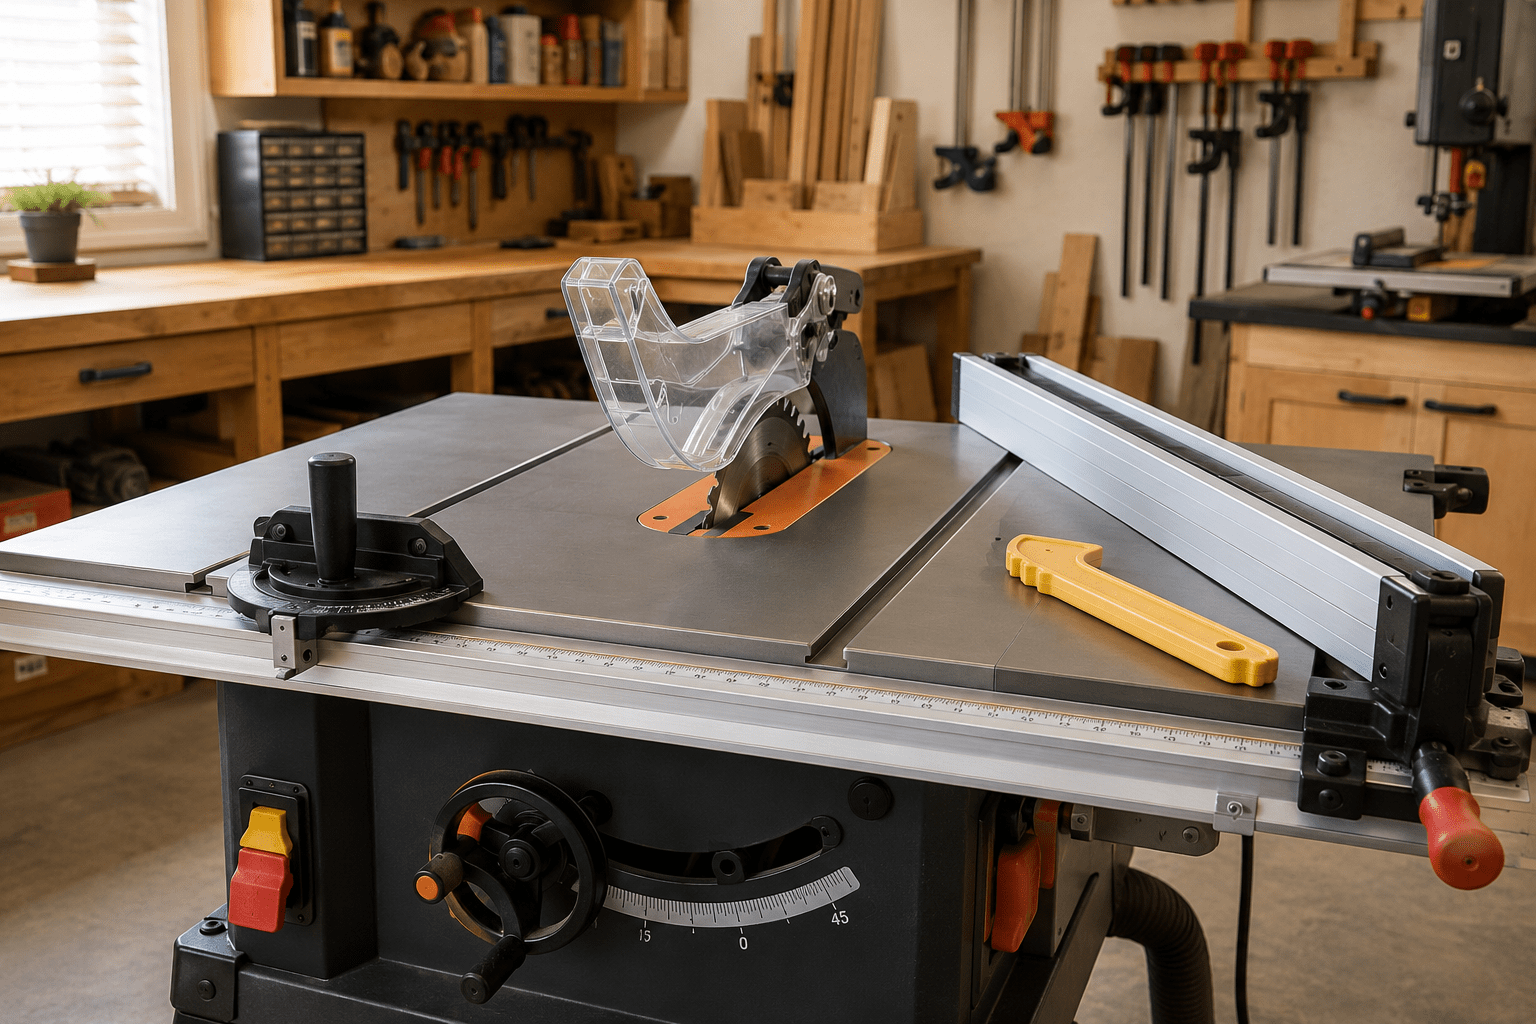
Common table saw components include:
- Saw blade: The rotating blade that projects through the table and performs the cut.
- Rip fence: A straight guide used primarily when ripping boards to width.
- Miter gauge: A guide that travels in a slot in the table and is commonly used for crosscuts and angled cuts.
- Blade guard: Helps provide a protective barrier around the exposed portion of the blade.
- Riving knife or splitter: Helps prevent freshly cut material from closing around the back of the blade.
- Anti-kickback devices: Some saws include pawls or similar components intended to help reduce backward movement of the workpiece.
- Throat plate: The removable insert surrounding the blade opening in the table.
- Blade-height control: Raises or lowers the blade.
- Bevel adjustment: Tilts the blade for angled cuts when the saw is designed for them.
- Power switch: Starts and stops the saw.
- Push stick or push block: Helps guide material while allowing your hands to remain farther from the blade.
Your saw may include additional safety systems, braking technology, dust collection, or accessories. Do not assume all table saws operate exactly the same way.
2. Prepare Yourself and the Work Area
A safe and accurate table saw cut starts before the machine is turned on.
Clear tools, scrap wood, extension cords, and other obstacles from the area around the saw. You should have enough room in front of and behind the table for the entire workpiece to move through the cut without striking a wall, bench, or other object.
Wear appropriate eye and hearing protection. Secure loose clothing and long hair, and remove jewelry or anything else that could become caught in moving equipment.
Inspect the material as well. Avoid cutting wood that contains nails, screws, staples, or other hidden metal. Severely warped, twisted, cracked, or unstable boards may also be difficult to control safely.
If you are still building your workshop habits, review our beginner woodworking safety guide before working with power tools.
3. Inspect the Table Saw Before You Use It
Do not simply turn the saw on and begin feeding wood.
Before each cutting session, confirm that the blade, throat plate, rip fence, blade guard, riving knife, and other required components are properly installed and secure.
Make sure the blade is appropriate for the material and type of cut. Damaged, loose, or improperly installed blades should never be used.
Keep manufacturer-provided guards, riving knives, anti-kickback components, and other safety equipment installed and correctly adjusted whenever the operation calls for them.
Before changing a blade or making adjustments near the cutting area, turn the machine off and disconnect it from its power source according to the manufacturer’s instructions.
For additional safety information, see the Occupational Safety and Health Administration’s table saw safety guidance.
4. Measure and Mark Your Cut
Accurate table saw work still begins with accurate measuring.
Determine the finished size you need before setting the fence or miter gauge. Measure carefully and clearly mark the workpiece when a reference mark will help confirm your setup.
For a rip cut, the rip fence usually establishes the finished width. Set the fence to the required measurement and confirm that it locks securely before starting the saw.
Avoid trying to steer wood by eye through a table saw. The proper fence, miter gauge, sled, or other suitable guide should control the workpiece for the operation being performed.
If measuring and layout are still new to you, our guide on how to measure and cut wood accurately covers the fundamentals.
5. Set the Blade Correctly
Blade setup should follow the instructions supplied with your particular saw and blade.
Before adjusting blade height, bevel angle, or hardware near the blade, switch the saw off, allow all moving parts to stop, and disconnect power as directed by the manufacturer.
Do not expose more blade than is necessary for the operation. Follow your saw manufacturer’s recommendation for the proper blade height, guard position, and riving-knife configuration.
Once the setup is complete, make sure the blade can rotate freely and that nothing interferes with the cutting path before reconnecting power.
6. Understand Rip Cuts and Crosscuts
Two of the most common table saw operations are rip cuts and crosscuts. They may both create straight cuts, but they use different guiding methods.
What Is a Rip Cut?
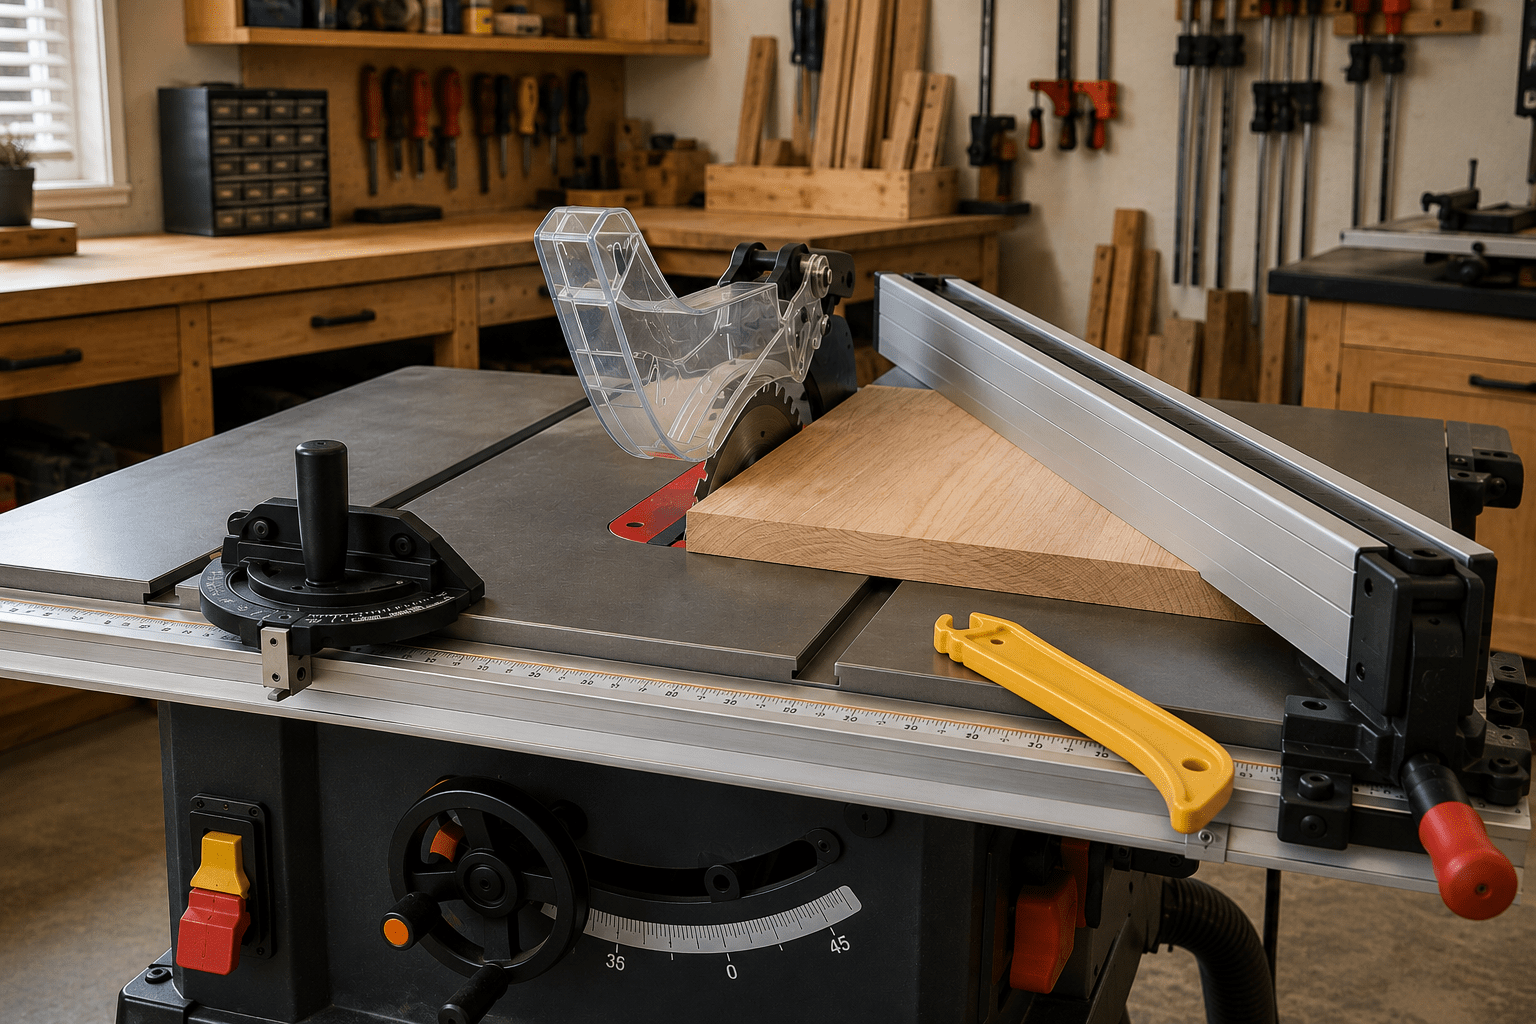
A rip cut travels generally along the grain of the board and is commonly used to reduce its width. The rip fence guides the workpiece in a straight line past the blade.
What Is a Crosscut?
A crosscut travels across the width or grain of the board and is commonly used to shorten a workpiece. A miter gauge or properly designed crosscut sled is generally used to guide the wood.
Do not create a setup that traps a crosscut workpiece between the blade and the rip fence. Follow the crosscutting procedure recommended by your saw manufacturer.
Different saws also excel at different woodworking jobs. Compare our guides to the circular saw, jigsaw, and miter saw if you are deciding which tool is best for a particular cut.
7. How to Make a Basic Rip Cut
Ripping boards to a consistent width is one of the jobs a table saw performs especially well.
Use this general sequence while following the instructions for your specific machine:
- Measure the finished width you need.
- Set the rip fence to the correct position.
- Lock the fence securely.
- Confirm that the workpiece can travel completely through the cut without hitting anything.
- Check that the blade guard, riving knife, and other required safety equipment are properly installed.
- Plan where your hands will remain throughout the entire cut.
- Position yourself with stable footing and avoid standing directly in the likely path of kickback.
- Turn the saw on and allow it to reach normal operating speed.
- Keep the workpiece controlled against the table and fence while feeding it smoothly forward.
- Use a push stick, push block, or another appropriate push device whenever the operation calls for one.
- Continue controlling the workpiece until it has safely passed the blade.
- Turn the saw off and allow the blade to stop completely before reaching near the cutting area.
Do not force the wood through the blade. A controlled, steady feed is generally safer and produces better results than rushing the cut.
8. Keep Your Hands Away From the Blade
Your hands should never move into an unsafe position simply because the workpiece is getting shorter as it travels through the cut.
Before turning on the saw, plan the complete motion of the cut. Know where both hands will begin, how the workpiece will remain supported, and how you will finish the cut without reaching toward the blade.
A push stick or push block can help maintain control while keeping your hands farther from the cutting area. Use the type of device appropriate for your saw, the workpiece, and the operation.
Never reach across, over, or behind a spinning table saw blade to retrieve an offcut.
9. Understand Table Saw Kickback
Kickback occurs when a workpiece is suddenly caught or driven backward toward the operator. It can happen quickly and is one of the most serious hazards associated with a table saw.
Kickback can occur when material binds against the blade, twists during the cut, closes around the rear of the blade, becomes trapped, or loses proper contact with the guiding system.
Good habits that can help reduce kickback risk include:
- Keep the rip fence correctly aligned and securely locked.
- Use the riving knife or splitter as directed by the manufacturer.
- Keep required guards and anti-kickback components in place.
- Never make a freehand cut that should use a fence, miter gauge, sled, or other guide.
- Use flat, stable material that can remain properly supported.
- Maintain steady control of the workpiece throughout the cut.
- Avoid standing directly behind the blade in the likely path of a kicked-back board.
- Do not force wood through the blade.
- Never reach behind a moving blade to retrieve an offcut.
If the workpiece begins to bind or the cut does not feel right, do not attempt a sudden correction with your hands near the blade. Shut the saw down safely and allow the blade to stop before correcting the setup.
10. Support Long and Large Workpieces
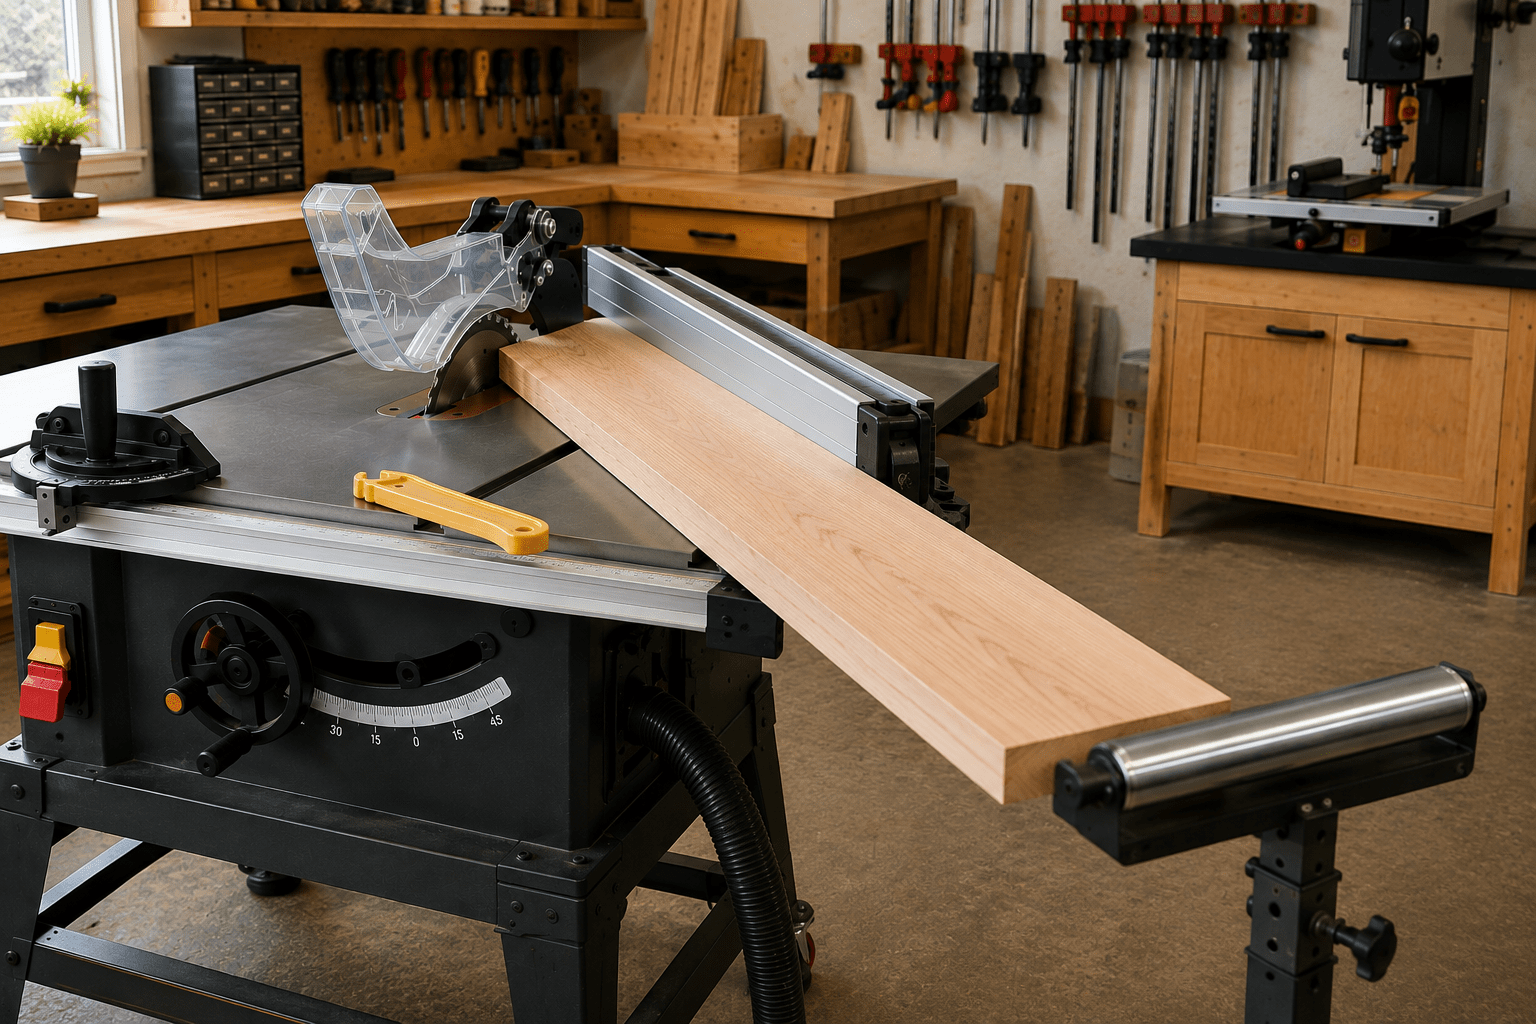
Long boards can become difficult to control if their weight begins pulling downward after they pass the back edge of the saw.
Use suitable outfeed support when the workpiece extends significantly beyond the table. The support should allow the board to remain stable and continue moving without lifting, dropping, or twisting during the cut.
Large sheet goods can also be difficult for beginners to control on a small table saw. Depending on your workspace and equipment, breaking down a full sheet with a properly supported circular saw setup may be easier before moving smaller pieces to the table saw.
Never attempt a cut if you cannot safely control and support the material throughout its entire travel.
11. Wait Until the Blade Stops Completely
The operation is not finished the moment the wood passes the blade.
After turning the table saw off, stay clear of the cutting area until the blade has stopped completely. Do not reach toward the blade to remove small scraps while it is still moving.
Never try to slow a coasting blade with a piece of wood or any other object.
Waiting a few extra seconds is a simple habit that should become part of every table saw operation.
12. Avoid Common Beginner Table Saw Mistakes
Learning what not to do is just as important as learning the correct cutting technique.
Using the Saw Without Reading the Manual
Controls, guards, blade systems, and adjustment procedures vary between manufacturers. Read the manual for your actual saw rather than assuming every model works the same way.
Removing Safety Equipment Without a Valid Reason
Keep the blade guard, riving knife, and other manufacturer-provided safety equipment installed and correctly configured whenever the operation permits and the instructions call for them.
Making Freehand Cuts
Do not guide wood through the blade without an appropriate fence, miter gauge, sled, or other suitable system.
Standing Directly Behind the Blade
Think about the possible path of a board if kickback occurs and position your body accordingly.
Reaching Near a Moving Blade
Allow the blade to stop completely before retrieving material near the cutting area.
Using Unsupported Material
Long boards and large sheets need enough support to remain stable throughout the cut.
Forcing the Wood Through the Saw
A smooth, controlled feed is preferable. If the wood binds or requires unusual force, stop and identify the problem.
Using Damaged or Unstable Stock
Twisted, badly warped, cracked, or contaminated wood may be difficult to control safely.
Rushing the Setup
Accurate table saw work depends heavily on preparation. Taking another minute to verify the fence, blade, guard, workpiece, and support can prevent mistakes.
13. Practice Simple Cuts Before Advanced Techniques
Your first table saw project does not need complicated joinery, dadoes, bevels, or large sheet goods.
Begin with simple straight cuts using manageable pieces of suitable wood. Practice measuring, setting the fence, checking your workpiece support, planning your body position, and feeding material smoothly.
These basic habits provide the foundation for nearly everything else you may eventually do with a table saw.
Once your confidence grows, the saw can be useful for shelves, boxes, shop projects, cabinets, furniture components, and many other woodworking projects.
Table Saw vs. Circular Saw vs. Miter Saw vs. Jigsaw
Beginners often wonder which saw they should use for a particular woodworking job. Each type has strengths that make it better suited to certain cuts.
- Table saw: Excellent for repeatable straight cuts and ripping boards to consistent widths.
- Circular saw: Portable and useful for breaking down large material or making straight cuts away from a stationary machine.
- Miter saw: Particularly convenient for repeated crosscuts and many angled cuts.
- Jigsaw: Useful for curves, openings, and shapes that straight-cutting saws cannot easily make.
Many woodworking shops eventually use several of these tools because they complement one another rather than completely replacing one another.
How to Use a Table Saw for Beginners Safely
Learning how to use a table saw safely is not about working quickly. It is about creating a reliable routine that you follow every time.
Understand the machine, inspect the setup, use the correct guide, support the material, keep your hands away from the blade, plan for kickback risk, and never rush a cut.
Once those habits become automatic, making accurate straight cuts becomes much easier and the table saw can become one of the most useful tools in your woodworking shop.
If you are ready to put those skills into practice, explore our woodworking project plans and ideas for inspiration on what to build next.
Frequently Asked Questions About Table Saws
Is a table saw good for beginners?
Yes. A table saw can be useful for beginners when the operator understands the machine, follows the manufacturer’s instructions, keeps the appropriate safety equipment installed, and starts with simple, controlled cuts. It is not a tool to learn through improvisation, so instruction from an experienced operator can also be valuable.
What is the easiest table saw cut for a beginner?
A straightforward rip cut on a manageable, flat workpiece is a common beginner operation because it teaches fence setup, workpiece control, support, feed direction, and push-stick use. The best first cut still depends on the instructions for your particular saw.
What does a riving knife do?
A riving knife sits behind the blade and helps prevent the freshly cut kerf from closing around the rear portion of the blade. This can help reduce conditions that contribute to kickback. Keep it installed and adjusted as directed by the manufacturer.
Should beginners use a push stick?
Yes, when the operation calls for one. A push stick or other suitable push device helps maintain control of the workpiece while allowing your hands to remain farther from the blade. Follow the recommendations in your saw manual for the correct device and technique.
Can I use the rip fence for a crosscut?
A basic crosscut is normally guided with a miter gauge or properly designed crosscut sled rather than trapping the workpiece between the blade and rip fence. Specialized setups may use a correctly positioned stop block, but beginners should follow the crosscut procedure recommended by the saw manufacturer.
Why does a table saw kick back?
Kickback can occur when wood binds, twists, closes around the blade, contacts the rear portion of the blade, becomes trapped, or otherwise loses proper control. Correct fence alignment, a properly installed riving knife, suitable guards, good material support, and careful technique can help reduce the risk.
Do I need a table saw if I already own a circular saw?
Not necessarily. A circular saw is portable and can handle many straight cuts, especially when used with a guide. A table saw becomes especially useful when you need repeatable cuts or want to rip several boards to the same width. Many woodworkers eventually use both because each tool has different strengths.

