
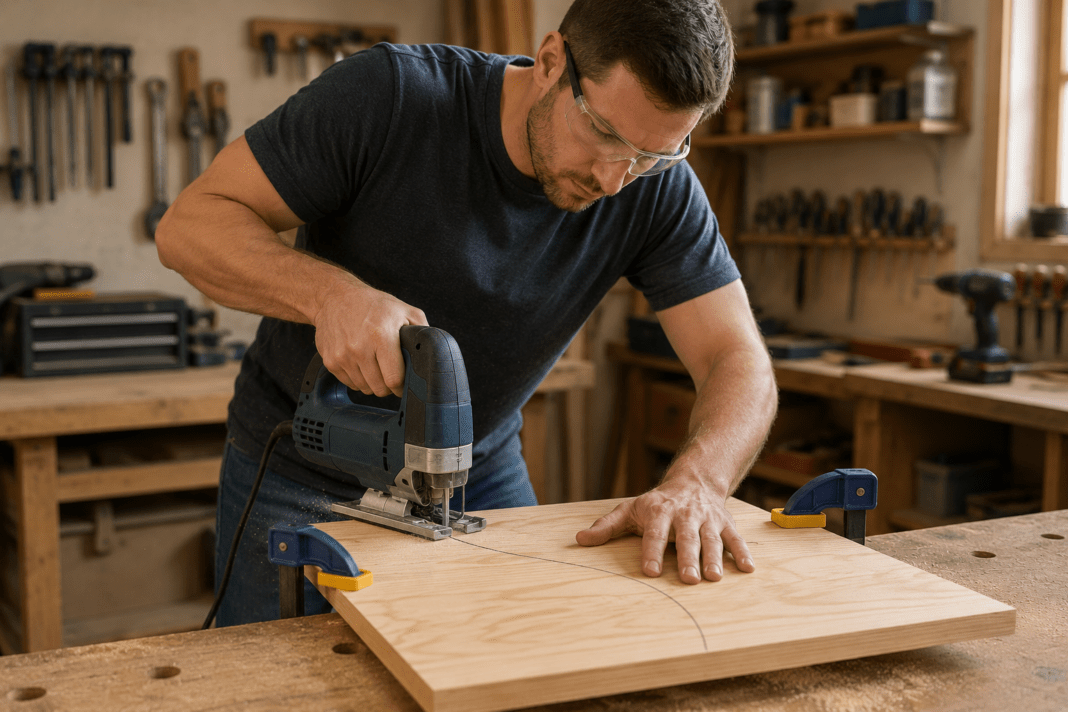
If you’re learning how to use a jigsaw for beginners, start with the right blade, a securely supported workpiece, and a controlled cutting technique.
A jigsaw is one of the most useful power saws a beginner can add to a workshop. Unlike a circular saw, which excels at long straight cuts, a jigsaw uses a narrow up-and-down blade that can follow curves, cut openings, and handle shapes that would be difficult with many other saws.
The tool is approachable, but good results still depend on choosing the right blade, supporting the workpiece, controlling the saw, and letting the blade cut at its own pace. A few basic habits can make the difference between a clean, controlled cut and a wandering or splintered one.
This beginner’s guide walks through the entire process—from blade selection and setup to straight cuts, curves, interior openings, and common mistakes—so you can use a jigsaw more safely and confidently.
If you are still putting together your first workshop, our guide to essential woodworking tools for beginners can help you decide where a jigsaw fits among the basic tools you actually need.
What Is a Jigsaw Used For?
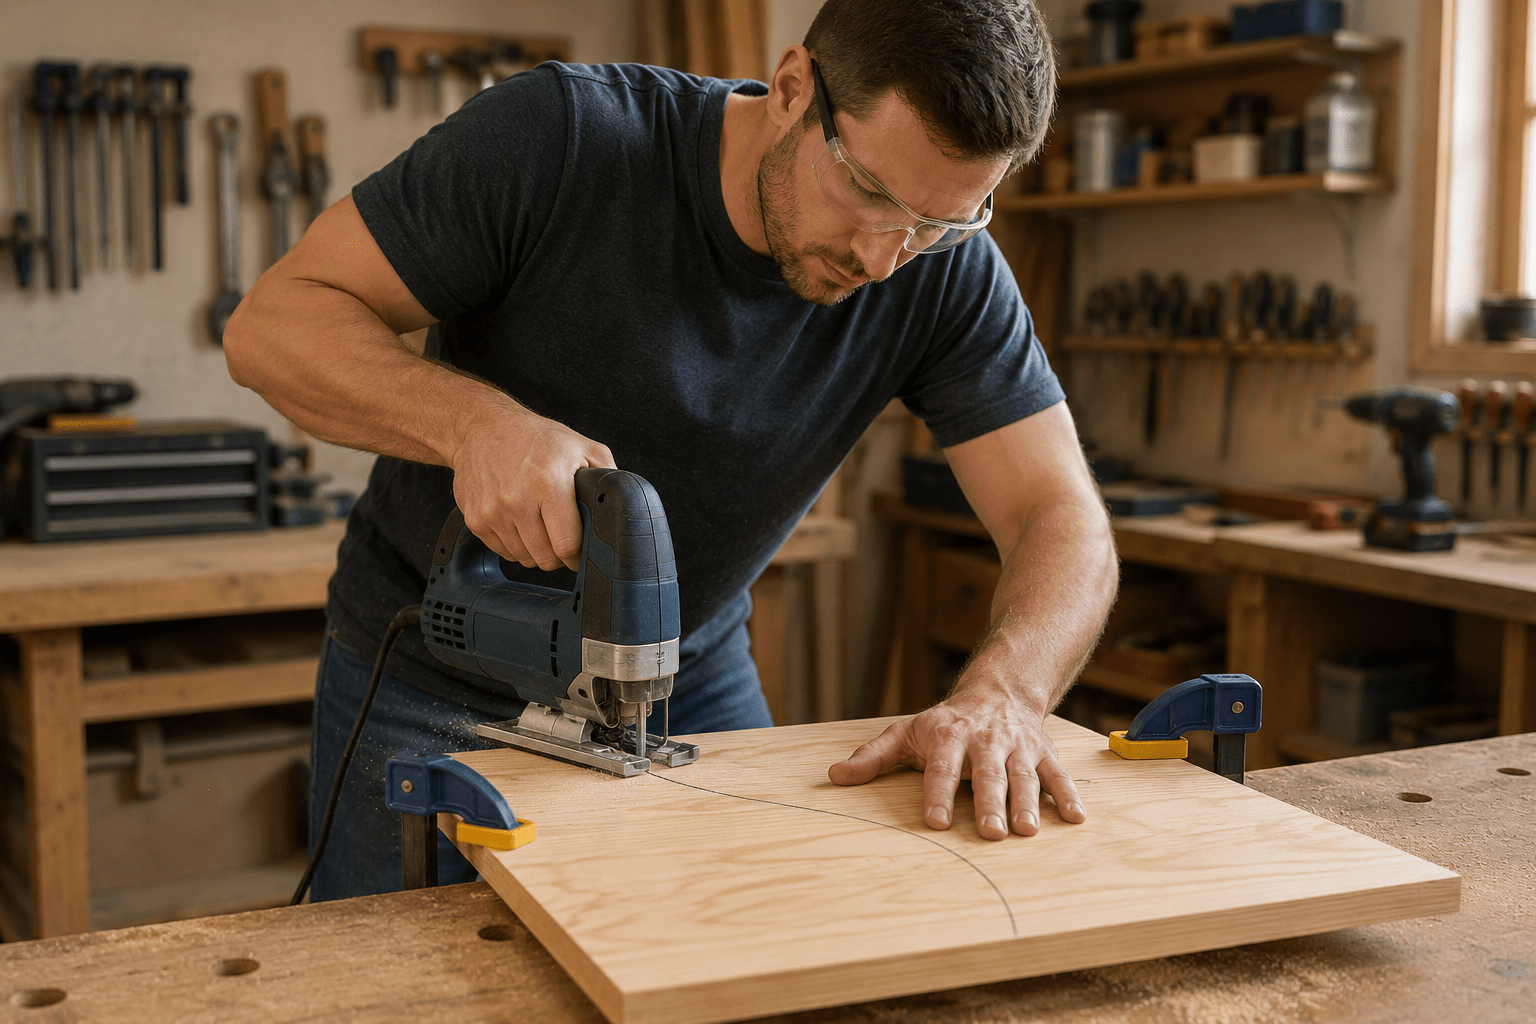
A jigsaw is a handheld power saw with a narrow blade that moves rapidly up and down. Its greatest advantage is maneuverability. Because the blade is much narrower than a circular-saw blade, the tool can follow curved lines and change direction as you cut.
Common beginner uses for a jigsaw include:
- Cutting gentle and moderately tight curves
- Making straight crosscuts in boards and sheet material
- Cutting notches and irregular shapes
- Creating openings inside a panel
- Trimming plywood, MDF, and other sheet goods
- Cutting wood for simple decorative projects
A jigsaw does not replace every saw. For long, fast, straight cuts through dimensional lumber or sheet goods, a circular saw is usually more efficient. If you need help with that tool, see our beginner’s guide to using a circular saw.
1. Choose the Right Jigsaw Blade
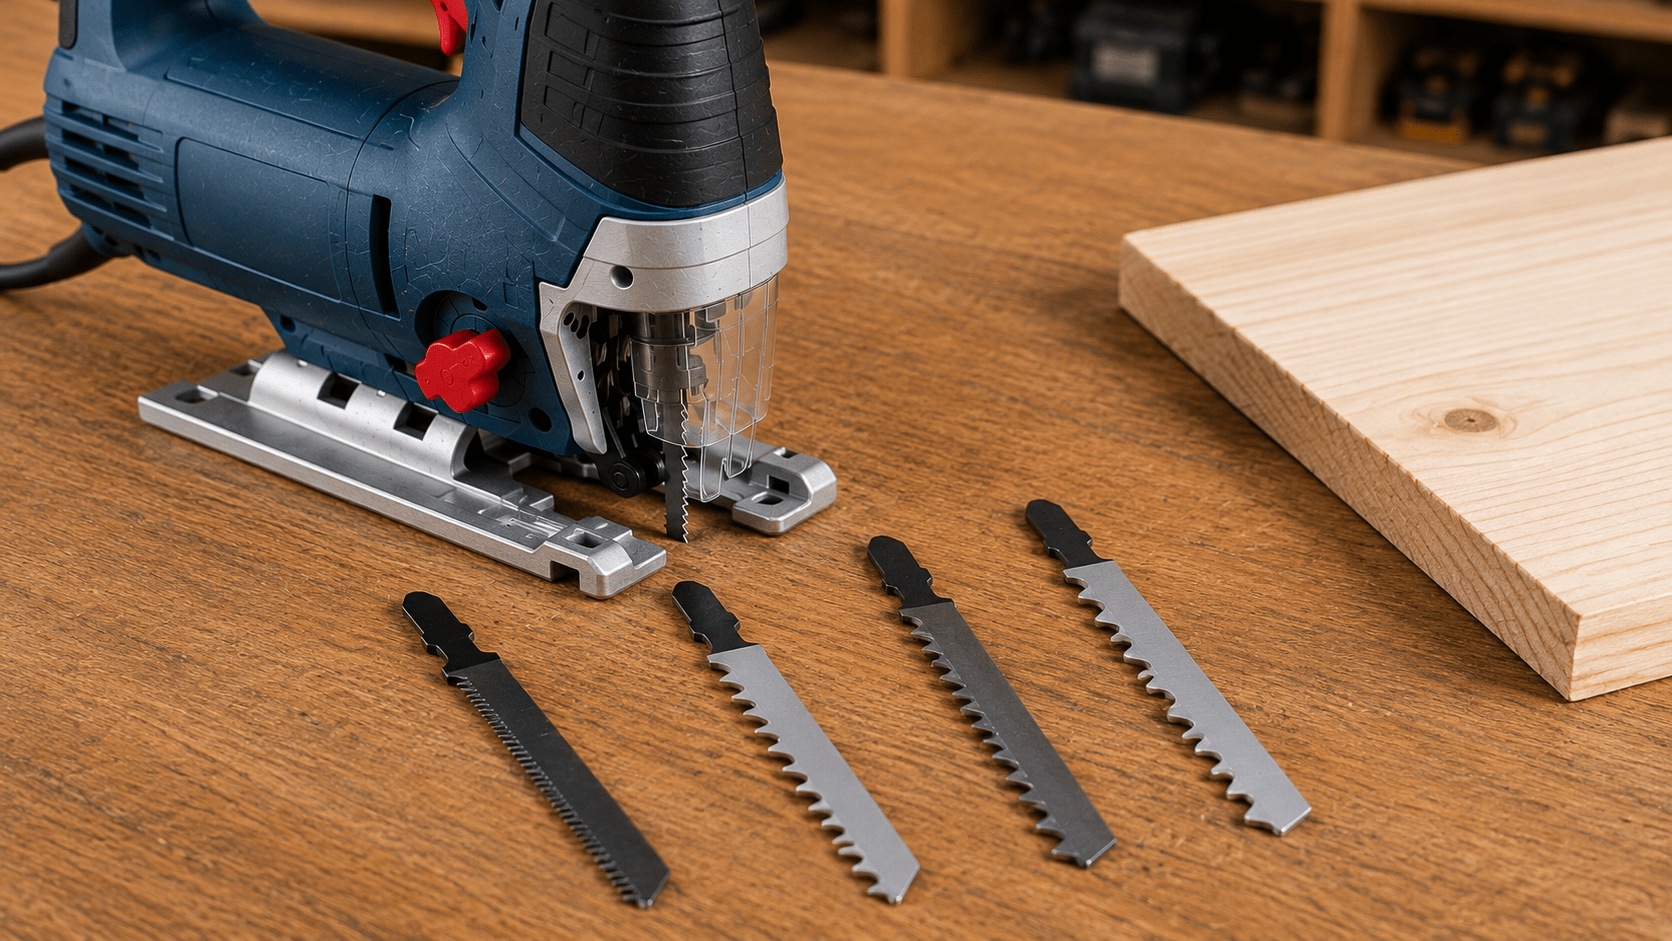
The blade has a major effect on how easily the saw cuts and how clean the finished edge looks. Jigsaw blades are available for wood, metal, plastic, laminate, and other materials, so do not assume that every blade in the package is interchangeable.
Use a Wood-Cutting Blade for Basic Woodworking
For most beginner woodworking projects, start with a blade specifically labeled for wood. A medium-tooth blade is a useful general-purpose choice because it balances cutting speed and edge quality.
Blades with fewer, larger teeth usually cut faster but can leave a rougher edge. Blades with more, finer teeth generally produce a smoother cut but move through the material more slowly.
Match the Blade to the Type of Cut
A wider, sturdier blade is helpful when you want the saw to track straighter. For curves, a narrower scrolling or curve-cutting blade can turn more easily without being forced sideways.
Also check the blade’s recommended material thickness. The cutting teeth should extend completely through the workpiece during the stroke.
Know Which Direction the Teeth Cut
Many common jigsaw blades cut on the upward stroke, which can cause more splintering on the top face of the workpiece. Reverse-tooth and specialty clean-cut blades behave differently, so always check the blade packaging rather than relying on appearance alone.
2. Set Up the Jigsaw Before Cutting
Good cuts begin before the trigger is pressed. Take a minute to inspect the tool and prepare the work area.
For an additional overview of jigsaw setup and operation, see Home Depot’s guide to using a jigsaw.
- Disconnect the power. Unplug a corded jigsaw or remove the battery before installing or changing a blade.
- Install the blade securely. Follow the locking procedure specified for your saw and make sure the blade is fully seated.
- Check the base plate. The shoe or base should be locked firmly at the angle you intend to use. For normal square cuts, it should be set to 90 degrees.
- Inspect the blade. Do not use a visibly bent, damaged, dull, or inappropriate blade.
- Clear the work area. Make sure the blade will not strike the bench, clamps, cords, or anything underneath the wood.
3. Protect Yourself and Secure the Workpiece
Wear eye protection whenever you operate a jigsaw. Hearing protection is also sensible, particularly during longer cutting sessions, and dust control may be appropriate depending on the material you are cutting.
Keep loose clothing, jewelry, cords, and other objects away from the blade area. Maintain a stable stance and keep both hands away from the projected cutting path.
Most importantly, support and clamp the workpiece so it cannot shift while you cut. The offcut must also have enough room to separate without trapping the blade.
Our beginner woodworking safety guide covers additional workshop habits worth establishing before using any power tool.
4. Measure and Mark the Cut Clearly
A jigsaw follows the line you give it, so take time to mark that line accurately. Use a sharp pencil and a straightedge, square, template, or compass depending on the shape you need.
For straight cuts, mark the waste side so you know which side of the line should remain. For curves, draw the entire shape before cutting instead of trying to improvise the path while the saw is running.
If accurate measuring and marking are still new to you, review how to measure and cut wood accurately before starting.
5. Start the Jigsaw Correctly
For a cut that begins at the edge of a board, place the front of the jigsaw’s base plate flat on the workpiece while keeping the blade just outside the wood.
Hold the saw firmly, start the motor, and allow it to reach operating speed before gently advancing the blade into the material. Keep the base plate flat against the wood throughout the cut.
Do not begin with the blade already pressed hard against the edge. That can cause the saw to jerk, bounce, or begin the cut off line.
6. Let the Blade Do the Cutting
A common beginner mistake is pushing the jigsaw too aggressively. More pressure does not necessarily produce a better cut. It can cause the blade to wander, bend, overheat, or leave an angled edge underneath the workpiece.
Use steady forward pressure and allow the teeth to remove material at a comfortable rate. If the saw noticeably struggles, check whether the blade is dull, the wrong type, or being forced too quickly.
Watch the cut line ahead of the blade rather than staring only at the blade itself. Small, smooth steering corrections are easier to control than abrupt changes in direction.
7. How to Make a Straight Cut With a Jigsaw
A jigsaw can make good straight cuts, although it requires more guidance than a circular saw.
For a short cut, you may be able to follow a clearly marked line freehand. For greater accuracy, clamp a straight board or guide to the workpiece so the edge of the jigsaw’s base plate can ride against it.
Before cutting, measure the distance between the blade and the edge of the base plate so the guide is positioned correctly.
During the cut:
- Keep the base plate flat on the workpiece.
- Maintain light, consistent pressure against the guide.
- Do not twist the saw sideways.
- Slow down if the blade begins to wander.
- Allow the blade to exit the far edge before releasing control of the saw.
8. How to Cut Curves With a Jigsaw
Curves are where the jigsaw really earns its place in a beginner workshop.
Use a blade designed for curved cuts and start with gentle shapes while you learn how quickly the saw can change direction. Guide the tool smoothly along the marked line without trying to rotate the saw faster than the blade can remove material.
For a tighter curve, reduce your feed speed. If the radius is too tight for the blade, do not force it. Back out only after stopping the tool, or approach the shape through additional relief cuts where appropriate.
Trying to force a wide blade around a tight corner can bend the blade sideways. Even if the cut looks correct on top, the bottom of the cut may drift significantly away from the line.
9. How to Make an Interior Cut
Sometimes the shape you need to remove does not begin at the edge of the board. A rectangular opening, handle opening, or decorative cutout is a common example.
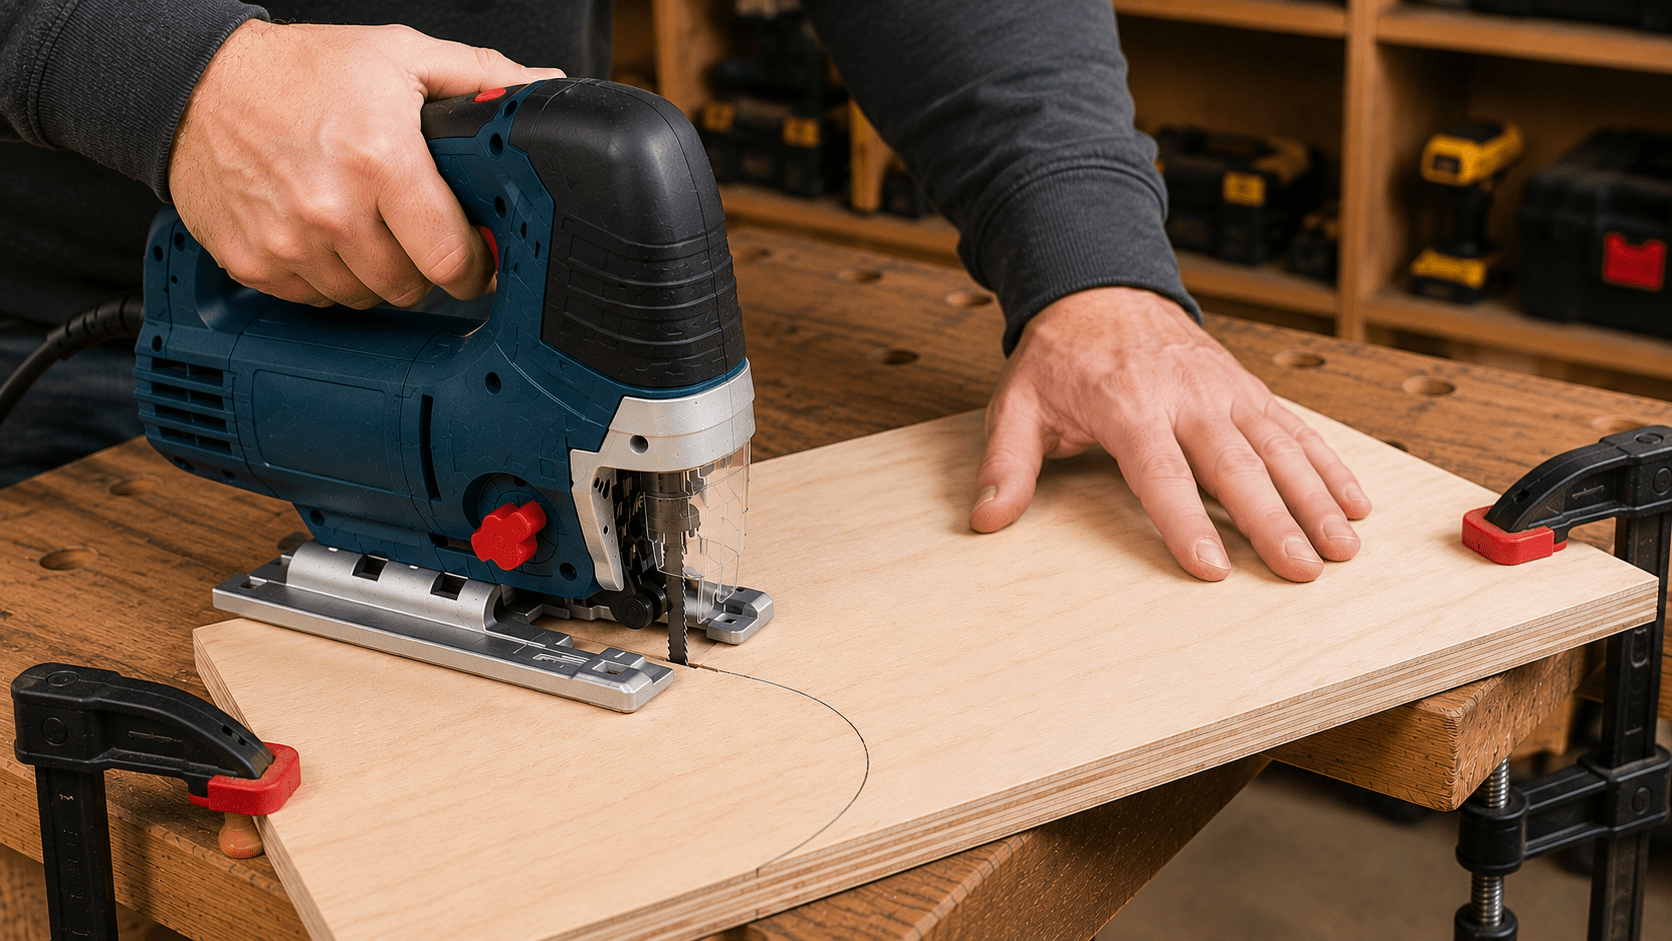
For beginners, the simplest approach is usually to drill a starter hole inside the waste area. The hole must be large enough for the jigsaw blade to enter without contacting the sides.
Once the starter hole is drilled:
- Disconnect power while positioning or checking the blade if necessary.
- Insert the blade into the starter opening.
- Place the base plate flat on the workpiece.
- Start the saw and carefully follow the marked cut line.
Some jigsaws and situations allow plunge cutting, but it requires more control and is not the best first technique for a new user. Follow your saw manufacturer’s instructions before attempting it.
If drilling accurate starter holes is unfamiliar, our guide on how to drill straight holes in wood covers the fundamentals.
10. Adjust Orbital Action Carefully
Many jigsaws have an orbital-action setting. Instead of moving only straight up and down, the blade also moves slightly forward during part of the stroke.
More orbital action can make cutting wood faster, but it can also produce a rougher edge. Lower orbital settings—or no orbital action—are generally better when control and a cleaner finish matter more than speed.
Because controls vary between saws, use your owner’s manual as the final reference for the settings on your particular model.
11. Reduce Splintering for a Cleaner Edge
Some splintering is normal when cutting wood with a jigsaw, especially with an aggressive blade. You can improve the result by concentrating on blade choice and cutting technique.
- Use a sharp blade designed for a clean wood cut.
- Choose a finer-tooth blade when finish quality matters.
- Keep the base plate firmly against the surface.
- Feed the saw steadily instead of rushing.
- Support thin material well to reduce vibration.
- Consider a reverse-tooth or specialty blade when appropriate for the visible face of the workpiece.
A small amount of sanding can clean up minor fuzz or saw marks afterward. If you need help getting a smooth finish, see our guide to sanding wood properly.
12. Avoid These Common Beginner Jigsaw Mistakes
Forcing the Saw Through the Wood
Pushing too hard can bend the blade and make the cut wander. Slow down and allow the blade to work.
Trying to Turn Too Sharply
Every blade has a practical turning radius. If the tool resists the turn, forcing it usually makes the cut worse rather than tighter.
Cutting Without Enough Support
A vibrating board is difficult to control and can produce rough cuts. Clamp the material securely while keeping the cutting path clear.
Using the Wrong Blade
A blade intended for another material or type of cut may perform poorly even if it physically fits the saw.
Lifting the Base Plate During the Cut
The jigsaw’s shoe is part of the control system. Keep it flat against the workpiece instead of tipping or lifting the tool while steering.
Stopping Before the Blade Clears the Wood
Complete the cut under control. After releasing the trigger, wait for the blade to stop before setting the saw down or moving your hands near the cutting area.
What Wood Should a Beginner Practice On?
Practice cuts do not require expensive hardwood. A clean scrap of pine, poplar, or plywood is enough to learn how the saw starts, tracks, turns, and exits a cut.
Make several straight lines, broad curves, and simple shapes before using the tool on a finished project. That short practice session helps you learn how your particular jigsaw responds without risking your project material.
If you are unsure which lumber is appropriate for your next build, our guide to choosing wood for beginner woodworking projects can help.
Simple Projects That Let You Practice Jigsaw Skills
Once you can comfortably follow both straight and curved lines, a jigsaw can help with many beginner-friendly projects. Good practice ideas include simple wall shelves with shaped ends, plant stands, wooden signs, small trays, basic stools, and projects with decorative curves or openings.
Keep the first few builds simple. The goal is not to use every possible jigsaw technique at once. It is to repeat the fundamentals until accurate setup, secure clamping, and steady cutting become normal habits.
For additional ideas, take a look at our 7 small woodworking projects for a weekend.
Ready to Put Your New Cutting Skills to Work?
Learning to control a jigsaw opens the door to projects that go beyond simple straight boards. Once you are comfortable measuring, marking, cutting curves, and keeping the workpiece secure, the next step is practicing those skills on real projects.
Explore beginner-friendly woodworking plans and project ideas here.
How to Use a Jigsaw for Beginners: Quick Checklist
Before each cut, run through this quick check:
- Is the blade correct for the material and type of cut?
- Is the blade securely installed and in good condition?
- Is the base plate correctly adjusted and locked?
- Are you wearing appropriate eye protection?
- Is the workpiece securely supported and clamped?
- Is the area beneath the cut completely clear?
- Is the cut line clearly marked?
- Are your hands and the power cord away from the blade path?
- Can the offcut separate without pinching the blade?
- Are you prepared to guide the saw steadily rather than force it?
Final Thoughts
A jigsaw is a forgiving tool to learn when you approach it methodically. Start with the correct blade, secure the wood, mark the cut carefully, keep the base plate flat, and use steady forward pressure. For curves, slow down and give the blade enough room to turn instead of forcing the saw around the line.
The first few practice cuts may not be perfect, and that is useful. They show you how blade choice, feed speed, workpiece support, and steering affect the finished edge. With repetition, those adjustments become much easier to recognize.
As your confidence grows, combine your jigsaw skills with good measuring, drilling, sanding, joining, and project planning. Our guide to planning your first woodworking project can help you turn those individual skills into a complete build.
Want more than a single project idea? Browse a larger collection of woodworking plans and project inspiration to find builds that match your tools and experience level.

