
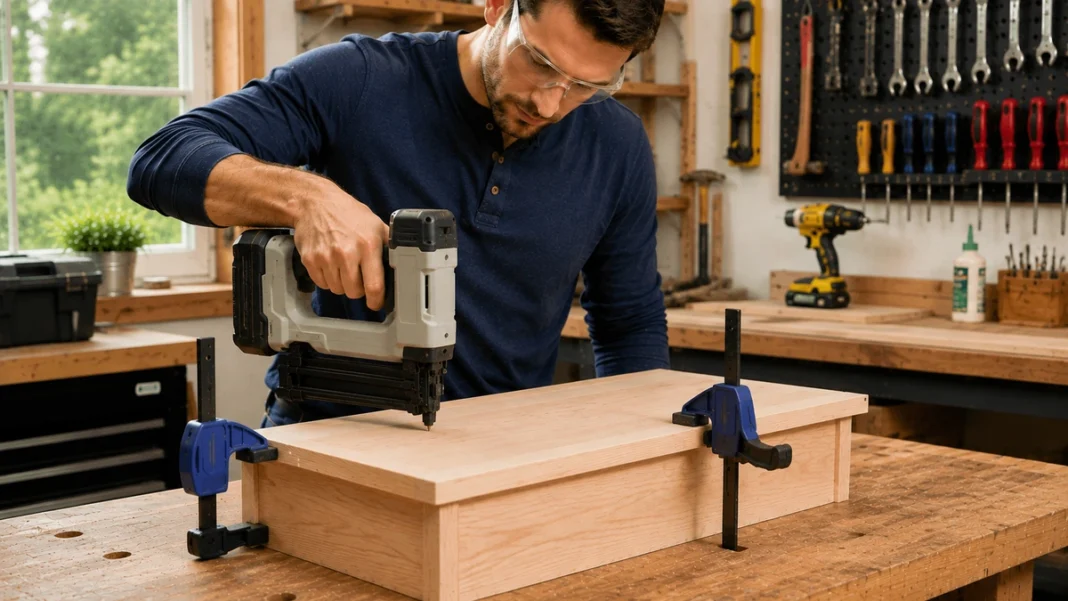
A brad nailer can make small woodworking projects faster, cleaner, and easier to assemble, but beginners need to understand how the tool works before pulling the trigger. Choosing the wrong nail length, holding the workpiece incorrectly, or firing too close to an edge can lead to split wood, exposed fasteners, or nails that exit through the side of the project.
Learning how to use a brad nailer for beginners starts with a few simple habits: choose the correct brad, clamp the work securely, test the depth setting on scrap wood, keep your hands away from the firing path, and let the nailer do the fastening without forcing it.
This guide walks through the process step by step so you can use an 18-gauge brad nailer more confidently on trim, small woodworking projects, cabinet parts, decorative pieces, and light assembly work.
What Is a Brad Nailer?
A brad nailer is a fastening tool designed to drive thin brad nails into wood. A common woodworking brad nailer uses 18-gauge brads, which are much thinner than the fasteners used by larger finish or framing nailers.
Because the nails are relatively small, they leave tiny holes that are easier to conceal and are less likely to split delicate material when the correct nail and technique are used.
Brad nailers are especially useful for:
- Attaching small trim and molding
- Holding glued woodworking assemblies together while the adhesive cures
- Building lightweight boxes and decorative projects
- Fastening thin panels and small project components
- Attaching face trim or edging
- Temporary positioning during assembly
A brad nailer is not a replacement for every type of woodworking joint or fastener. For stronger structural connections, methods such as screws, traditional joints, or pocket holes may be more appropriate. Our guide to woodworking joints for beginners explains several common ways wood parts can be joined.
How to Use a Brad Nailer for Beginners Safely
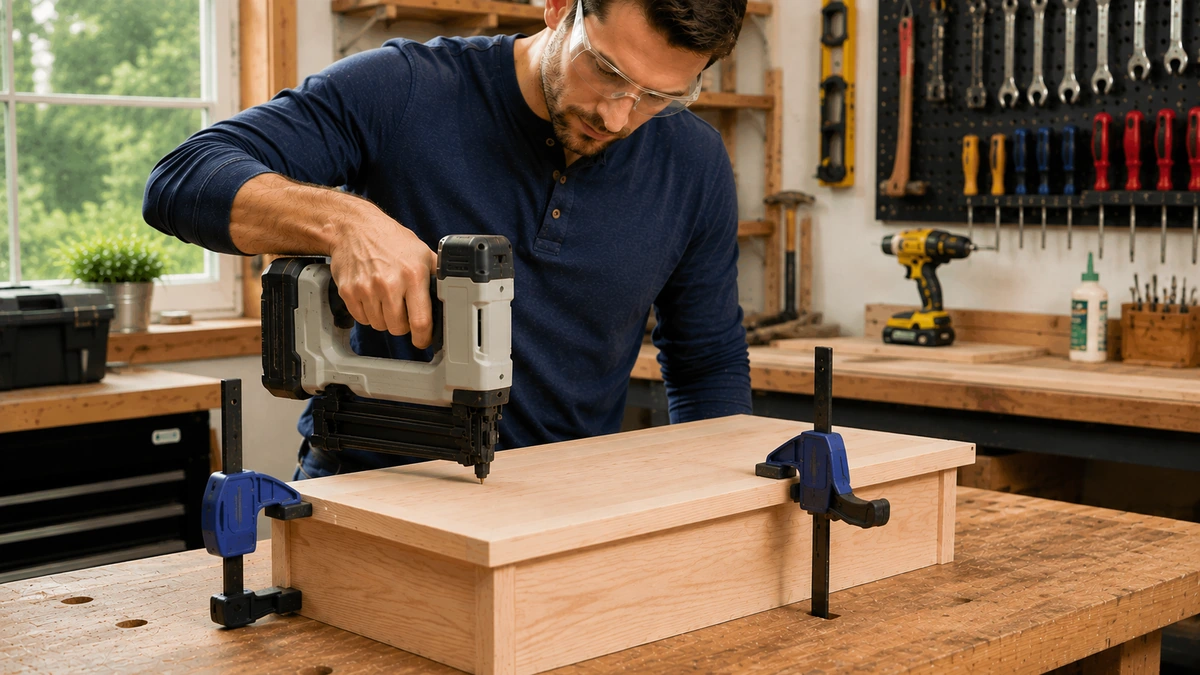
Brad nailers are straightforward once you understand the sequence, but they should always be treated as serious fastening tools. A brad can sometimes follow the grain of the wood and exit through the side of a workpiece rather than traveling exactly where you expected.
That is why hand placement, workpiece positioning, and testing are so important.
1. Choose the Correct Brad Gauge
Before loading the tool, confirm which fasteners your particular nailer is designed to use.
Many woodworking brad nailers are designed for 18-gauge brad nails. Do not assume that nails from another nailer will fit simply because they look similar.
Always check the manufacturer’s specifications for:
- Required nail gauge
- Supported nail lengths
- Magazine loading direction
- Compatible fastener type
Using the wrong fastener can cause jams, poor driving performance, or damage to the tool.
2. Choose the Right Brad Nail Length
Nail length is one of the most important choices when using a brad nailer.
The brad needs to be long enough to pass through the first piece and penetrate sufficiently into the second piece, but not so long that it exits the back or side of the project.
Before firing a nail, consider the thickness of both pieces of wood.
For example, if you are fastening thin trim to a thicker board, the brad should pass through the trim and enter the supporting material without extending beyond it.
When you are unsure, test the exact combination of wood thickness and brad length on scrap material before fastening the actual project.
3. Inspect and Secure the Workpiece
Place the workpiece on a stable bench or work surface before using the nailer.
If the pieces can move during fastening, clamp them in position instead of trying to hold everything together with your free hand.
This is especially important because a brad nail can occasionally deflect inside the wood.
Keep fingers and hands well away from:
- The nose of the nailer
- The expected path of the nail
- The opposite side of the workpiece
- Edges where a deflected nail could emerge
If you are new to workshop safety in general, review our guide to beginner woodworking safety before working with power tools and fastening equipment.
4. Load the Brad Nailer Correctly
Follow the loading procedure for your specific nailer. The exact magazine design varies between manufacturers and between pneumatic and cordless models.
Before loading:
- Disconnect the air supply on a pneumatic nailer when required by the manufacturer’s instructions.
- Remove the battery when appropriate on a cordless model.
- Confirm that the fasteners match the nailer’s specifications.
Open the magazine, insert the strip of brad nails in the correct orientation, and close the magazine securely.
Never force a strip of nails into the magazine if it does not fit naturally.
5. Set the Drive Depth
Most modern brad nailers allow you to adjust how deeply the nail is driven into the wood.
The goal is usually to place the brad head just below or nearly flush with the surface without creating a deep crater.
If the brad remains above the surface, increase the drive depth slightly. If it sinks much too deeply, reduce the setting.
Different wood species can require different depth settings. A setting that works well in soft pine may drive too deeply into another material.
Always test the adjustment on scrap wood that is similar to your project material.
6. Test the Nailer on Scrap Wood First
This is one of the simplest ways to avoid mistakes on a finished project.
Use scrap pieces with approximately the same thickness and wood species as the parts you intend to fasten.
Fire one test brad and inspect:
- How deeply the nail was driven
- Whether the nail remained straight
- Whether the wood split
- Whether the nail length is appropriate
- Whether the tool left an excessive indentation
Adjust the depth or choose a different nail length if necessary before moving to the actual project.
7. Hold the Brad Nailer Square to the Wood
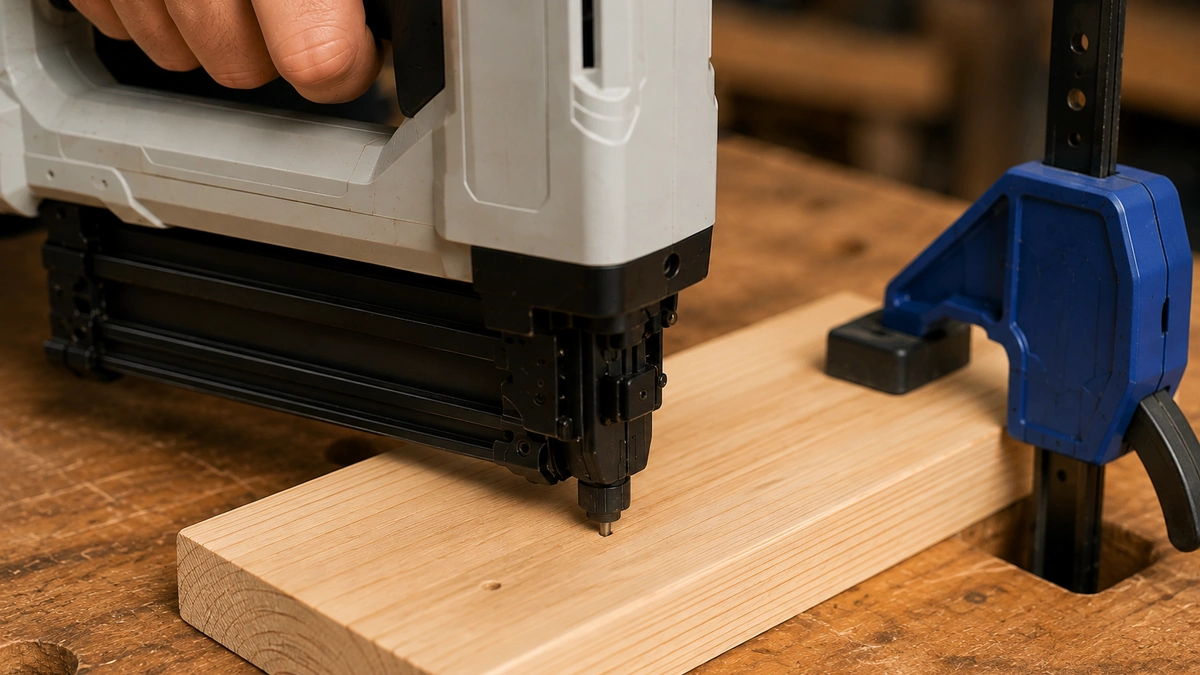
Place the nose of the nailer firmly against the workpiece before firing.
For most straightforward fastening, keep the nailer as square to the surface as practical.
Tilting the tool unnecessarily can increase the chance that the brad travels in an unexpected direction or exits through the side of the material.
Position yourself so you can clearly see the firing location while keeping your hands away from the projected nail path.
8. Keep Your Free Hand Away From the Firing Path
This deserves special attention because beginners often instinctively hold two pieces together with one hand while fastening with the other.
A brad is thin and can sometimes bend or follow the grain inside the wood.
That means a nail may emerge from the side of a board even when the nailer itself appears to be pointing straight ahead.
Whenever possible:
- Clamp the pieces instead of holding them by hand
- Keep fingers well away from the fastening area
- Never place a hand directly behind the workpiece
- Avoid placing fingers along thin edges where a brad could exit
A clamp is much easier to replace than an injured hand.
9. Fire the Brad and Inspect the Result
Once the workpiece is secure and the nailer is positioned correctly, press the nose against the surface and operate the trigger according to the instructions for your model.
After driving the brad, inspect the connection before continuing.
Check that:
- The brad head is at the desired depth
- The wood has not split
- The pieces remain aligned
- No nail has emerged from another surface
If something looks wrong, stop and correct the problem rather than continuing to drive additional nails.
10. Space Brad Nails Carefully
Driving unnecessary nails does not automatically make an assembly stronger.
Use enough fasteners to hold the pieces securely for the purpose of the project, but avoid crowding several brads into a very small area.
Closely spaced fasteners near thin edges can increase the chance of splitting.
Where possible, keep brads reasonably centered in the receiving material and leave enough distance from the edge for the wood to remain intact.
11. Use Wood Glue With Brad Nails When Appropriate
For many woodworking assemblies, the brads are not intended to provide all of the long-term strength by themselves.
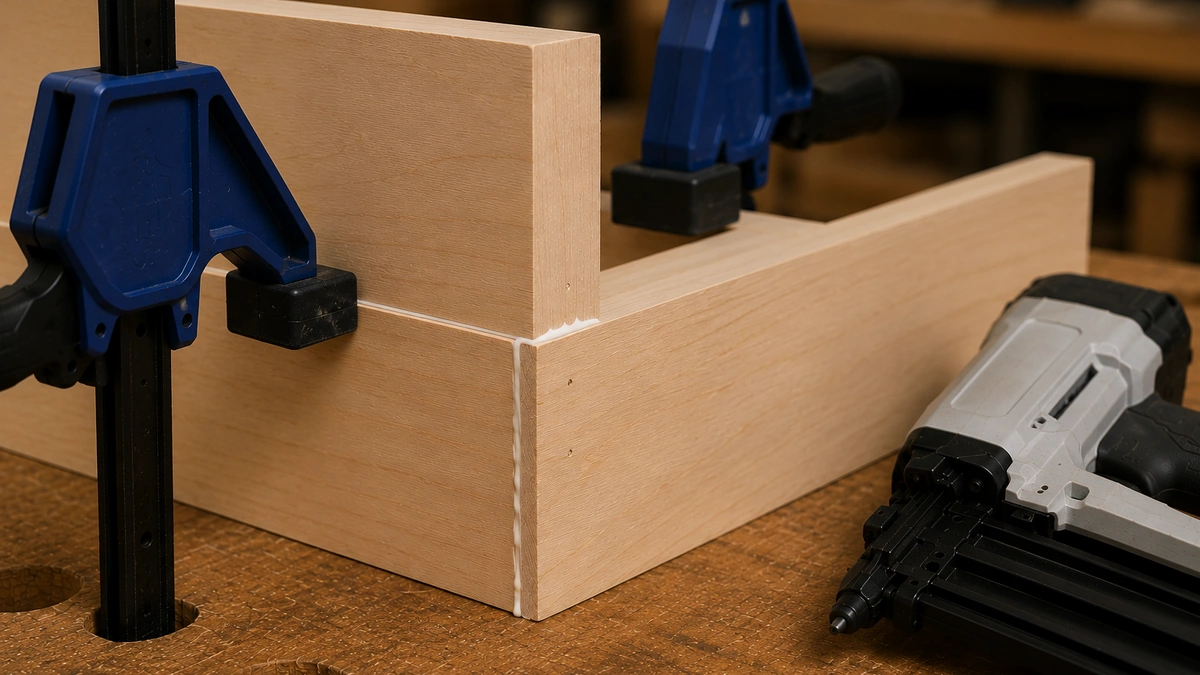
Wood glue can create the primary bond while brads help hold the pieces in alignment as the glue cures.
This combination is useful for many light-duty boxes, trim assemblies, decorative projects, and similar woodworking tasks.
Apply an appropriate amount of glue to the mating surfaces, position the pieces correctly, and use the brads to help keep the assembly from shifting.
If you are still learning adhesive techniques, our wood glue for beginners guide explains how to apply glue, clamp assemblies, and avoid common mistakes.
For projects where screws provide a better mechanical connection, pocket-hole joinery may be another useful option. See our guide on how to use a pocket hole jig for beginners.
12. Handle Jams and Misfires Safely
If the nailer stops firing or a fastener becomes jammed, do not immediately place your fingers near the nose or magazine.
First follow the manufacturer’s shutdown procedure.
Depending on the type of nailer, that may include:
- Disconnecting the air hose
- Removing the battery
- Removing remaining fasteners from the magazine
- Opening the approved jam-release mechanism
Never attempt to clear a jam while the tool is still capable of firing.
After the obstruction has been removed, inspect the nailer before reconnecting power and test it on scrap material.
Common Brad Nailer Mistakes Beginners Should Avoid
Most problems with a brad nailer come from setup, positioning, or rushing.
Watch for these common mistakes:
- Using a brad that is too long: The nail can exit through another surface.
- Holding the workpiece near the firing path: Clamp it instead whenever possible.
- Skipping the scrap test: Different wood species can change how deeply a brad is driven.
- Firing too close to an edge: Thin material may split.
- Holding the tool at an unnecessary angle: This can encourage the fastener to travel unpredictably.
- Driving too many nails: More fasteners are not always better.
- Ignoring a partially driven brad: Stop and correct the problem before continuing.
- Clearing a jam while the tool is powered: Always disconnect the appropriate power source first.
Brad Nailer Safety Tips
A brad nailer is convenient, but the small size of the fasteners should not create a false sense of security.
Use these basic precautions:
- Read the manufacturer’s manual for your specific nailer.
- Wear appropriate eye protection.
- Keep the tool pointed away from yourself and others.
- Keep fingers away from the nail path and opposite side of the workpiece.
- Clamp small or unstable parts.
- Disconnect the appropriate power source before clearing jams or servicing the tool.
- Use only compatible brad nails.
- Test depth and nail length on scrap wood.
- Never bypass or disable the nailer’s safety mechanisms.
For additional beginner guidance, RYOBI provides a useful beginner’s guide to using a brad nailer covering nail selection, workpiece setup, and depth adjustment.
When Should You Use a Brad Nailer?
A brad nailer works best for relatively light woodworking and finish applications where a small fastener is desirable.
Good beginner uses include:
- Small boxes
- Decorative trim
- Light molding
- Thin project components
- Simple shelves with glued trim
- Craft and workshop projects
It is generally not the tool to rely on for major structural connections or heavy load-bearing assemblies.
If you are building your first tool collection and trying to decide where a brad nailer belongs, our guide to essential woodworking tools for beginners can help you prioritize the tools that matter most.
Practice on a Simple Woodworking Project
Practicing how to use a brad nailer for beginners on scrap wood and simple projects is the best way to become comfortable with nail length, drive depth, and safe tool positioning.
Scrap wood is also extremely useful for learning how different nail lengths, depth settings, wood species, and firing positions affect the final result.
If you want additional project ideas where you can practice measuring, cutting, sanding, fastening, and assembly skills, you can explore woodworking plans and project ideas here.
Take the time to set up the work correctly before firing the first brad. A few extra seconds spent clamping, testing, and checking nail length can prevent damaged material and make the final project look significantly cleaner.
Final Thoughts
Learning how to use a brad nailer for beginners comes down to controlled setup and safe positioning. Choose the correct fastener, secure the workpiece, test the nail depth on scrap wood, keep the nailer square to the surface, and keep your hands well away from the firing path.
Once those habits become routine, a brad nailer can become one of the most convenient tools in a beginner woodworking shop.
Used properly, it can help you assemble small projects quickly, hold glued parts in alignment, attach trim cleanly, and produce professional-looking results without filling the project with large screw or nail holes.

