

A random orbital sander is one of the easiest power tools for a beginner woodworker to learn, but getting a truly smooth surface takes more than simply turning the tool on and moving it across the wood. The right sandpaper, sanding sequence, pressure, and technique all matter.
Learning how to use a random orbital sander for beginners can help you remove saw marks, smooth rough boards, prepare projects for stain or paint, and avoid the frustrating swirl marks that sometimes appear after sanding.
This guide walks through the process step by step so you can use your sander confidently and get cleaner, more consistent results on your woodworking projects.
How to Use a Random Orbital Sander for Beginners
A random orbital sander is a handheld power sander with a round sanding pad. Instead of moving the sandpaper in only one direction, the pad both spins and moves in a small orbital pattern.
That combination helps reduce the obvious straight scratches that can occur with some other types of sanders. When used correctly, a random orbital sander can leave wood extremely smooth and ready for finishing.
It is particularly useful for:
- Smoothing rough lumber
- Removing light saw or milling marks
- Preparing wood for stain, paint, or clear finish
- Sanding tabletops, shelves, panels, and cabinet parts
- Blending joints after assembly
- Removing small amounts of old finish
If you are still assembling your first collection of shop equipment, our guide to essential woodworking tools for beginners explains where a sander fits into a basic woodworking setup.

1. Choose the Right Sandpaper Grit
One of the biggest sanding mistakes beginners make is starting with sandpaper that is either much too coarse or much too fine.
Sandpaper grit describes how coarse or fine the abrasive is. Lower grit numbers remove material faster, while higher grit numbers create a smoother surface.
A useful general progression for woodworking is:
- 80 grit: Heavy smoothing and removing obvious surface defects
- 100 or 120 grit: General smoothing after coarse sanding
- 150 grit: Refining the surface
- 180 grit: Preparing many projects for finishing
- 220 grit: Fine sanding when the project or finish requires it
You do not always need to begin at 80 grit. If the wood is already reasonably smooth, starting at 120 grit may save time and preserve more material.
Before sanding, it also helps to understand the material you are working with. Different species vary significantly in hardness and grain structure. Our guide on choosing the right wood for beginner woodworking projects can help you understand those differences.
2. Attach the Sanding Disc Correctly
Most random orbital sanders use hook-and-loop sanding discs that attach directly to the round pad.
Unplug the sander or remove its battery before installing a disc.
Center the sanding disc carefully over the pad. If your sander and sanding discs have dust-extraction holes, line those holes up with the openings in the sanding pad.
This alignment is important because blocked dust holes reduce the effectiveness of the sander’s dust collection system.
Make sure the disc is firmly attached and does not hang substantially over one side of the pad.
3. Secure the Workpiece Before Sanding
Never rely on one hand to keep a small or lightweight board from moving while the other hand operates the sander.
Place the workpiece on a stable bench or work surface and clamp it when necessary. The board should not slide, rock, or tip while you are sanding.
Before starting, also inspect the wood for protruding screws, nails, staples, or other metal objects that could damage the sanding disc or create a hazard.
If you assembled your project with pocket screws, for example, check that the fasteners are positioned correctly before beginning the finishing process. If you are still learning that joinery method, see our guide on how to use a pocket hole jig for beginners.
4. Connect Dust Collection
Sanding creates very fine dust, and controlling that dust is important for both cleanliness and safety.
If your random orbital sander includes a dust bag or collection canister, make sure it is properly attached. Many sanders can also connect to a shop vacuum with the appropriate hose or adapter.
Good dust collection has another benefit: it helps keep loose sanding particles from remaining between the sanding disc and the workpiece, where they can contribute to scratches.
Wear appropriate eye protection and respiratory protection for the material you are sanding, and work in a well-ventilated area.
5. Place the Sander Flat Before Starting
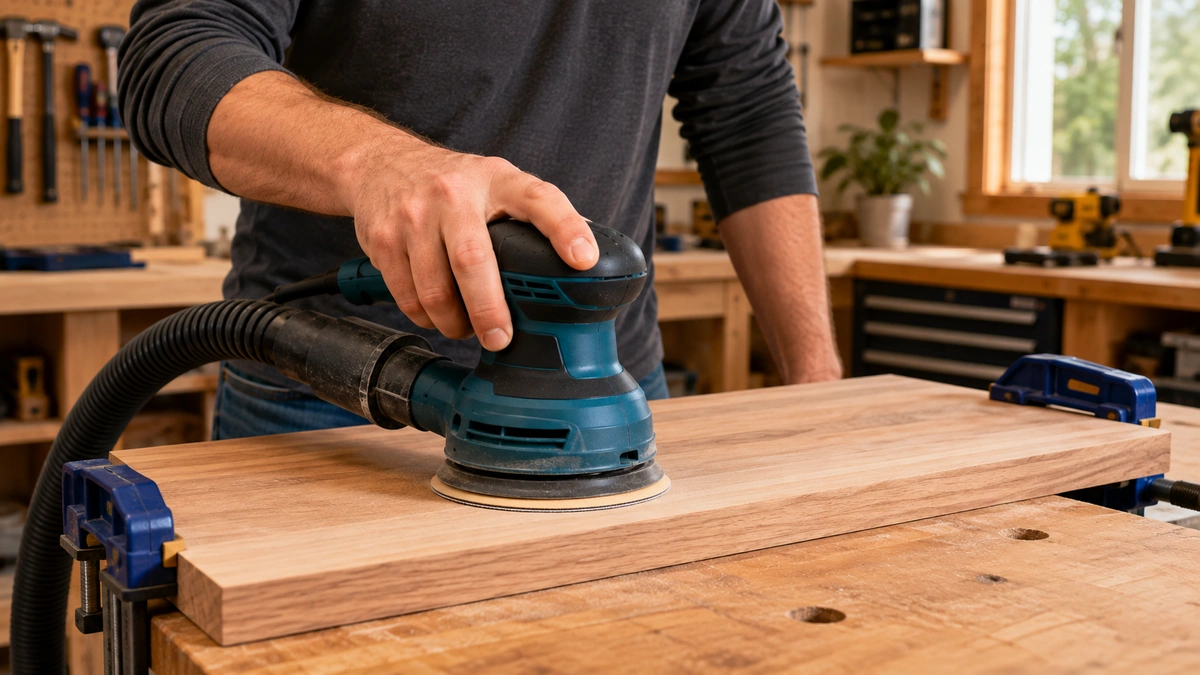
For most normal woodworking sanding, keep the entire sanding pad flat against the workpiece.
Do not deliberately tilt the sander onto the edge of the pad in an attempt to remove material faster. Doing so can create dips, rounded areas, deep scratches, and uneven surfaces.
Hold the tool comfortably and maintain control without forcing it downward.
Depending on the specific sander, the manufacturer’s instructions may recommend starting the motor immediately before or after placing the sanding pad on the surface. Follow the instructions for your particular model.
6. Let the Sander Do the Work
A random orbital sander does not need heavy downward pressure.
One of the most important habits a beginner can develop is allowing the weight and motion of the tool to perform the sanding.
Pushing excessively hard can:
- Slow the pad’s movement
- Reduce sanding efficiency
- Create uneven areas
- Increase heat
- Wear sanding discs faster
- Contribute to visible sanding marks
Use enough pressure to maintain control while keeping the pad flat, but avoid leaning your body weight onto the sander.
7. Move Slowly and Consistently
Beginners often move a random orbital sander much faster than necessary.
Use slow, controlled passes across the workpiece. Slightly overlap each pass so that the entire surface receives consistent sanding.
Avoid repeatedly stopping in one spot while the sander is running. Keeping the tool moving helps prevent uneven material removal.
For broad surfaces such as tabletops and shelves, develop a simple pattern. Work across the board systematically rather than moving randomly from one area to another.
The goal is not to finish as quickly as possible. The goal is to create an evenly sanded surface.
8. Do Not Skip Too Many Grits
Once the first sanding grit has removed the defects you are trying to eliminate, switch to the next appropriate grit.
Each sanding stage removes scratches left by the previous, coarser grit.
For example, a beginner might use:
80 → 120 → 150 → 180 grit
or, when the starting surface is already fairly smooth:
120 → 150 → 180 grit
Jumping directly from very coarse sandpaper to very fine sandpaper can leave deeper scratches behind. Fine sandpaper may polish the surrounding surface without efficiently removing those coarse scratches.
For a broader explanation of sanding sequence and surface preparation, read our complete guide on how to sand wood properly.
9. Remove Dust Between Sanding Grits
When changing grits, remove the sanding dust from the workpiece before continuing.
A vacuum is especially useful because it removes dust rather than simply moving it around the shop.
Cleaning between grits also gives you an opportunity to inspect the surface.
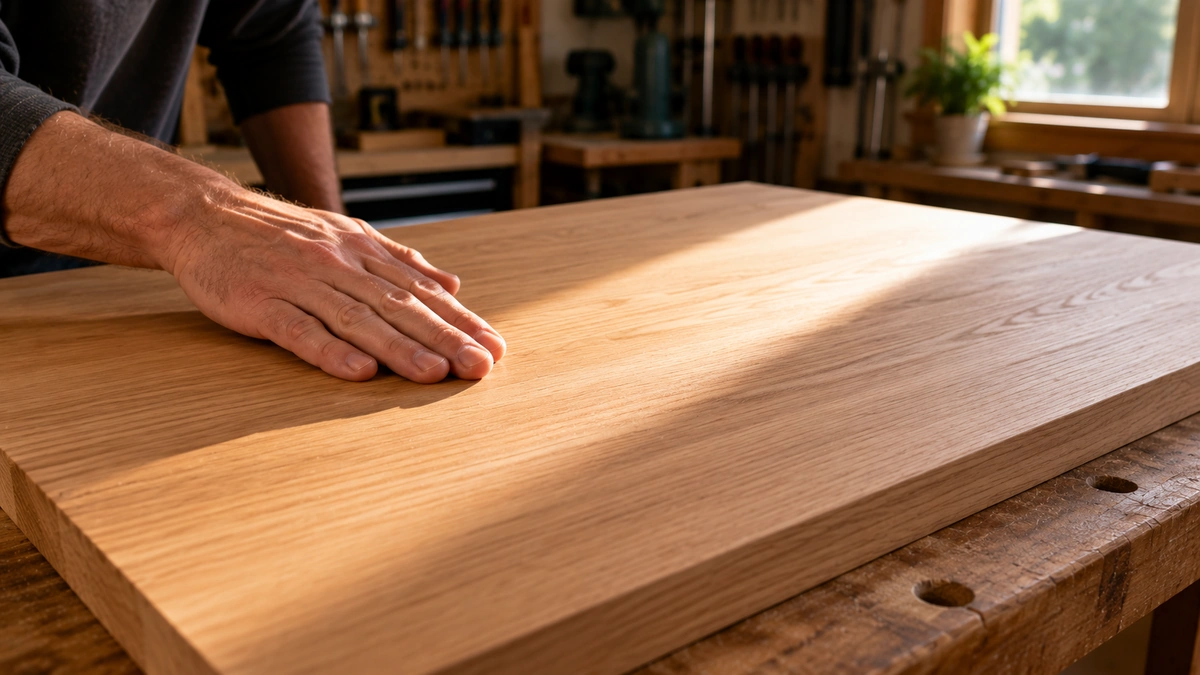
Look across the wood under good lighting. Scratches and uneven areas are often easier to see when light travels across the surface at a low angle.
Do not move to the next grit until the defects that should have been removed by the current grit are gone.
10. Be Careful Near Edges and Corners
Random orbital sanders can remove material quickly from the edge of a board if the pad is allowed to tip.
As you approach an edge, keep the sanding pad as flat and controlled as possible.
Avoid allowing a large portion of the pad to hang unsupported beyond the workpiece. This can encourage the sander to tip and round the edge.
For delicate edges, corners, profiles, or areas that the round sanding pad cannot reach safely, finish the sanding by hand.
11. How to Avoid Swirl Marks
Swirl marks are small circular or curved scratches that become especially noticeable after stain or finish is applied.
They can result from several common problems:
- Using worn or damaged sanding discs
- Applying excessive pressure
- Moving the sander too quickly
- Skipping too many grits
- Allowing debris to become trapped beneath the sanding disc
- Tilting the sanding pad
- Failing to remove scratches from a previous grit
Use fresh abrasive discs when needed, keep the workpiece clean, progress through appropriate grits, and inspect the surface carefully before applying finish.
The better your sanding process is now, the less likely you are to discover scratches only after stain makes them dramatically more visible.
12. Know When to Stop Sanding
More sanding is not automatically better.
The final grit depends on the wood, the project, and the finish you plan to apply. Sanding excessively fine can sometimes change how certain stains or finishes interact with the wood.
Follow the instructions supplied with the stain, paint, oil, or finish you intend to use.
For many beginner projects, achieving an even, scratch-free surface is more important than chasing the highest possible grit number.
Common Random Orbital Sander Mistakes
Most beginner sanding problems come from technique rather than the tool itself.
Watch for these common mistakes:
- Pressing too hard: Let the sander’s motion and abrasive do the cutting.
- Moving too fast: Slow, overlapping passes provide more consistent results.
- Tilting the tool: Keep the sanding pad flat whenever possible.
- Using one worn disc too long: Replace abrasives when their cutting performance drops.
- Skipping grit progression: Each grit should remove scratches from the previous one.
- Ignoring sanding dust: Keep both the sanding disc and workpiece clean.
- Sanding unsecured wood: Clamp lightweight or unstable workpieces.
- Rushing the final inspection: Examine the surface before applying stain or finish.
Random Orbital Sander Safety Tips
Even though a random orbital sander is relatively approachable for beginners, it is still a power tool.
Use these basic precautions:
- Read the instruction manual for your specific sander.
- Wear eye protection.
- Use suitable respiratory protection for sanding dust.
- Use hearing protection when appropriate.
- Secure unstable workpieces.
- Keep the power cord away from the sanding area on corded models.
- Disconnect power before changing sanding discs or performing adjustments.
- Use dust collection whenever practical.
- Avoid sanding materials that may create hazardous dust unless you understand the proper precautions.
For additional beginner guidance on random orbital sander setup and technique, Kreg provides a useful guide to using an orbital sander.
Practice on a Simple Woodworking Project
Practicing how to use a random orbital sander for beginners on a simple project is one of the fastest ways to develop better control and sanding technique.
Simple shelves, boxes, benches, and other flat-panel projects are excellent opportunities to develop sanding skills.
If you want additional project ideas and detailed woodworking plans to practice these skills, you can explore woodworking plans and project ideas here.
Start slowly, pay attention to the surface, and treat sanding as an important part of building rather than something to rush through at the end.
Final Thoughts
Learning how to use a random orbital sander for beginners comes down to a few fundamental habits: choose the correct sandpaper, keep the sanding pad flat, apply light pressure, move slowly, progress through appropriate grits, and inspect the surface carefully.
Once those habits become automatic, sanding becomes much more predictable. Instead of wondering whether scratches or swirl marks will appear after finishing, you will have a repeatable process for producing smooth, clean woodworking surfaces.
A random orbital sander may not be the most dramatic tool in the workshop, but learning to use one properly can make nearly every woodworking project look more polished and professional.

